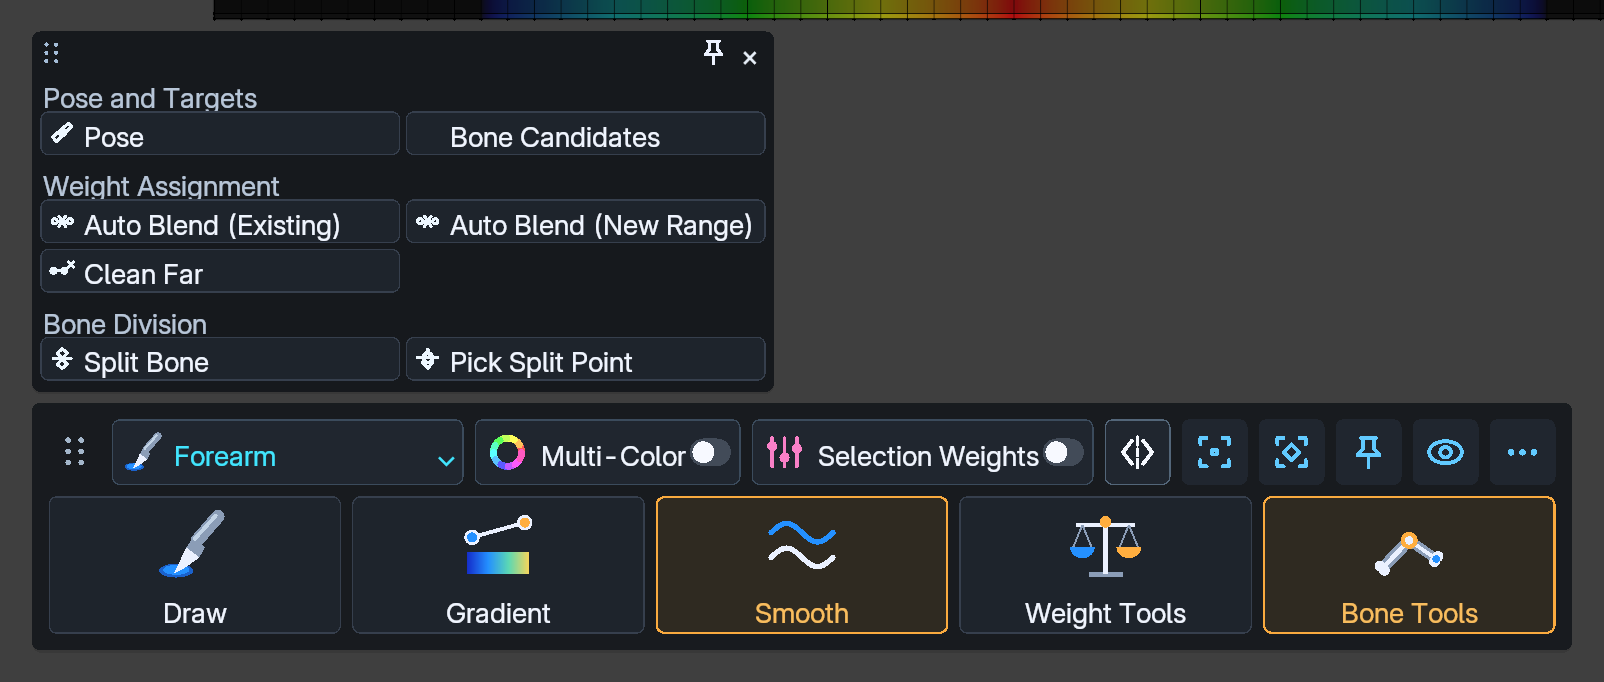
Auto Bone Blendでは現在の比率かレストボーン距離を出発点に、境界をプレビューします。左右移動で調整し、左クリック/Enterで確定、Esc/右クリックで戻します。単一対象の相手はParent/Child/Bothから選び、分岐を推測させずに対象を指定します。
Joint Fitは連続する2~6本のチェーンについて関節付近の分布を検討します。Auto Bone Blend中のTabまたは専用操作から開き、幅・表示・関節を調整します。線形Armature1個、Preserve Volumeなしなどの条件が必要です。すべてのリグ・ポーズを自動改善する機能ではありません。実際の曲げで結果を確認します。
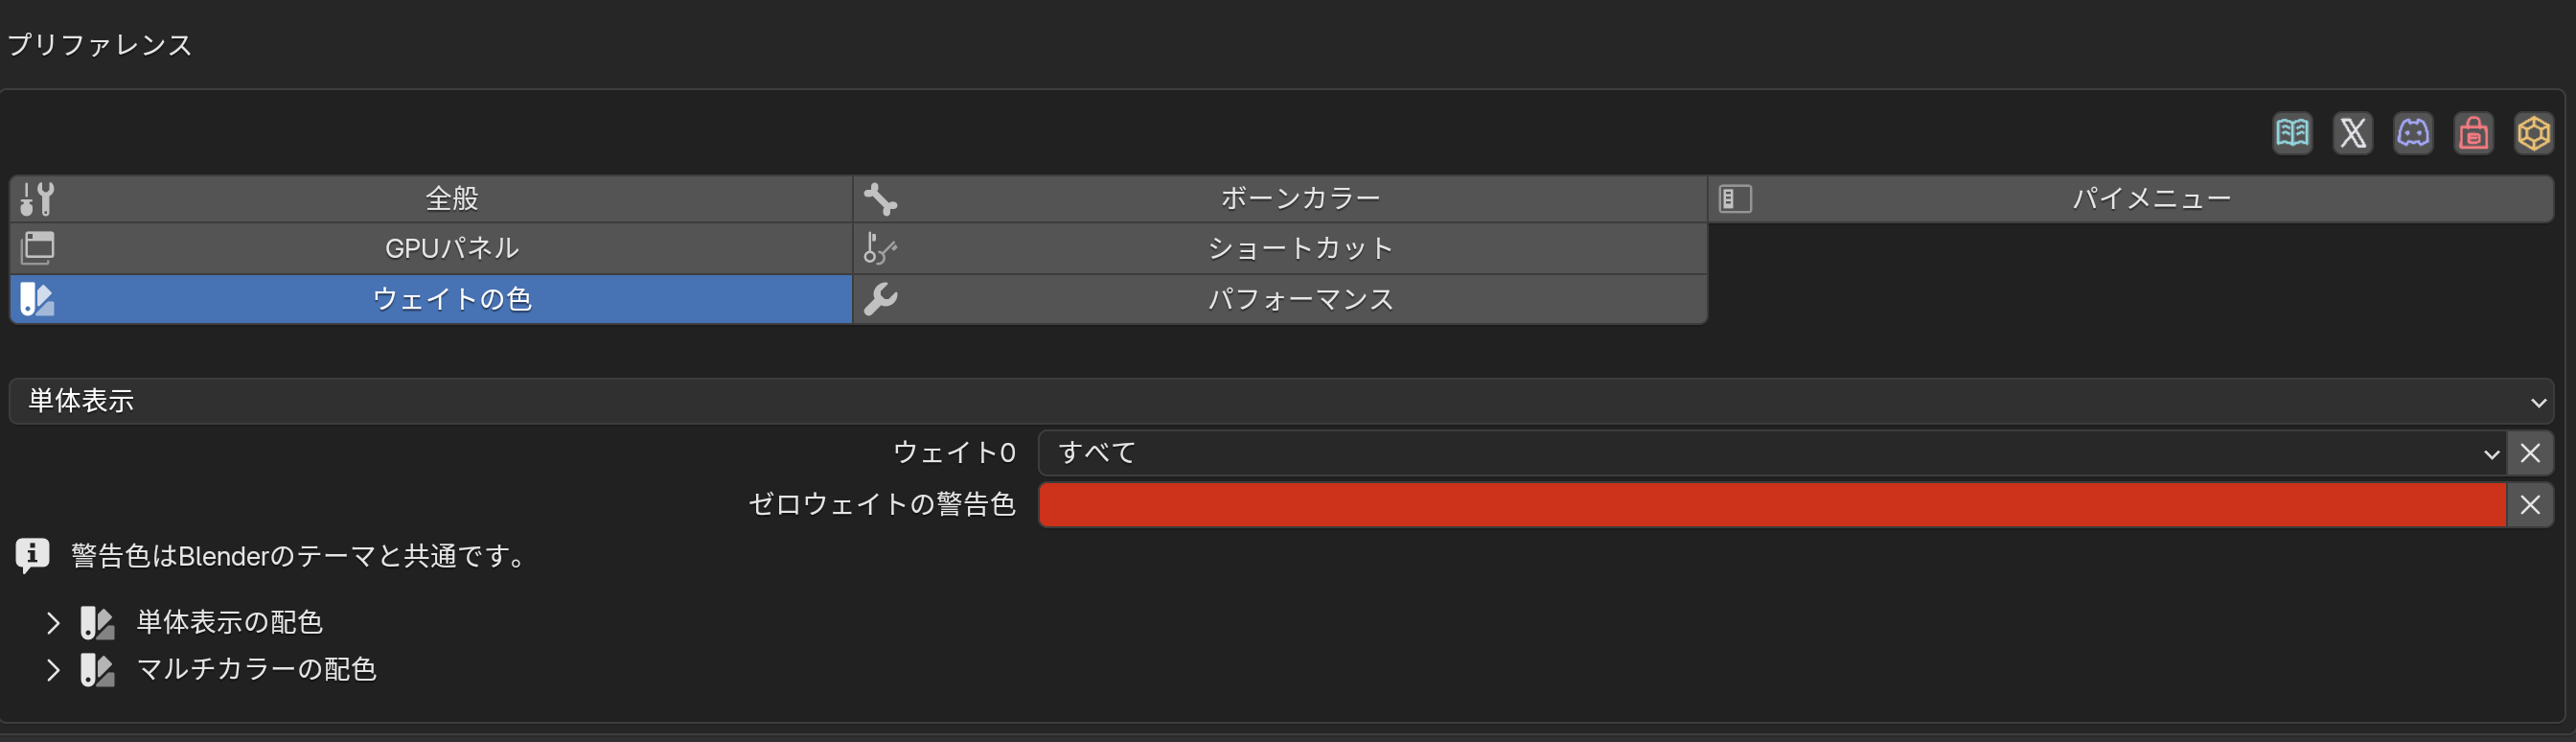
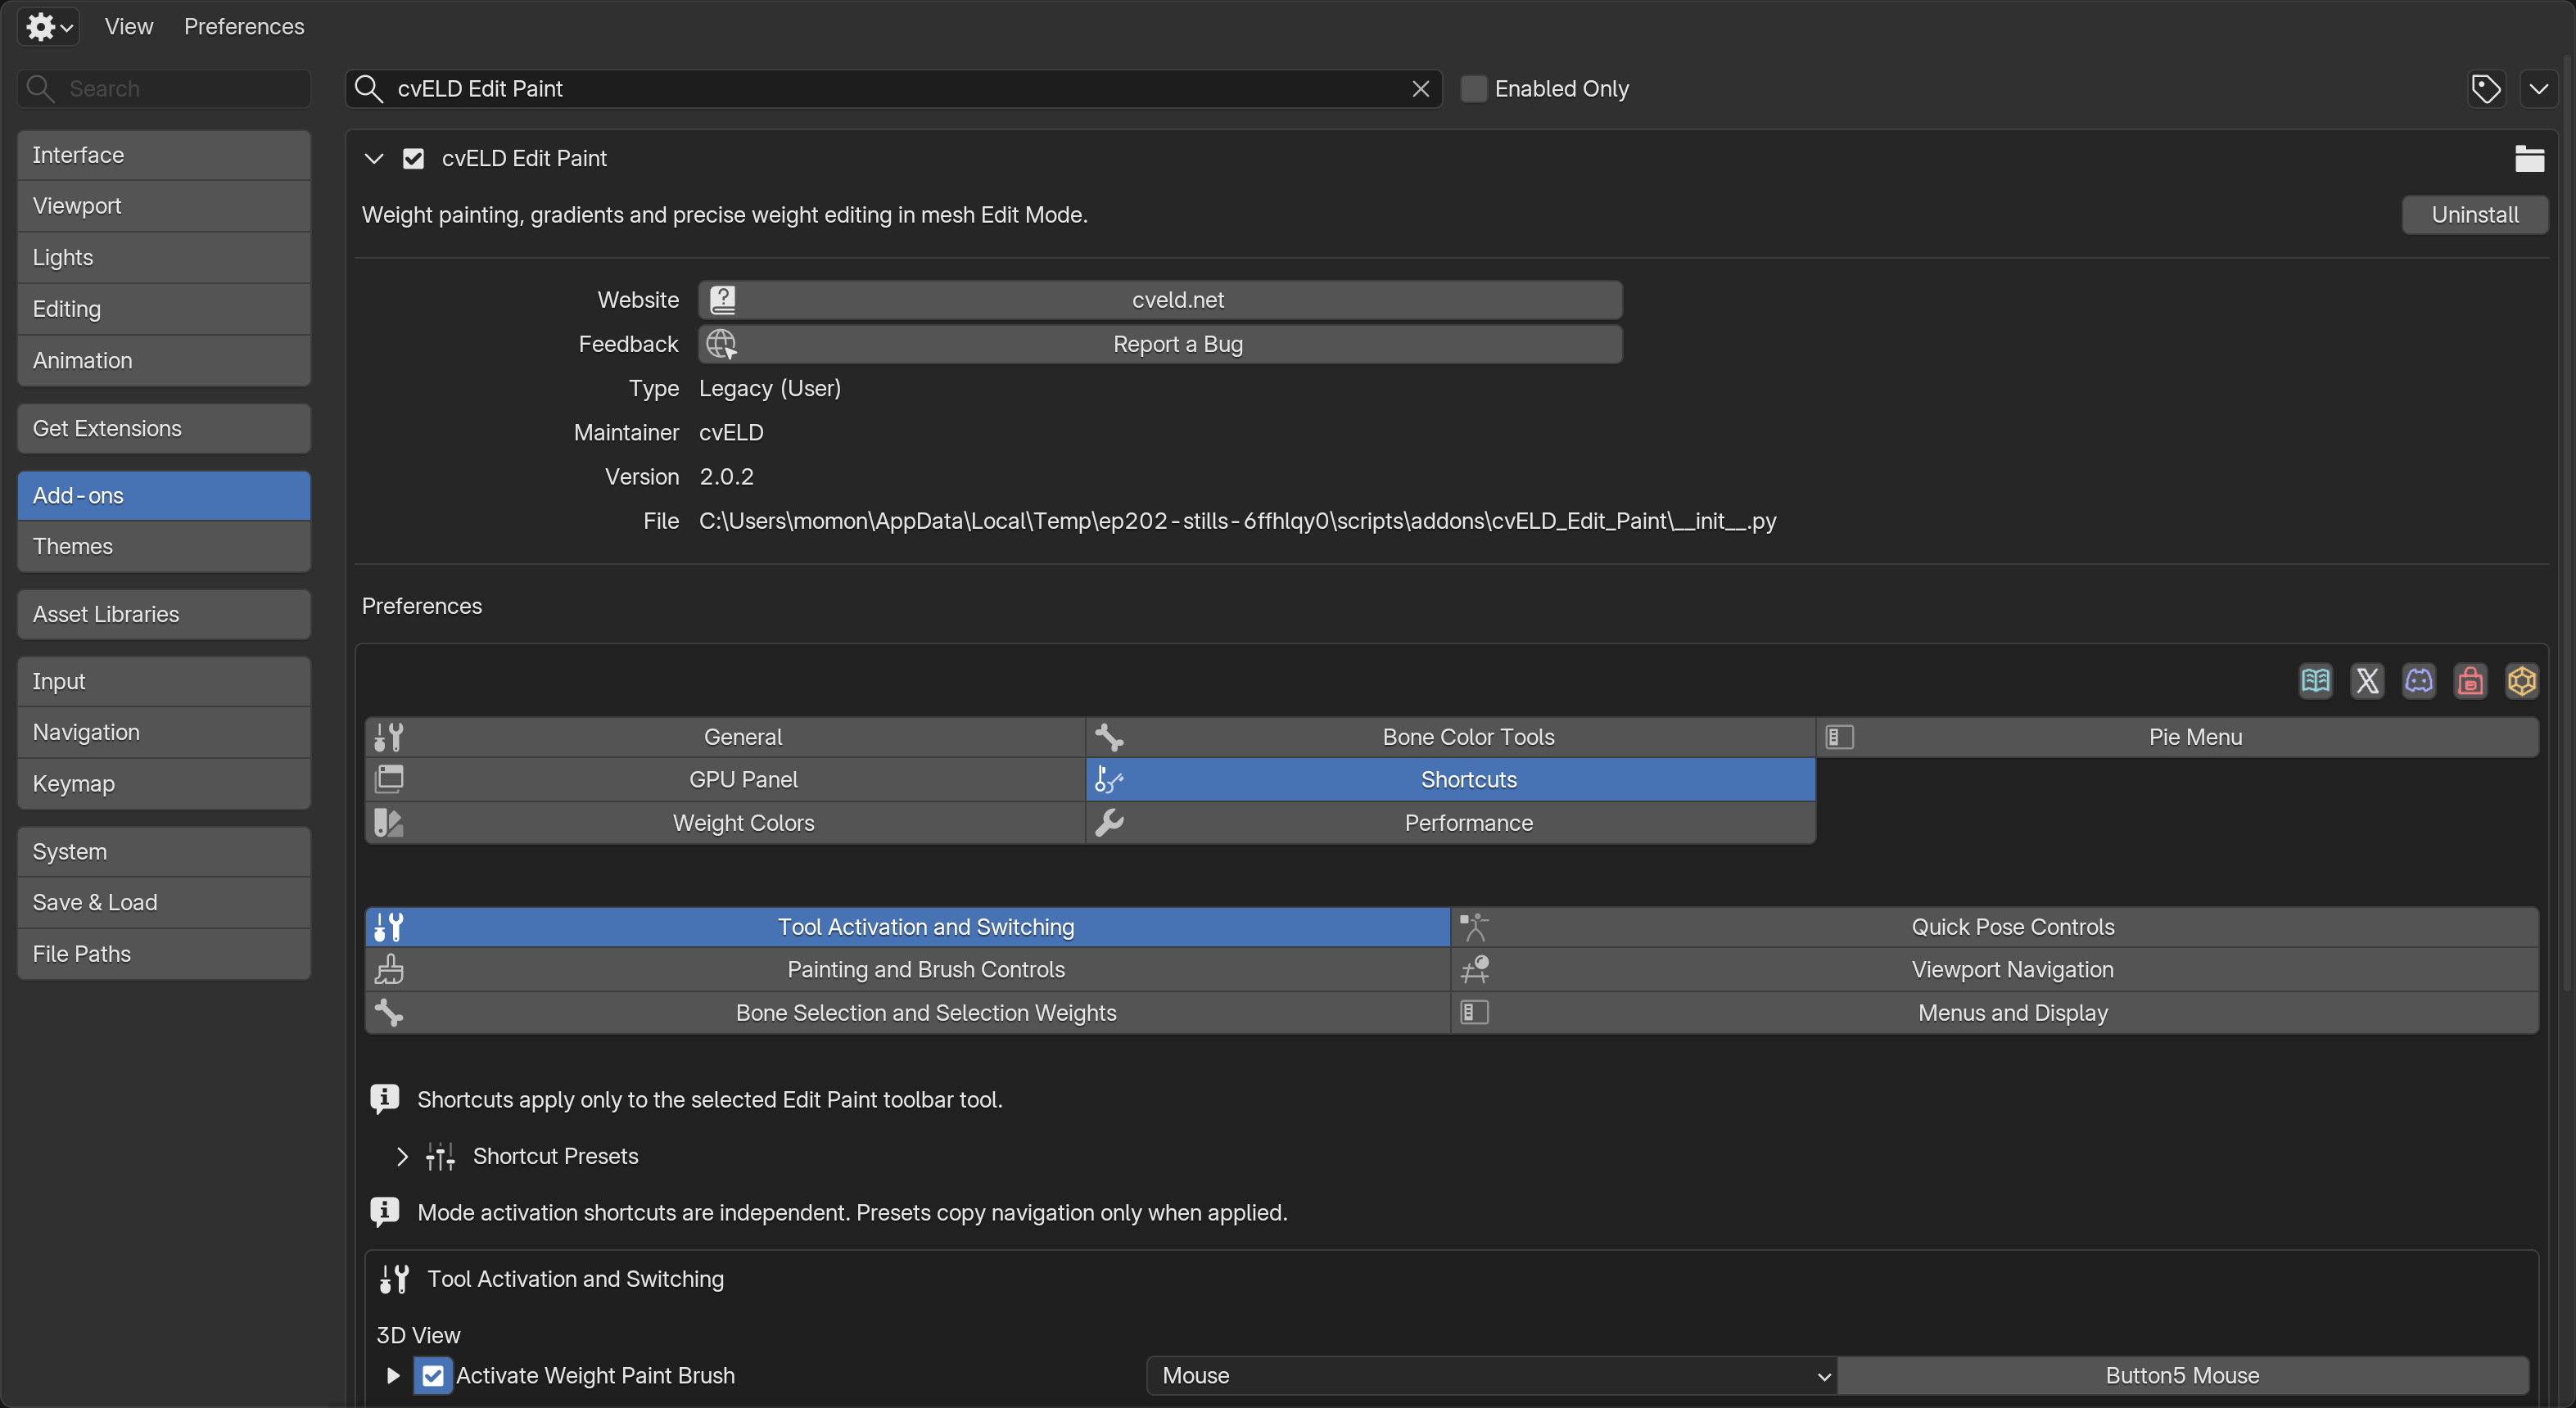
プリファレンスで基本設定、GPUパネル、ウェイトの色、ボーンカラー、ショートカット、パフォーマンス、パイメニューを調整できます。Blender・Industry・Maya・Softimage・Modo・Houdini・3ds Max・C4D・ZBrush・Mudbox・Substance 3D Painter・未割当のプリセットは、このツールの割当へ適用します。
Mudboxの半径/強さはB/M、Substance 3D PainterはCtrl+右ボタン/Uです。SoftimageはSを視点操作用に残し、半径/強さをR/Shift+Rに割り当てます。サイズと強さはBlenderの円形調整で、各DCCの全操作や固有のドラッグ方式を再現するものではありません。
Paint weights, select vertices and refine values while staying in mesh Edit Mode. Start with a short Draw stroke, check the deformation, then extend the work to the region you need.
What changed in 2.2.2 (2026-10-23)
Fixed X-Ray through-selection when using Box, Circle or Lasso as the drag selection method of the Move tool. Also fixed selection-display updates interrupting native gizmo activation while holding and dragging a handle.
Fixed an input conflict that could prevent Blender’s Move, Rotate and Scale gizmos from dragging in mesh Edit Mode while Edit Paint was enabled, including with selection X-Ray. Keep Active Gizmo set to Drag; switching it to Press is not required.
Install the updated purchased ZIP with Install from Disk, then restart Blender. If you changed Active Gizmo to Press as a workaround, restore Drag.
About 4 seconds · Japanese and English captions. Blender operation recorded and supplied by the user.
What changed in 2.2.1 (2026-10-20)
Fixed a crash that could occur in Blender 5.2.2 while Cycles was baking and the Render Properties panel was redrawn. Update to 2.2.1 before baking with Edit Paint enabled.
Install the updated ZIP through Preferences > Get Extensions > Install from Disk, then restart Blender. Your saved weights and settings remain available.
What changed in 2.2 (2026-10-19)
Supplied update video · about 12 seconds · Japanese and English captions.
Ring Gradient
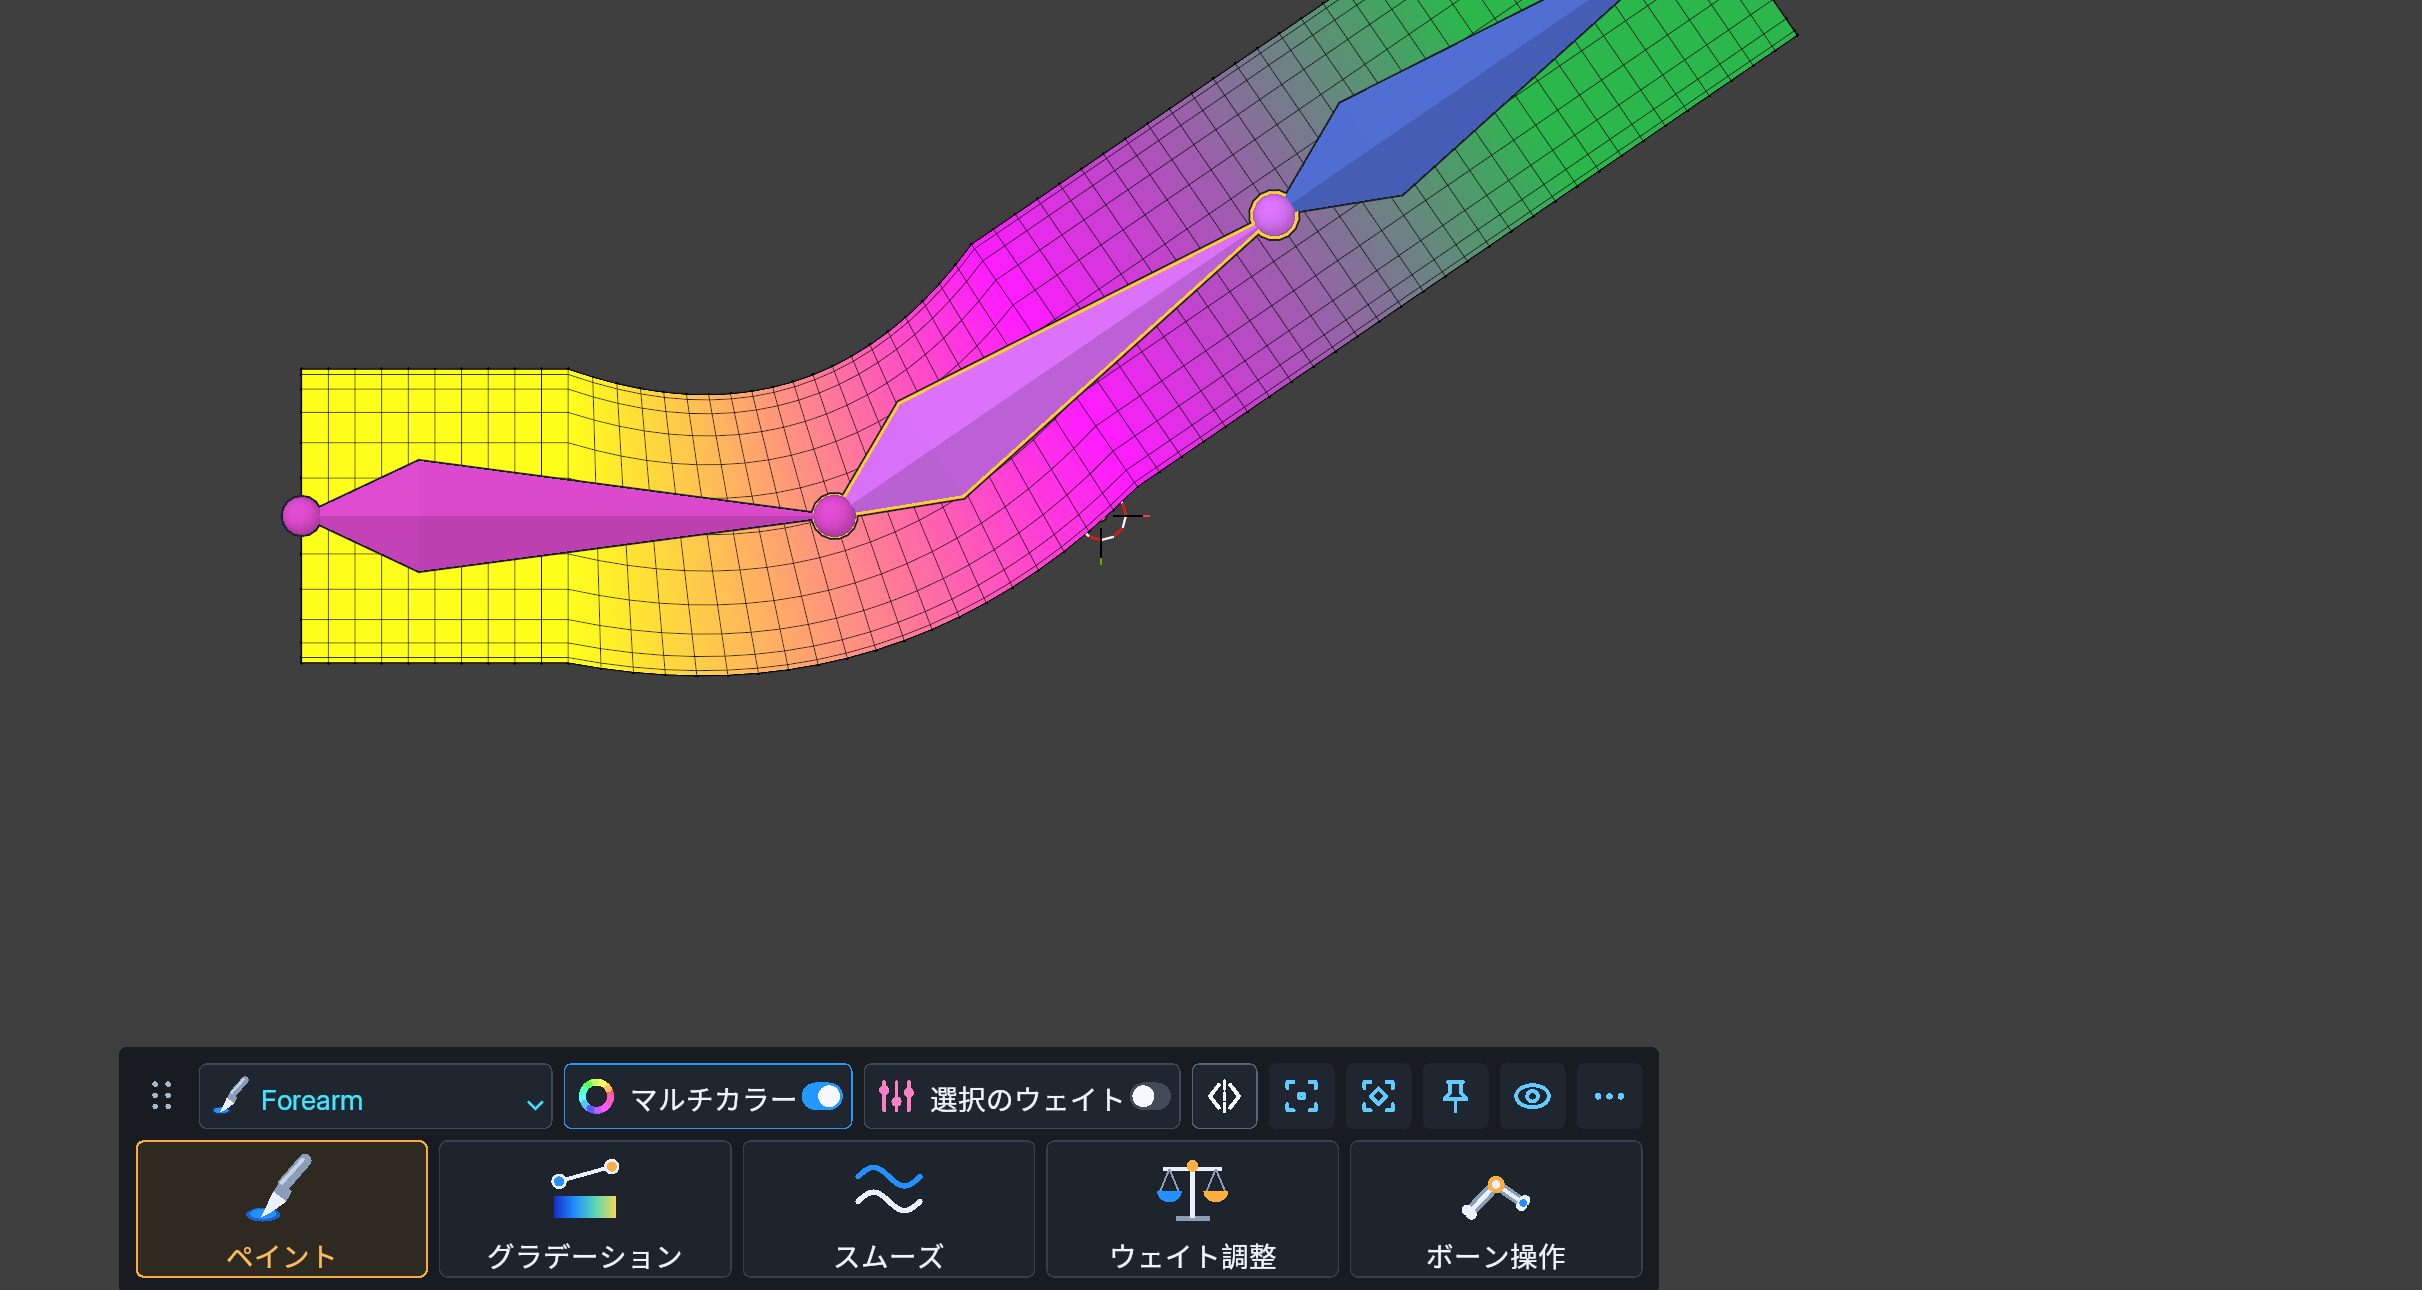
Drag along a limb or finger to vary the weight along its axis while keeping the same value around each cross-section. Connected branches inside the dragged interval can receive the gradient too.
Gradient coverage
Front and Back reaches through the mesh under the gradient. This Part Only retains shape-based section tracking; Front Surface Only limits painting to visible surfaces. Selection, hiding and locks still protect vertices.
View navigation and loop shortcuts
Override View Navigation now controls camera gestures independently of brush shortcuts. Alt-W selects a loop, Shift-Alt-W adds and Ctrl-Alt-W toggles. Camera presets release held keys when the pointer leaves the viewport, and custom or disabled brush bindings remain editable.
Infinite thickness reaches the back
Infinite Depth no longer stops at the local surface-distance boundary. The brush footprint and polygon-island filter still apply, along with masks and the 20,000-vertex limit per dab.
Feasible normalization
Symmetry painting now keeps a valid normalized result when the painted bone is the only available recipient. A false normalization warning no longer appears in this case; genuine lock conflicts are still reported.
Display follows the edited objects
Switching objects no longer leaves the previous object's bone weights on screen. Multi-object Edit Mode display and saved object settings are retained.
Gradient tool icons
The gradient card now shows the icon for the selected gradient tool.
Ring Gradient in action
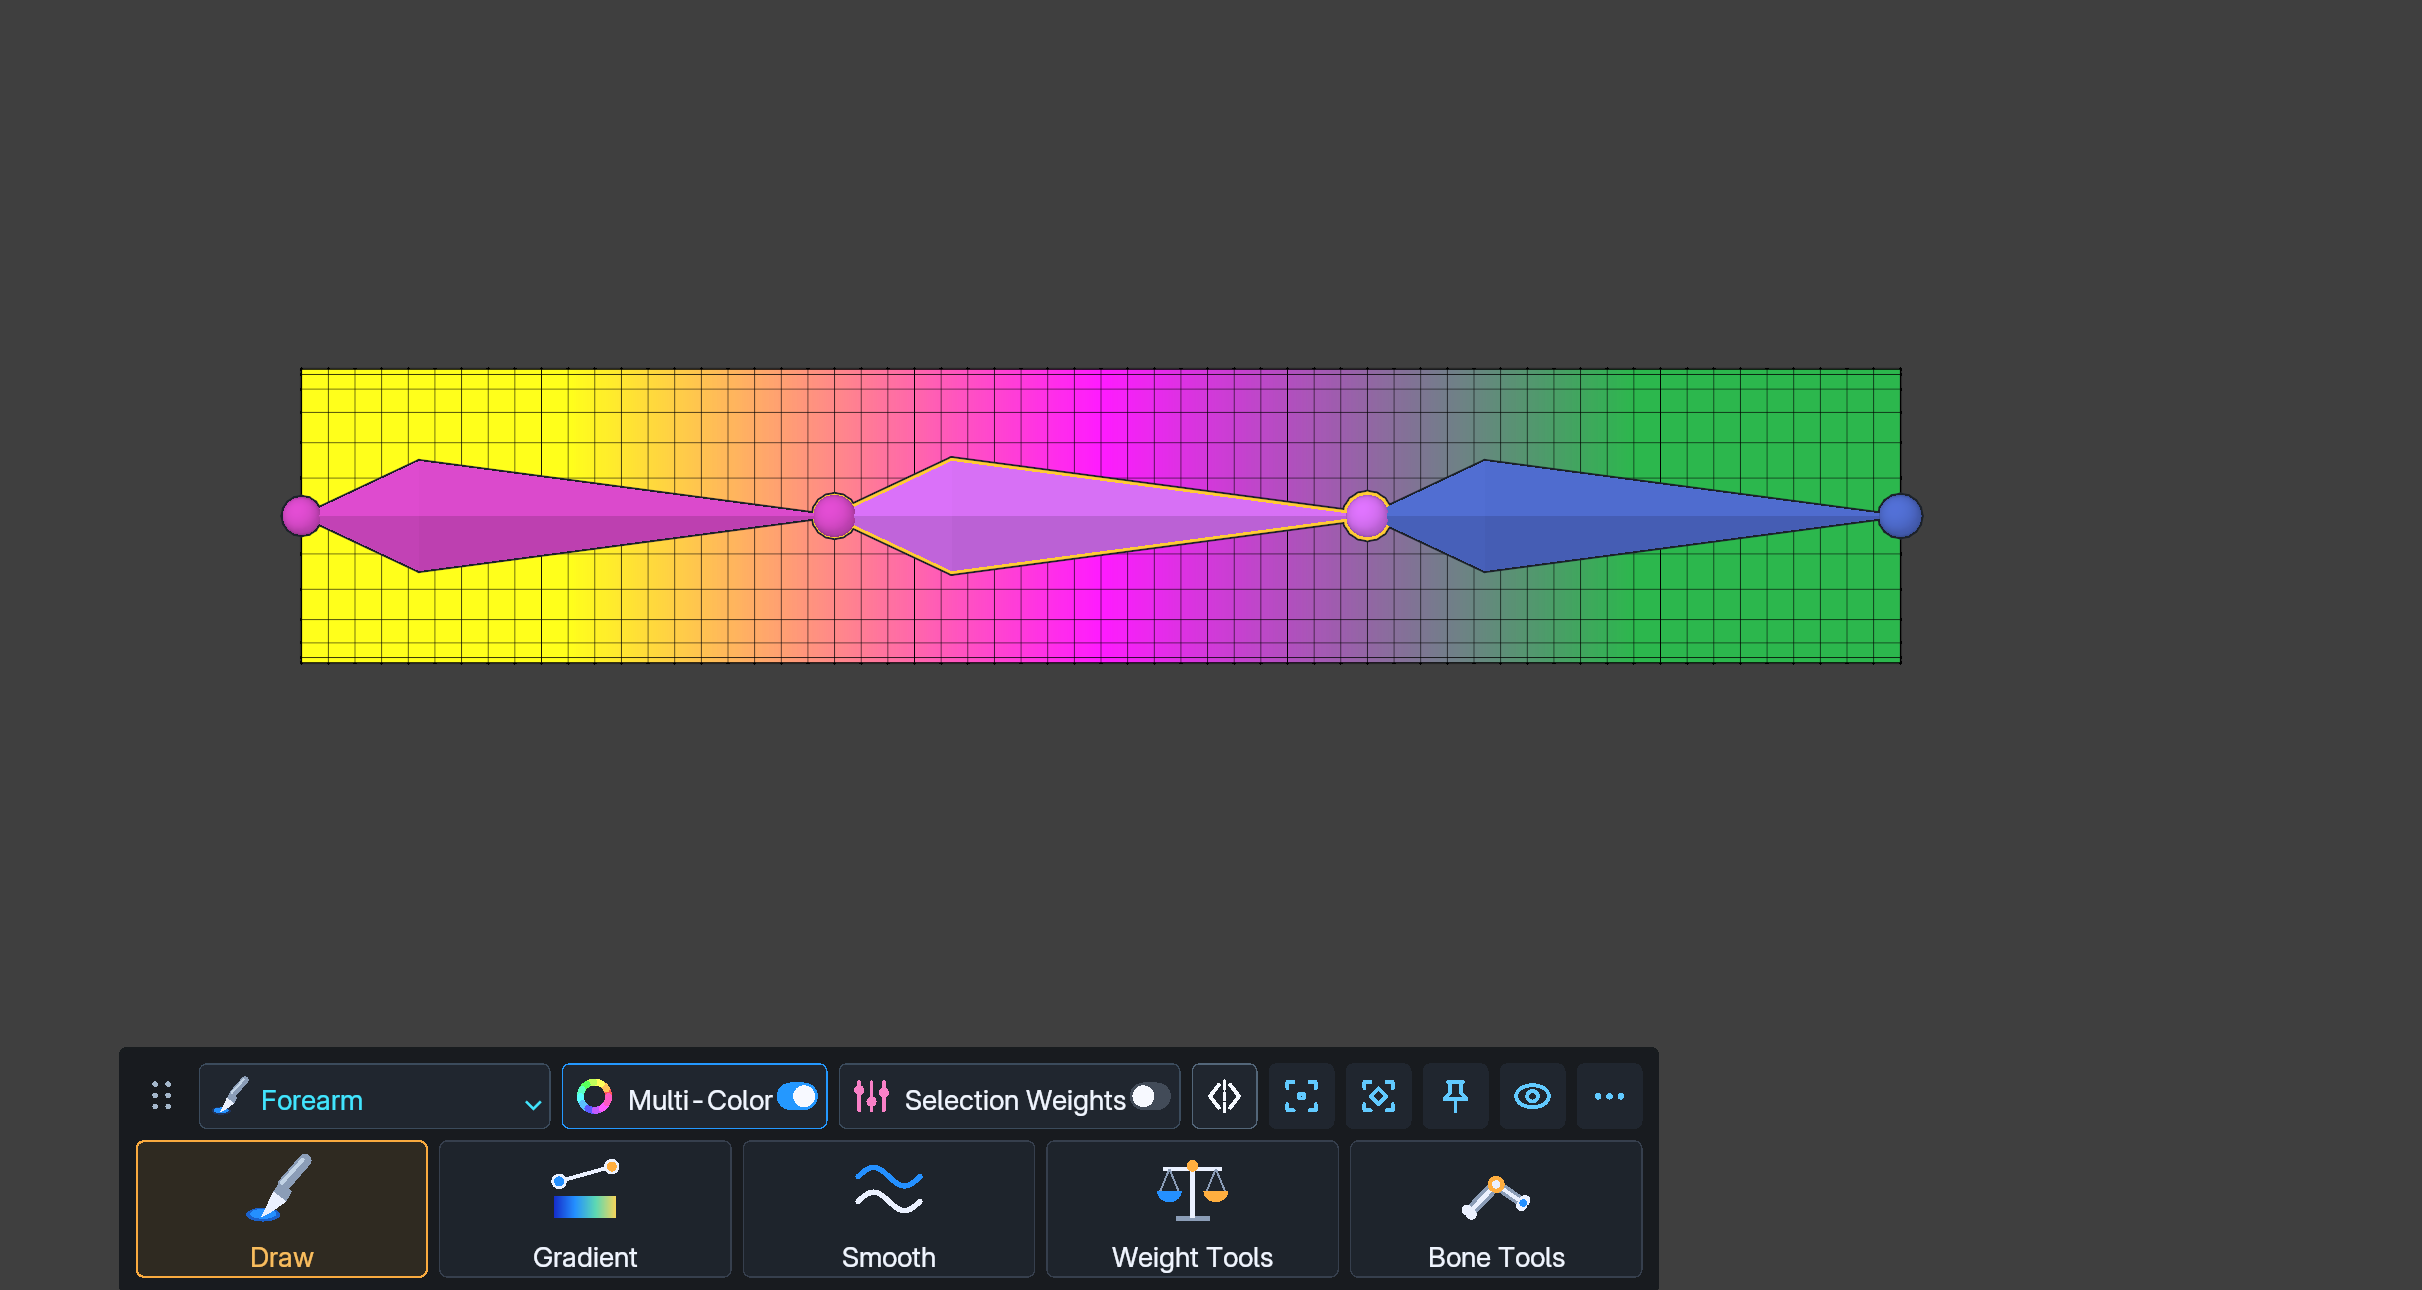
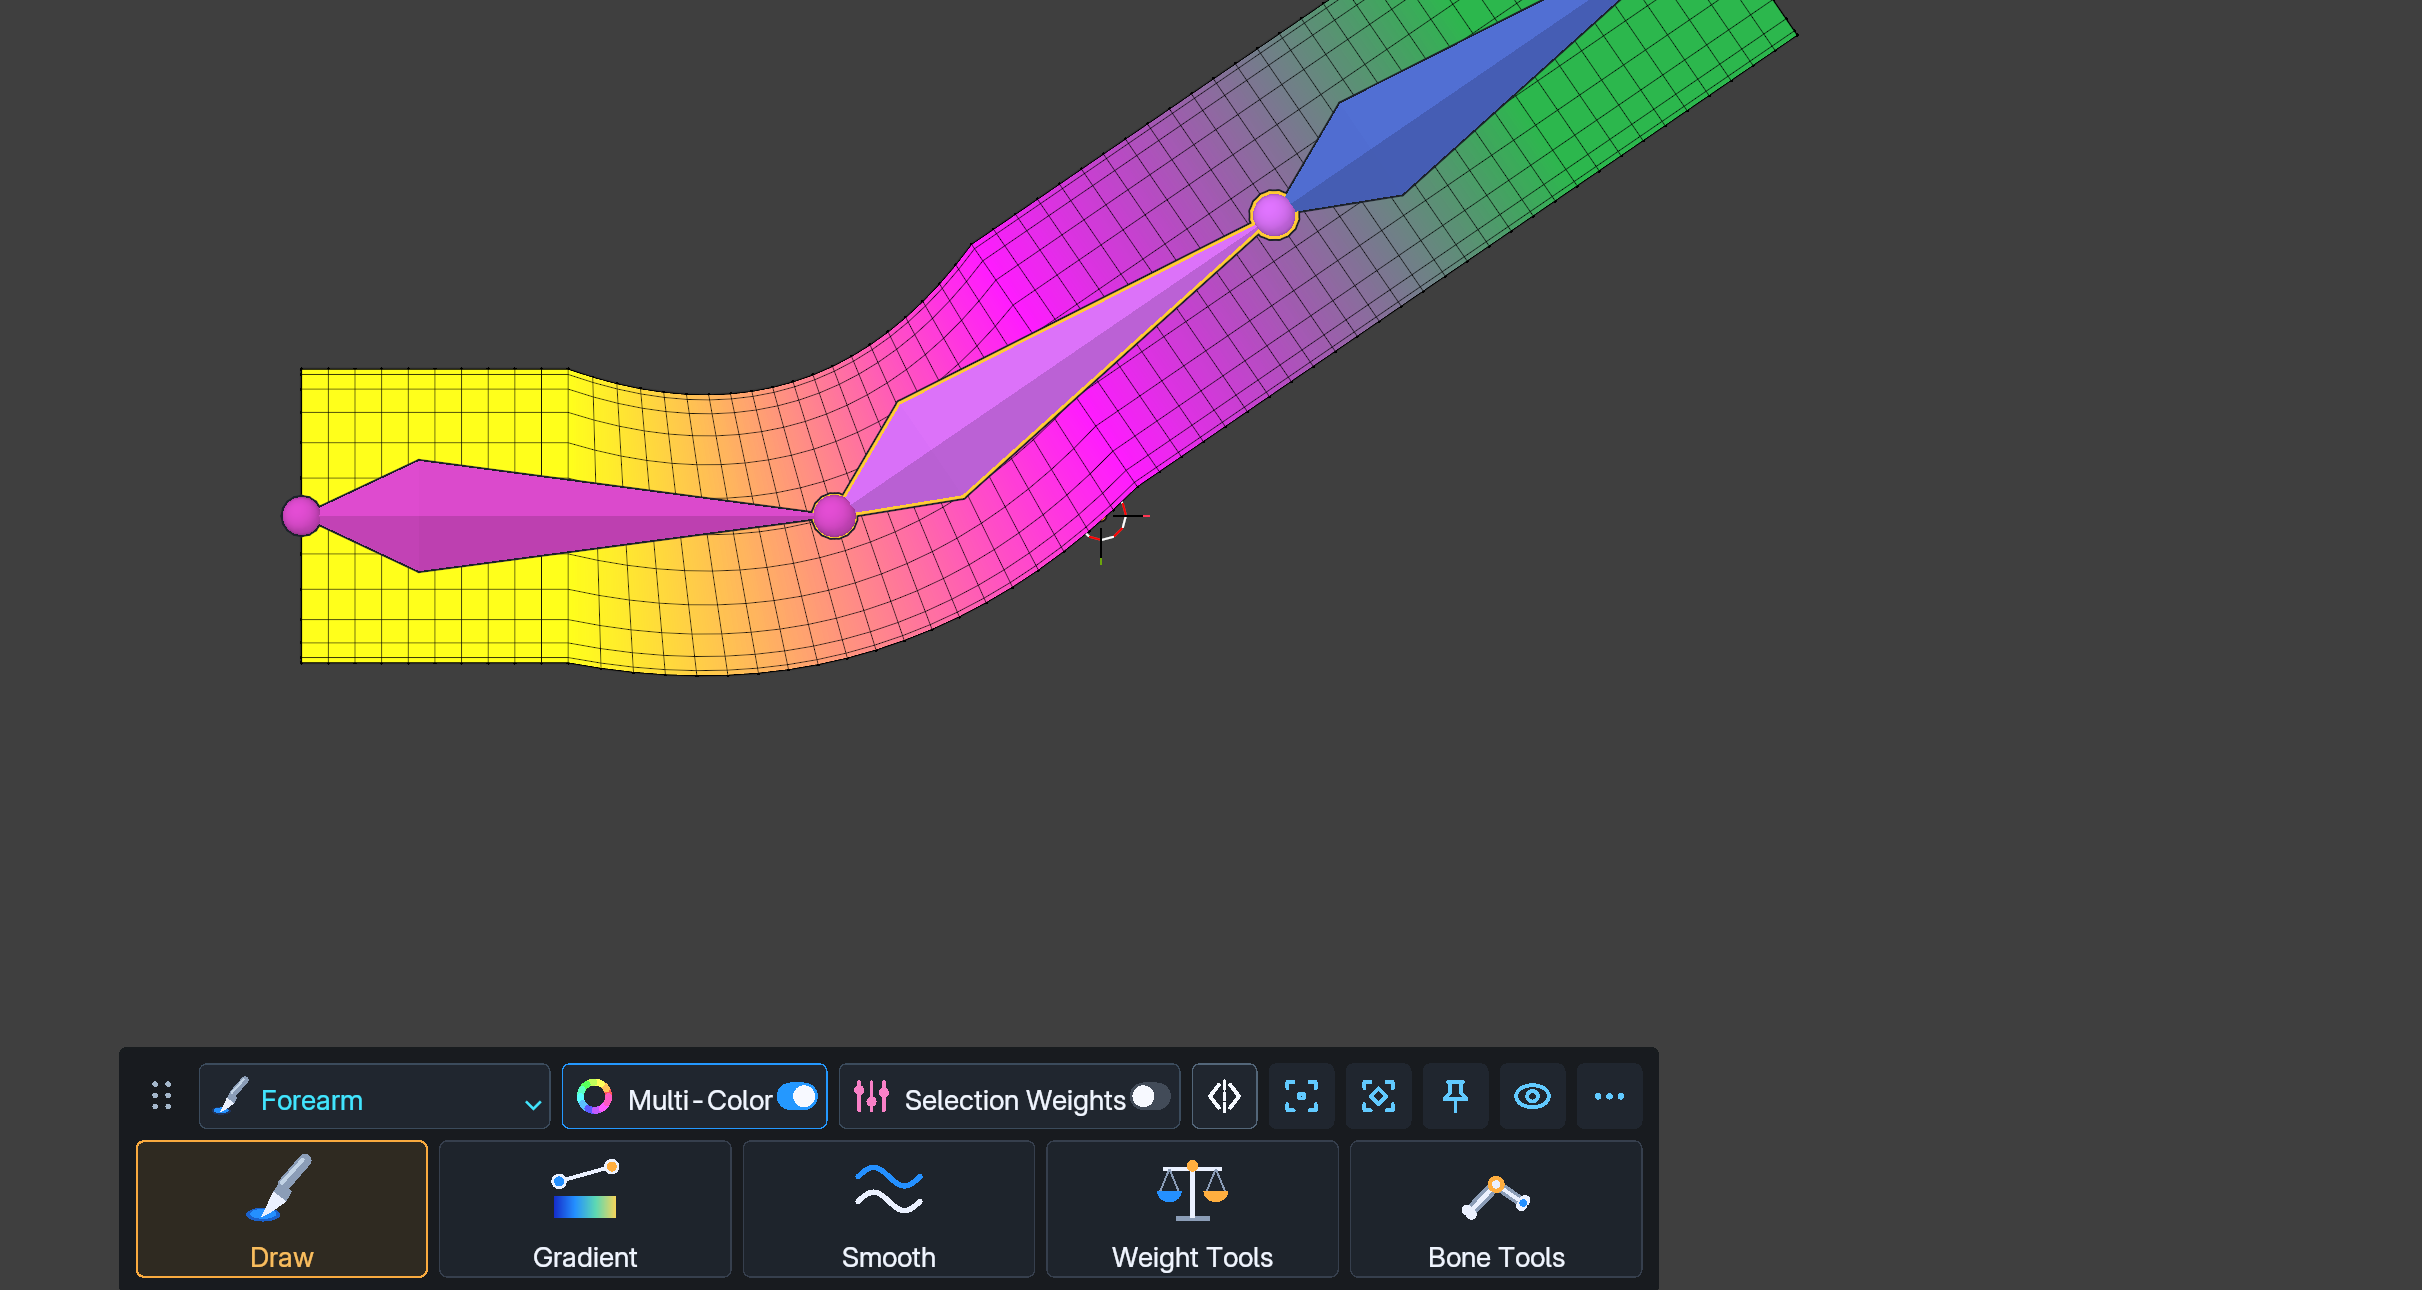
Drag along the tube and inspect equal weights around each cross-section. Actual Blender viewport sequence, edited to three seconds · 3 seconds
What changed in 2.1.1
Faster subdivision display updates
Reduced repeated geometry preparation when refreshing weights on subdivision surfaces. Large meshes can still take time to update.
Zero-weight warning settings
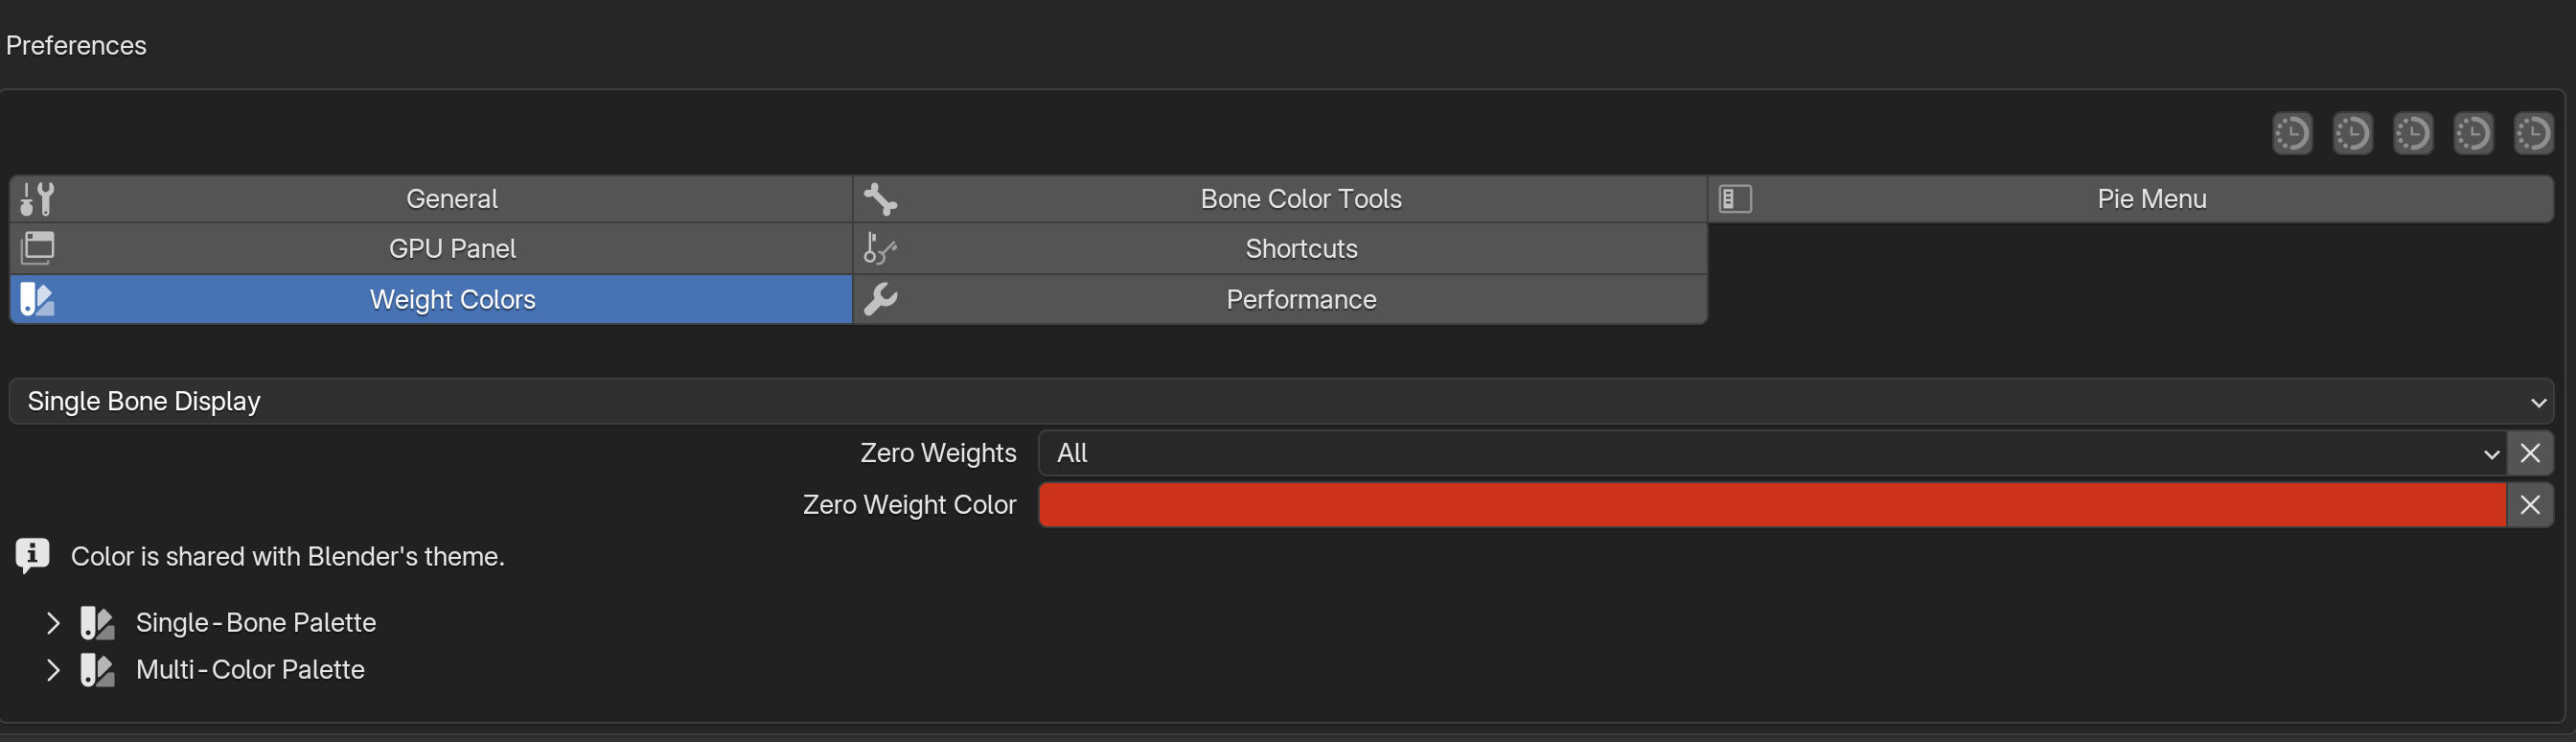
Preferences > Weight Colors now provides Zero Weights and Zero Weight Color. Native and custom displays share Blender’s theme color. Each field has its own reset.
Quicker access to Preferences
Open Preferences directly from the dock context menu. The symmetry hover menu now focuses on X, Y, Z and Force Symmetric Paint.
What changed in 2.1 (2026-10-18)
Frame and pose updates
Bone display, hover candidates and evaluated weight surfaces now follow frame changes and playback, including distinct subframes.
Zero Weights display
None, Active and All now distinguish zero-weight vertices consistently. The custom weight display also shows unreferenced vertices in black when the corresponding warning mode is enabled.
Gradient preview and recovery
Fan Gradient reduces repeated preview work and updates affected weight rows. Cancel restores previous weights, and retaining a valid preview after a failed calculation also retains its repair diagnostics. Subdivision and large meshes can still require noticeable update time.
Quick Pose and bone-pick guidance
Quick Pose reports missing transform-keymap entries with a recovery path and restores temporary shortcuts after failure. Bone picking explains hidden bones, Solo collections and missing matching groups. A first-use notice explains the EditPaint-only bone display.
Reorder upper-row controls
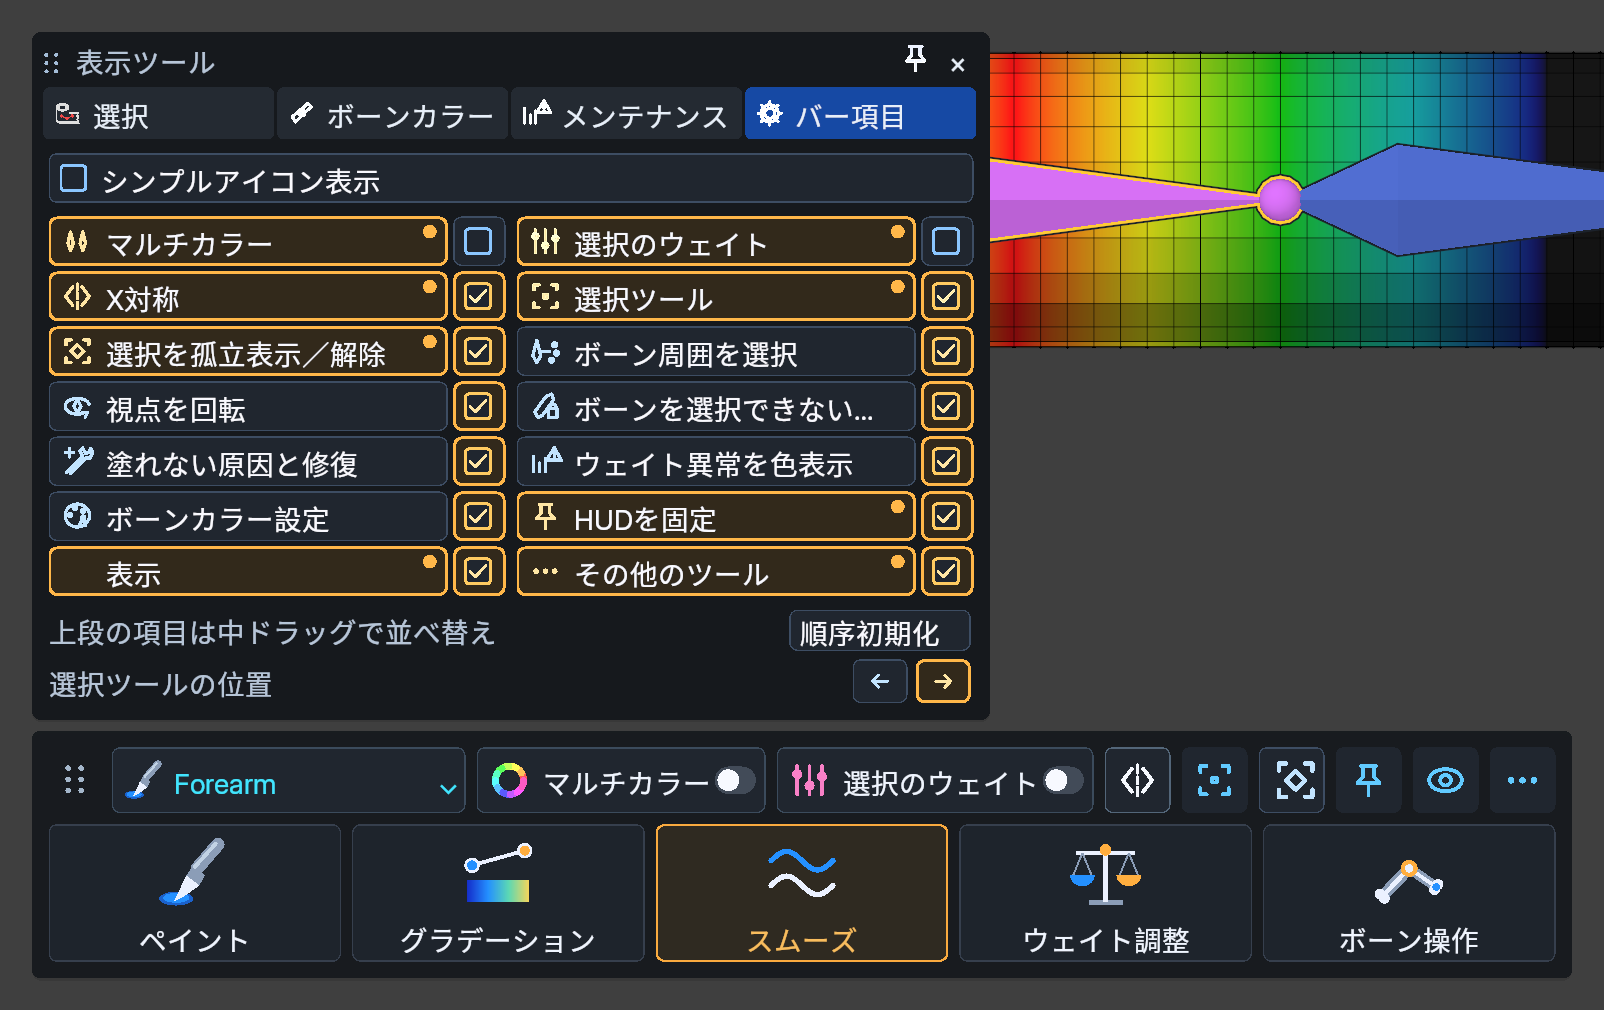
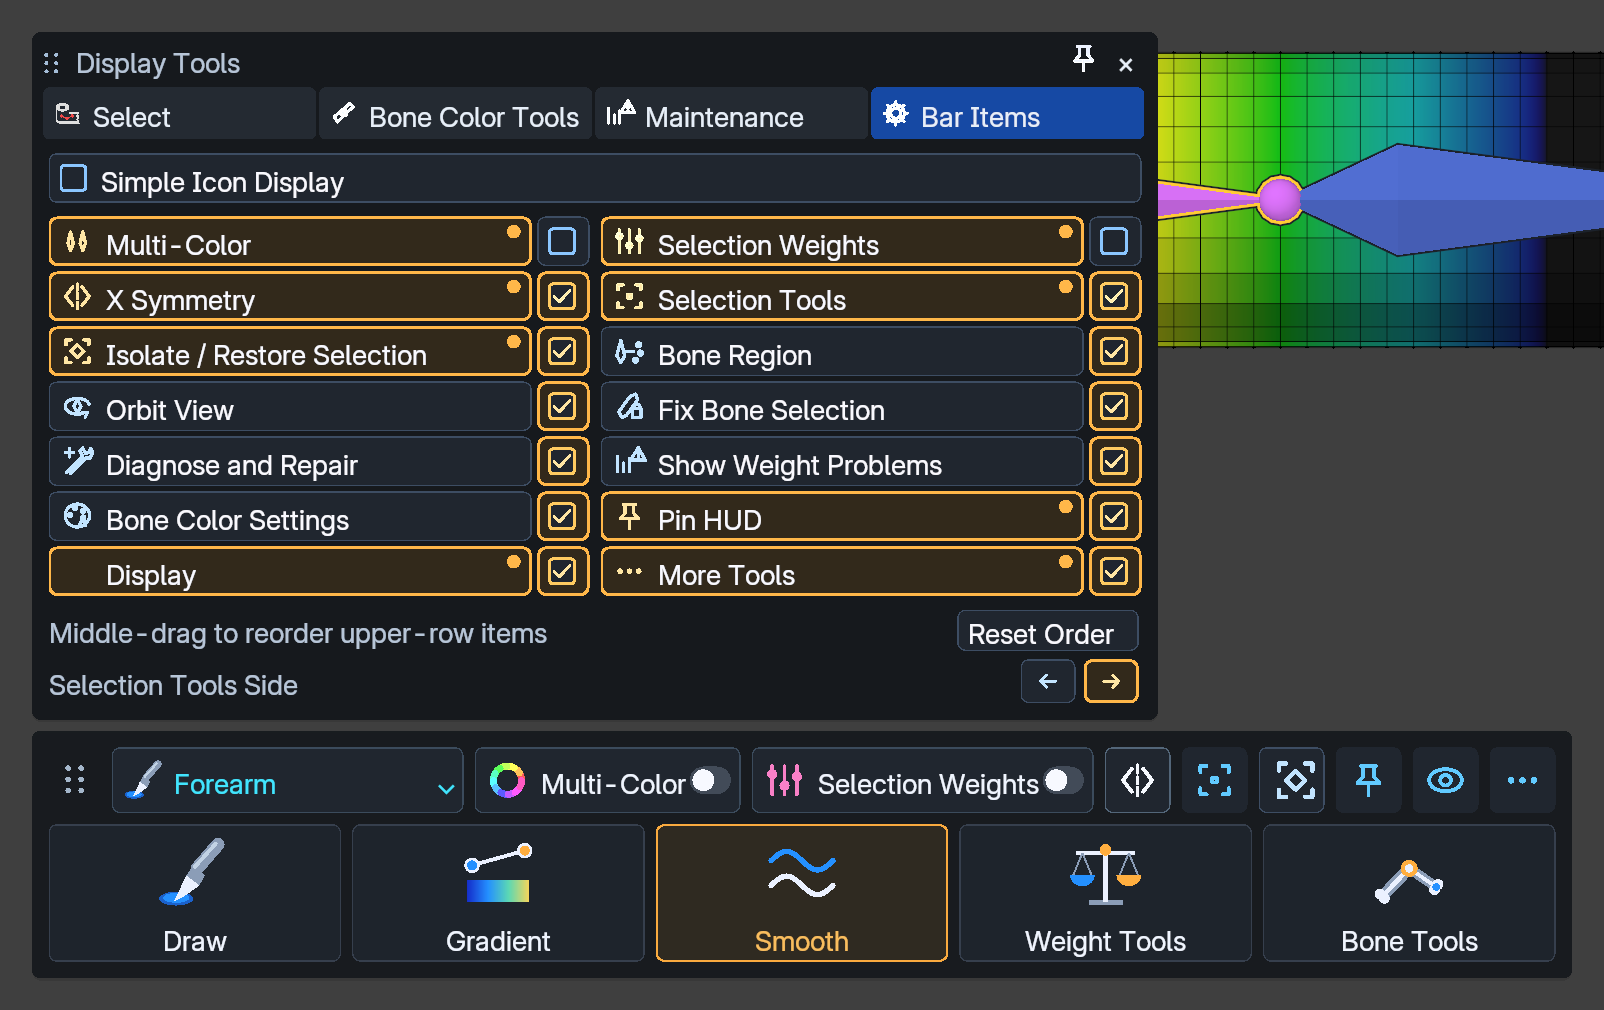
Middle-drag an upper-row control or its row in Display Tools > Bar Items to change its order. Esc cancels the move; Reset Order restores the default order. The lower tool cards keep their order.
Clearer dock and symmetry controls
Refined header icons, spacing and the selection strip. Selection Weights keeps its pink accent in icon-only mode. Hover over the symmetry button to open its choices while retaining direct X toggling.
Temporary X-Ray for selection
X-Ray Mode temporarily enables through-selection during Box, Circle and Lasso gestures and restores the previous display when the gesture finishes or is cancelled.
Overlapping panel input
Overlapping cvELD panels give input to the visible front panel, reducing clicks and toggle drags leaking into a covered panel.
Shortcut presets
Added adapted Mudbox and Substance 3D Painter presets. Softimage reserves S for navigation and uses R / Shift-R for radius / strength. These are brush shortcuts, not complete DCC keymaps; applying a preset is an explicit action.
Overlay settings explained
The manual explains native weight opacity, Show Weight, Zero Weights and the difference between selection X-Ray and a translucent weight surface.
Examples of the 2.1 changes
Follow frame changes
The bone display and evaluated weight surface follow the changing animation frame. · 3 seconds
Switch Zero Weights modes
Compare None, Active and All using the custom weight display. · 3 seconds
Reorder upper-row controls
Middle-drag a Bar Items row to change the upper-row order. · 3 seconds
Select through the mesh during a gesture
X-Ray turns on during Box selection and returns to its previous state after confirmation. · 3 seconds
What changed in 2.0.1 (2026-10-13)
Fixed repeated errors during weight and bone display synchronization. Synchronization now waits while Blender temporarily cannot switch the display context, then resumes automatically when it becomes available.
What changed in 2.0 (from Version 1.2.4)
These are changes since 1.2.4. Thickness Brush, Ribbon Brush / Gradient, Smooth Selected, Influence Cut, palettes, bone appearance presets and the pie menu were already available in 1.2.4.
Three X-symmetry painting methods
Choose regular symmetry, Surface Weight Transfer for asymmetric shapes and different topology, or Mirror Brush Range to blend independently from each side’s starting weights. Mirror Brush Range uses Circle Draw/Erase; other tools use the applicable surface method.
Symmetry while posed
Paint with bones rotated, including poses that cross the centerline. The opposite brush guide follows the deformed surface while the original shape determines the corresponding sides.
Symmetric smoothing and smudging
Regular and surface symmetry now cover Smooth, temporary Shift Smooth, Smooth Gradient and Smudge. Repainting a source already at the target can also correct the opposite side; single-bone display shows the actual channel for each side.
Directional weight symmetry
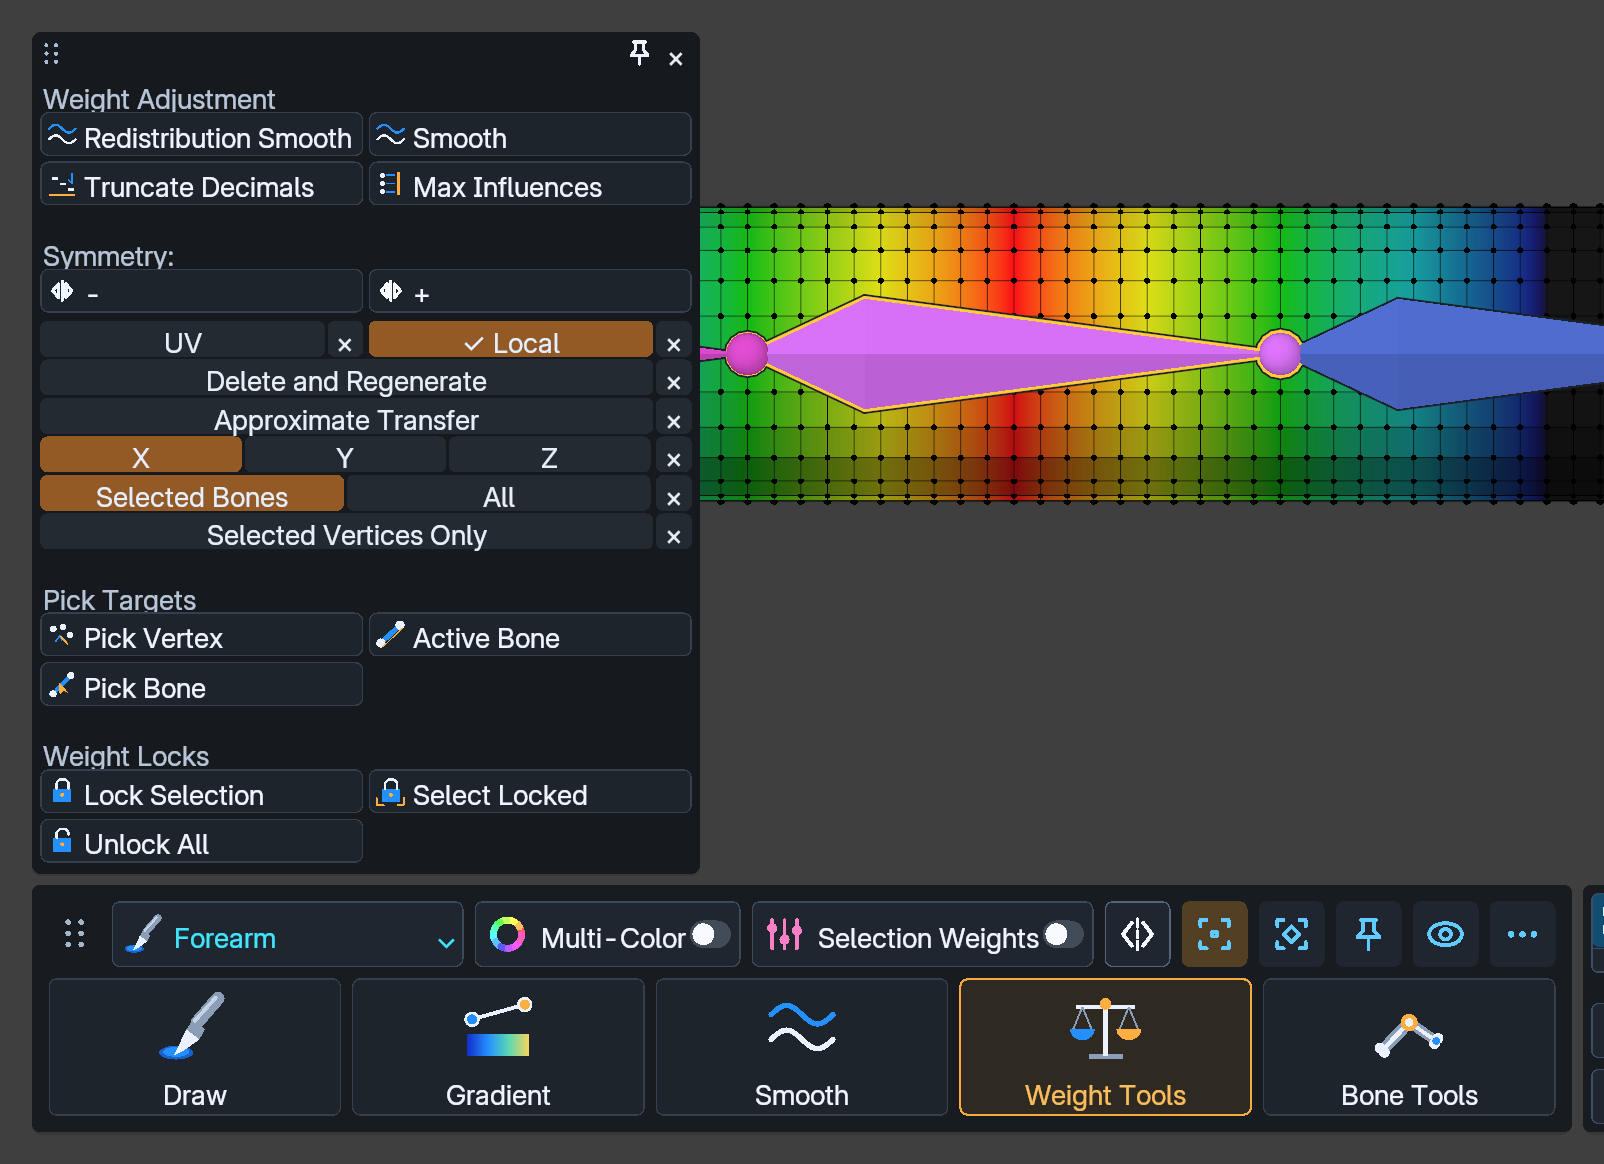
Use the − / + commands to copy existing weights to a chosen side. Select bone or vertex scope, local/world axes and approximate surface transfer. These one-shot commands are separate from live X-symmetry painting; optional UV transfer and Delete and Regenerate are explicit operations.
Adjust Bone Set
Preview the combined strength and relative shares of several bones with Scale / Set Total and Preserve / Multiply / Custom Shares. Compare Original and Preview, then Apply as one Undo step or Cancel without writing weights.
Simpler or more informative controls
Add direct X-symmetry access to the dock and choose icons alone or icons with labels for individual bar buttons or the whole bar. Ctrl-hover can list overlapping bone names.
High-density mesh handling
Remove the fixed vertex and triangle count limits that could cancel painting or suppress weight colors. Reuse prepared display data across redraws and improve recovery after display allocation failures. Large meshes still require preparation time and memory.
Selection and shortcut fixes
Isolate / Restore keeps bone selections made while isolated. Mode activation shortcuts remain independent. Preset application and All Unassigned handle inherited duplicate bindings while preserving independent user additions.
Settings and release scope
Normal Blender Preferences saving remains available; settings JSON backup/restore is not an available 2.0 feature. Cross-object Weight Transfer is deferred to a future update and is not included as an available tool in this release.
Install and start painting
Use Blender 4.5.0 or later. Save your work before updating and disable the previous Edit Paint installation.
Drag the supplied ZIP into Blender, or choose Install from Disk in the Preferences add-on menu.
Confirm Blender’s installation prompt and enable cvELD Edit Paint.
Make the target mesh active. A rigged workflow needs an Armature modifier, deform bones and vertex groups with matching bone names.
In the 3D View, open N → Quick Weight Paint → Start Painting. You can also start from the Edit Paint weight tool in the left toolbar.
Confirm that the mesh enters Edit Mode and the bottom dock appears.
Avoid enabling a Utility integration containing the same functionality at the same time. Restart Blender if an old interface remains after an update. Removing the add-on keeps committed weights in the mesh’s vertex groups.
The current sidebar with painting and tool actions
Pick a bone and make a stroke
Ctrl-click the bone to paint. A single pick makes it the target for the ordinary brush.
Choose Draw, then set Radius, Strength and Weight in the header.
Drag across the mesh surface. Release the button to commit.
Cancel an active stroke with Esc or right-click. Undo a committed edit with Ctrl-Z; redo with Ctrl-Shift-Z.
Bend the rig to inspect the result, then save the blend file.
An ordinary brush paints the active bone. Selecting multiple bones does not automatically enable ribbon distribution. Without a rig, specify the vertex group you want to edit.
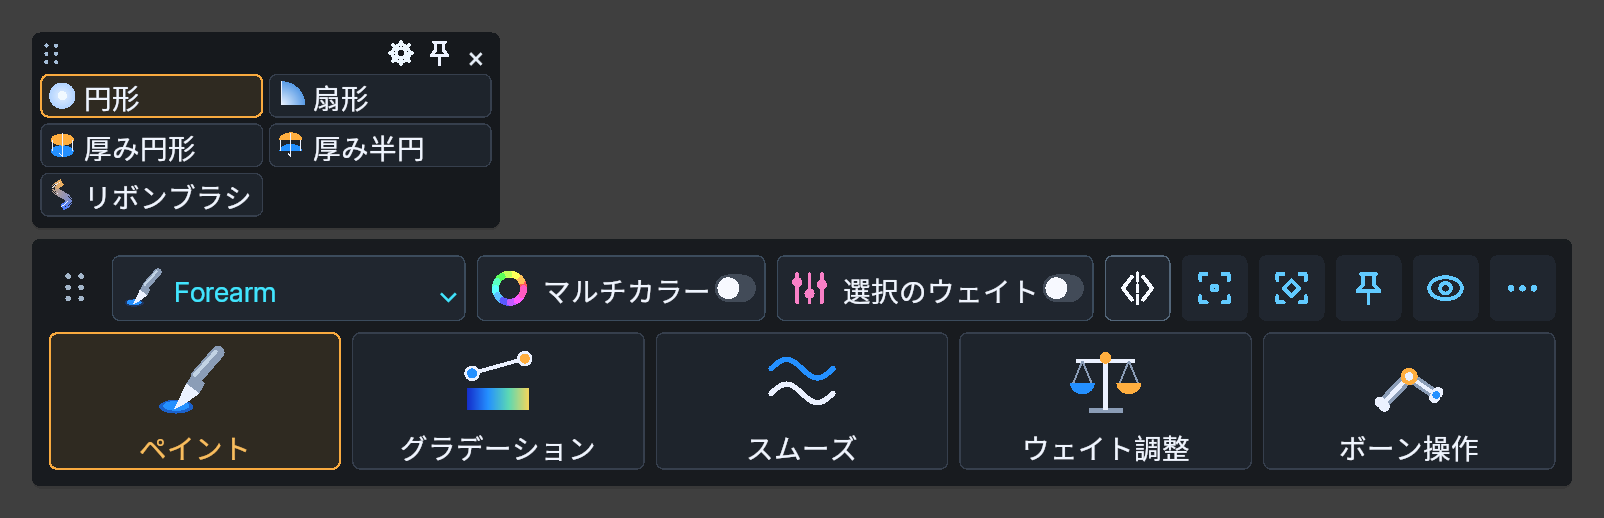
Draw and its current brush settings
Paint toward the target weight
Watch the color change within the affected region · 3 seconds
Setting
Visible effect
Radius
How far the brush reaches. Reduce it for detail work.
Strength
How far each application moves toward the target. Lower strength helps with gradual adjustment.
Weight
The requested target value. Normalization and locks can constrain the result.
Hardness and falloff
How the effect decreases from the center to the edge.
Pressure
Uses pressure from supported input devices. Check the ordinary brush settings first.
Use the dock and tool windows
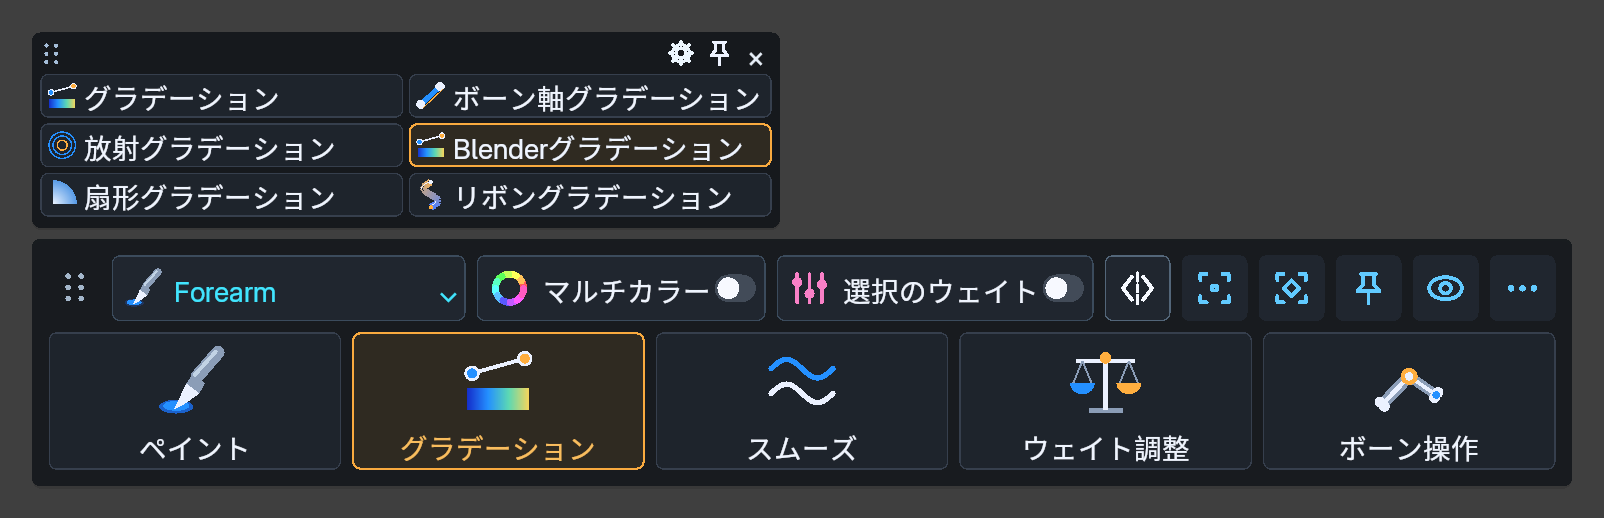
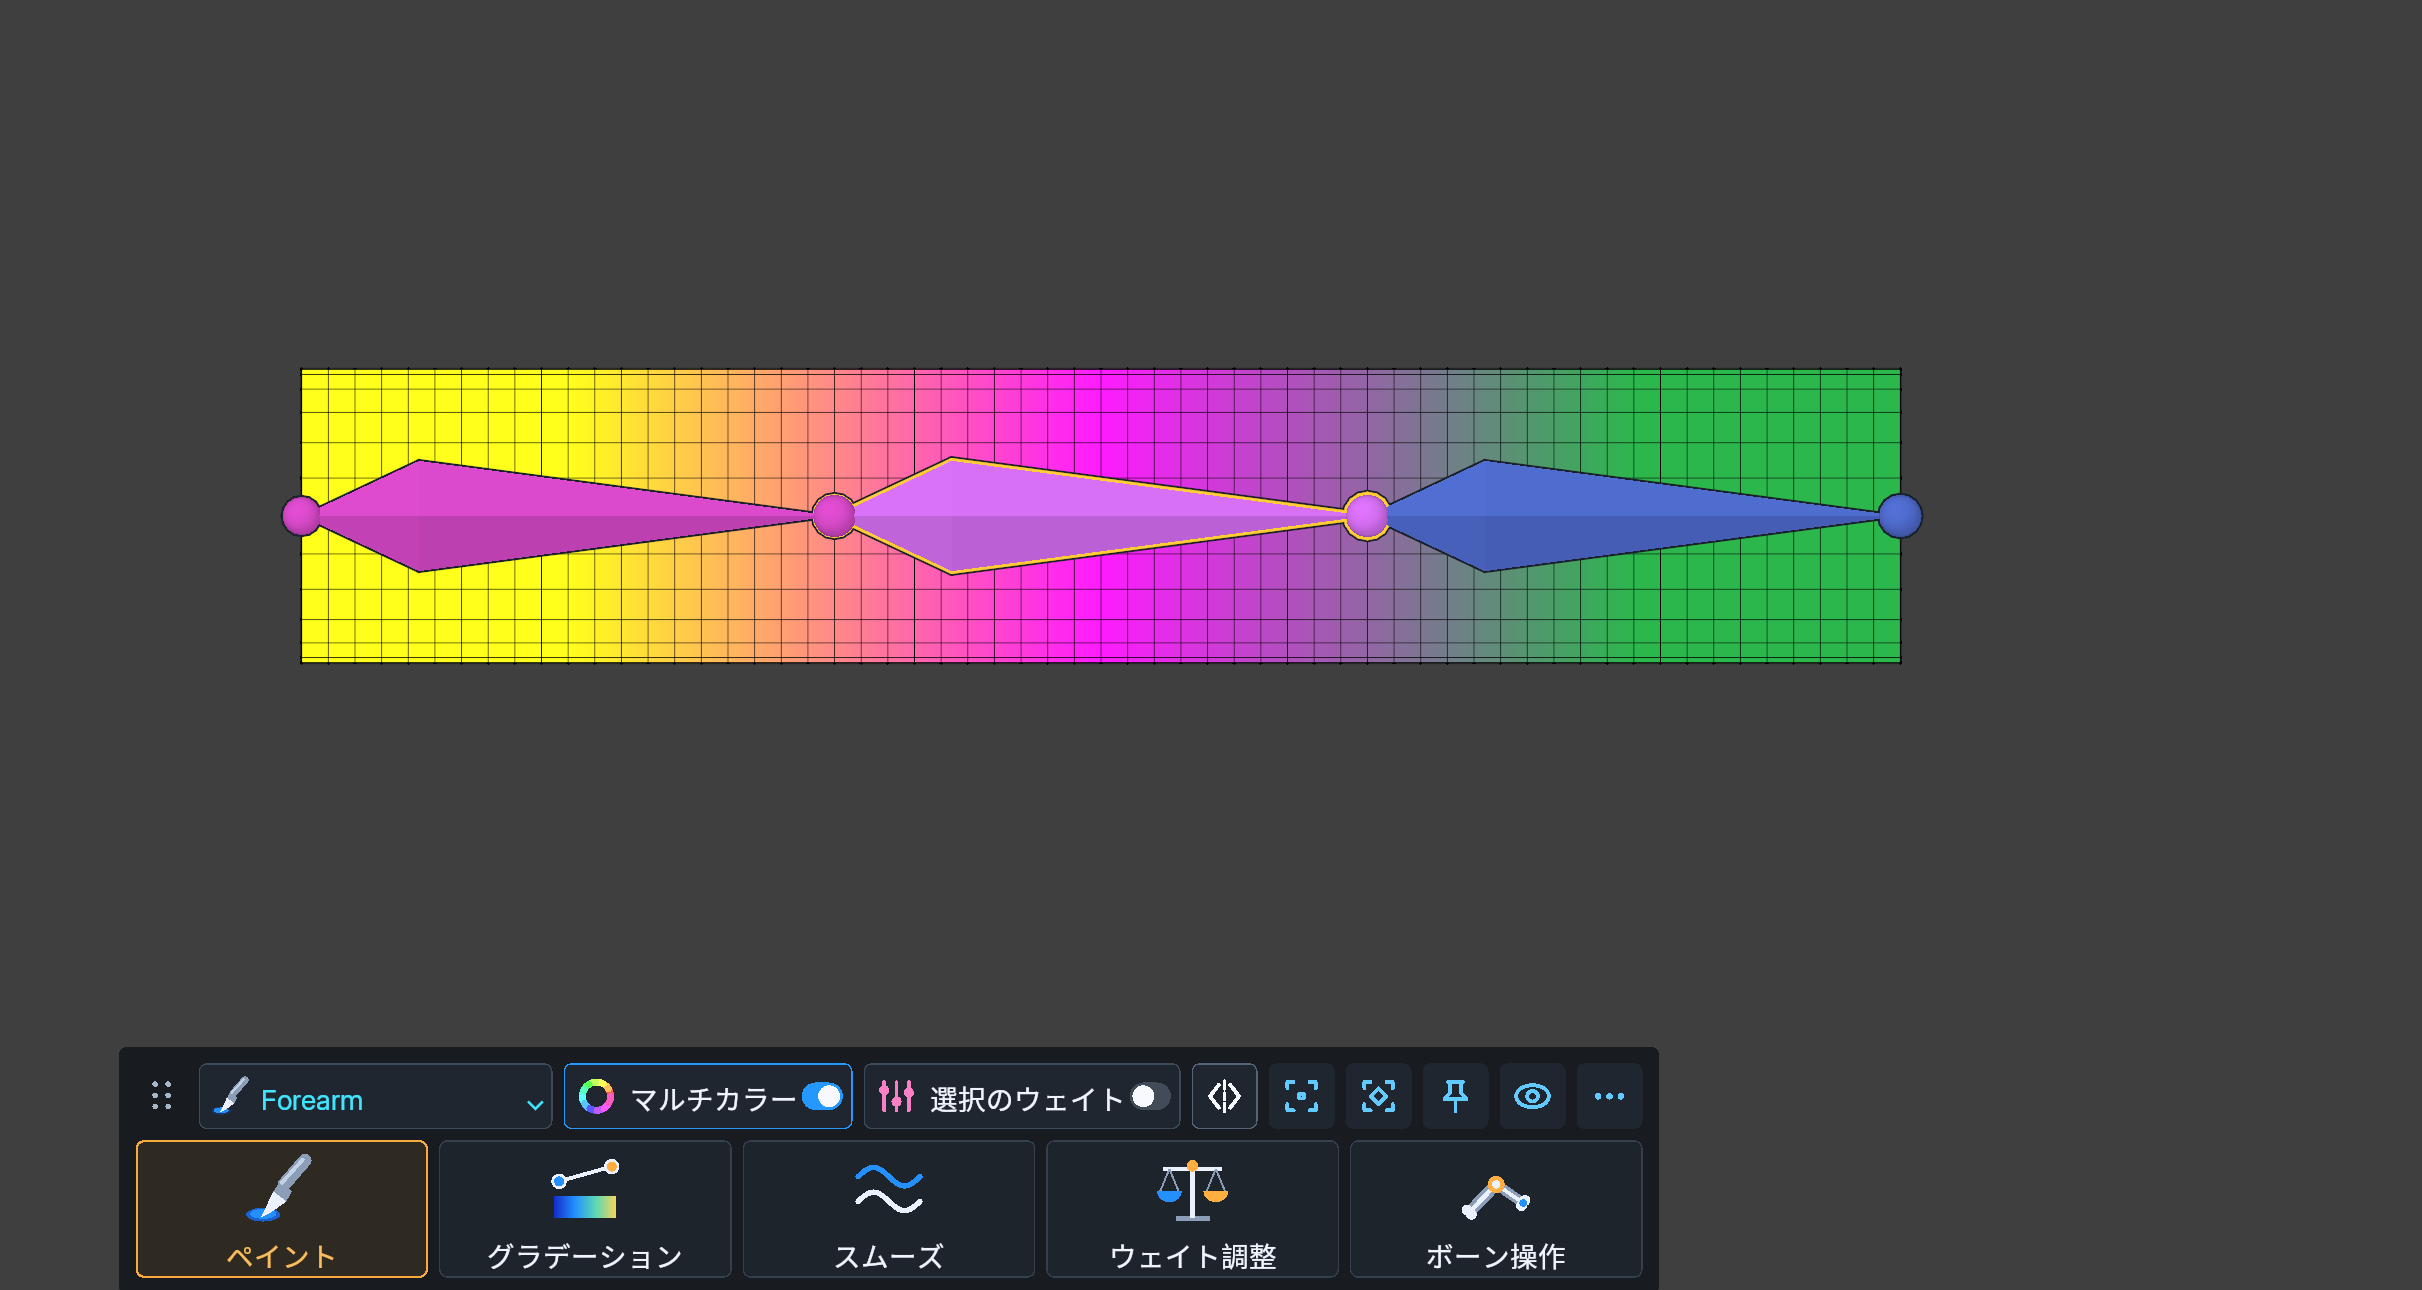
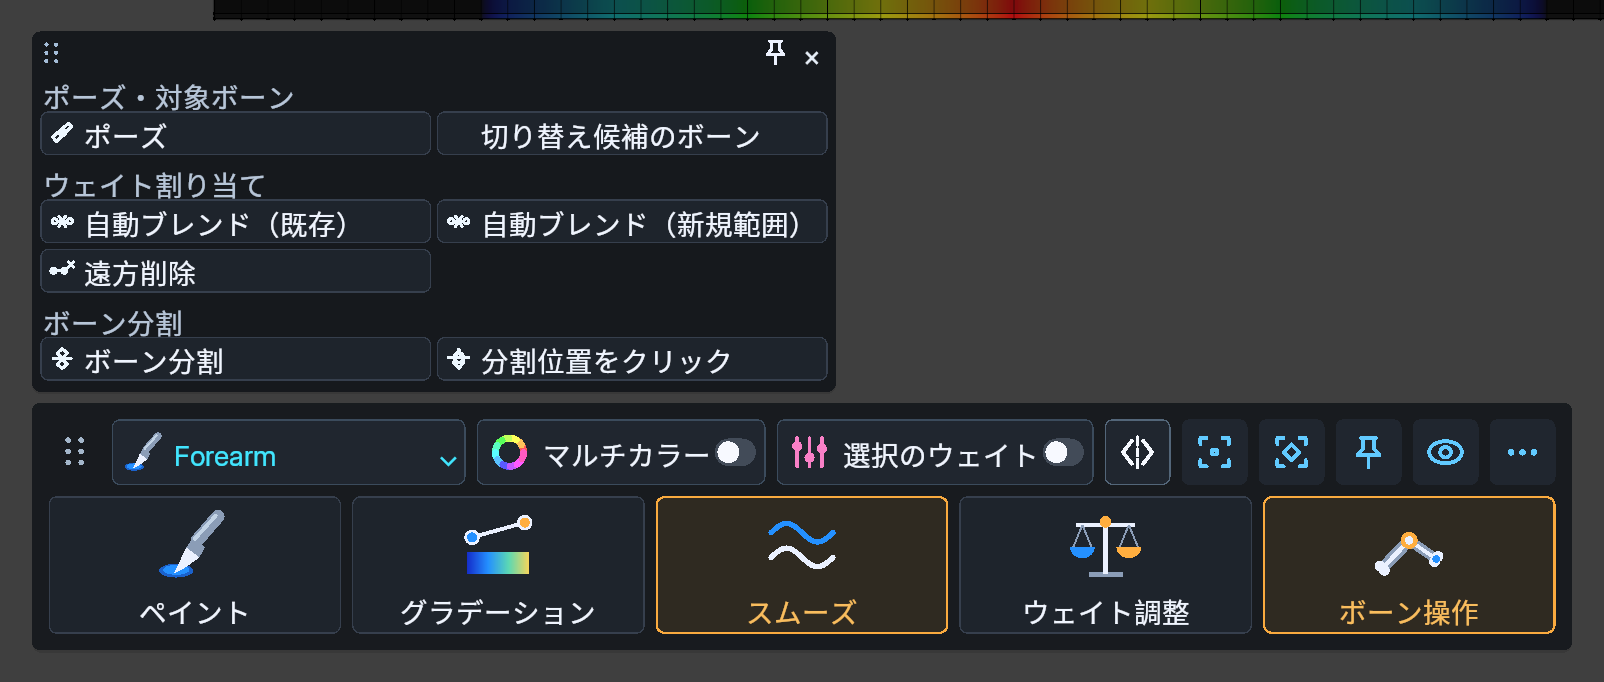
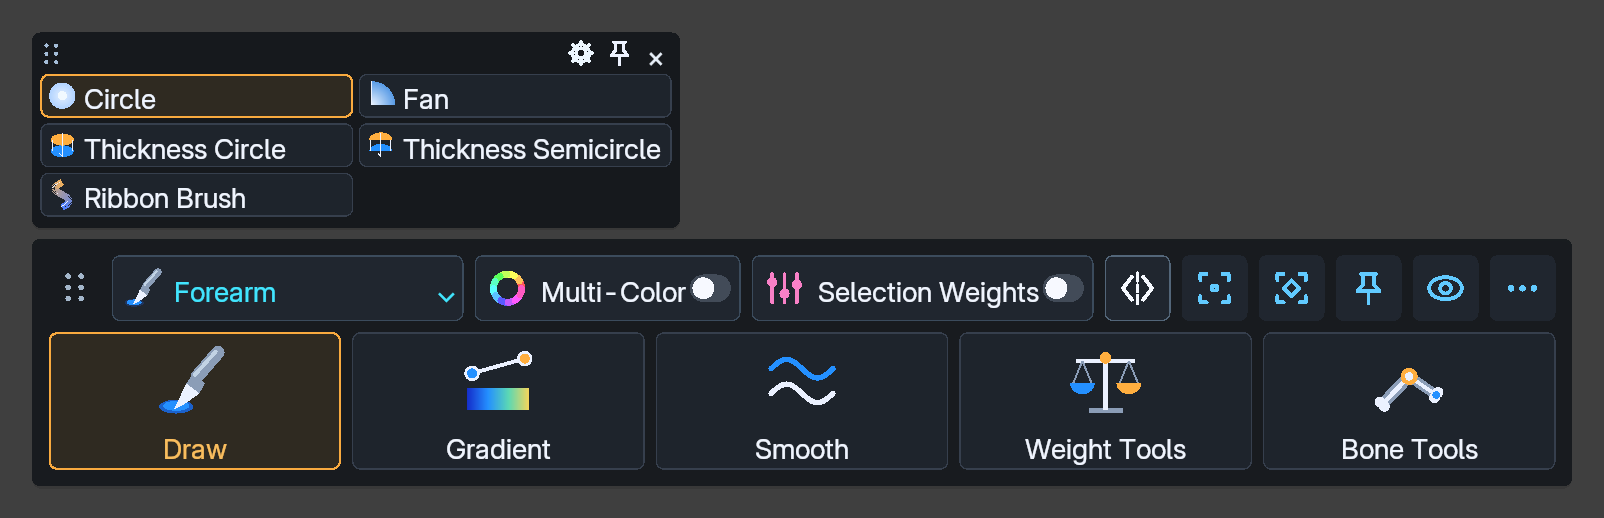
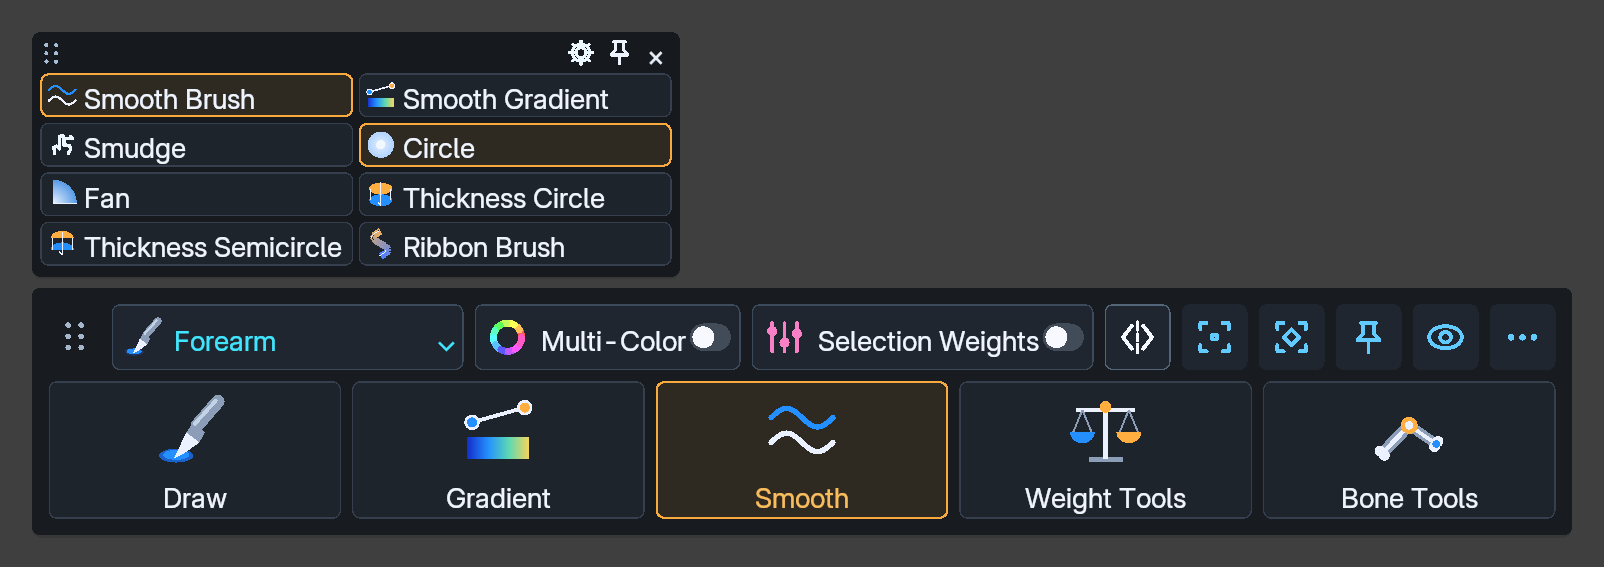
The lower row opens Draw, Gradient, Smooth, Weight Tools and Bone Tools. Smudge is inside the Smooth card. The upper row includes the active bone, Multi-Color, Selection Weights and X symmetry. Hover an icon to read its name and help.
Current dock icons and Bottom Panel Buttons settings
Under Display Tools → Bar Items, choose which optional buttons appear and set Simple Icon Display individually. Display and More remain available. Place the selection tool strip at either end. Save Blender Preferences to retain these choices.
Middle-drag an upper-row button or its row in Bar Items onto another item to reorder it. Release to confirm; Esc or right-click cancels. Reset Order restores the default order. Order is saved automatically, and moving a hidden item makes it visible. The lower tool cards keep their order.
Hover over the symmetry button to open axis, forced-symmetry and detailed-settings choices. Click the button directly to toggle X symmetry. Live weight symmetry remains local-X only, regardless of the displayed axis choices.
Pin the Brush Settings, Display, Bone Tools and Weight Tools windows and place them where they are useful. Close a window with ×. Unpinning and closing are separate actions. Temporary panel positions are not a promise of window restoration after restart.
Select vertices and limit the affected region
With All Vertices, the brush can affect unselected vertices. To edit a particular region, select its vertices and choose Weight Selection → Selected Vertices. A selection-only stroke with nothing selected does not paint.
Paint selected vertices only
The lower half stays unchanged when the brush crosses the boundary · 3 seconds
Use box, circle or lasso selection to form the region. Inspect automatic Bone Region selection before painting. Isolate / Restore Selection hides the surroundings; use the same action to restore them.
Enable X-Ray Mode in the selection-method menu to select rear vertices during Box, Circle and Lasso gestures. Finishing or cancelling restores the previous X-Ray display. Turn it off to use Blender's native selection and display settings. This setting does not make the weight surface itself translucent.
Vertex locks and vertex-group locks protect places and bones you want to keep. Visibility, selection, locks and masks are separate conditions. A visible weight color does not by itself mean that the vertex is writable.
Draw, erase, smooth and smudge
Erase reduces the target bone’s influence. Its default binding is Shift-right-drag. Shift-left-drag temporarily smooths. If you changed the keymap, follow the actual assignments in Preferences.
Smooth uneven weights
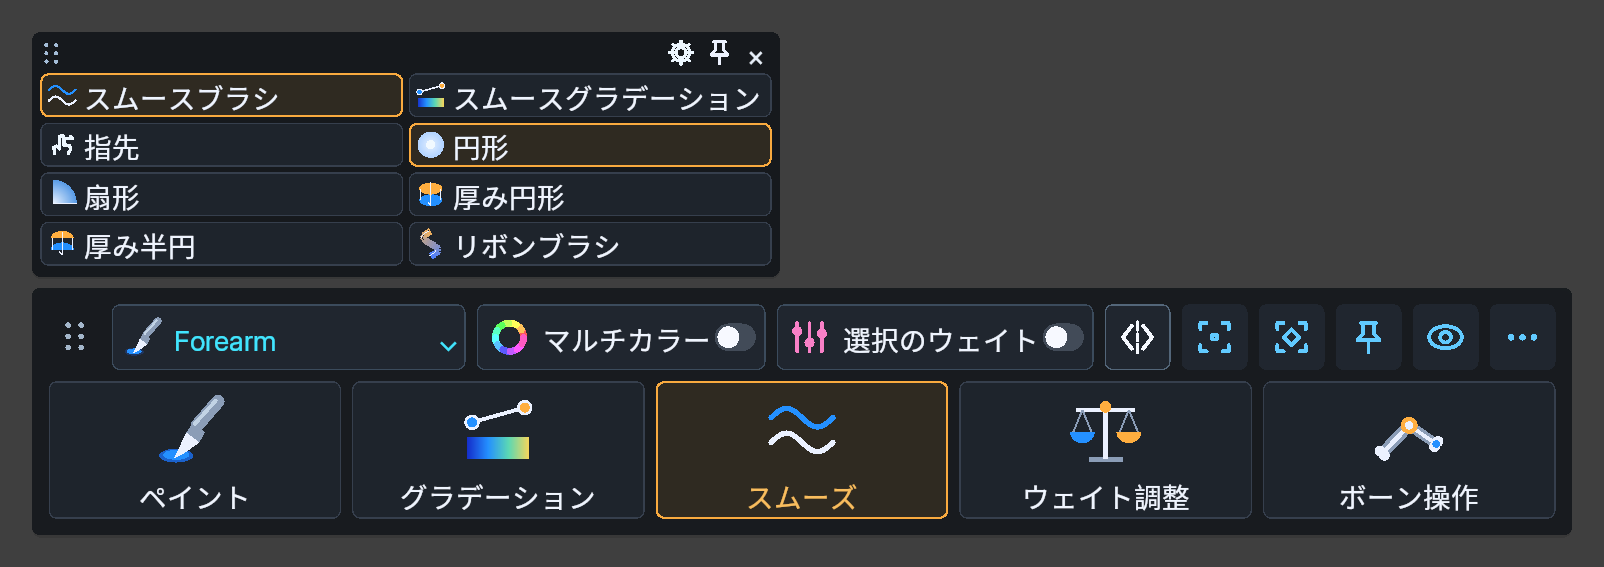
Choose the brush in the Smooth card and make a short stroke over an uneven region. Smoothing uses connected neighbors. Check the target region and locks before increasing strength or passes.
Current Smooth methods and brush settings
Smooth the distribution
The uneven weight pattern becomes more gradual · 3 seconds
Extend weights with Smudge
Choose Smudge inside Smooth, then drag from an existing weighted region. It extends the starting distribution. Use Draw when you need to establish a new influence on an empty region.
Extend an existing distribution
Watch the weighted region stretch in the drag direction · 3 seconds
Protect a boundary with a fan
Choose Fan as the brush shape and set its angle and direction. Fixed direction is useful along a boundary; Follow responds to the drag direction. Check which side receives the stroke before moving.
Keep one side untouched
Move the flat edge along the boundary · 3 seconds
Paint with thickness and ribbon tools
The Thickness Brush affects a depth region extending forward and backward from the hit along the view direction. Start with a small thickness relative to the brush radius and inspect nearby parts and back surfaces.
The Ribbon Brush distributes weights using the selected deform bones and the mesh’s connections.
Explicitly choose Ribbon in Draw’s shape settings.
Select the destination bones and press Use Selected Bones to update the ribbon targets.
Choose Build Weights or Preserve Selected Total for the intended operation.
Check radius, strength and thickness, then make a short stroke.
Build Weights moves writable deform weight into the target bones. Preserve Selected Total changes proportions within the selected set while retaining other bones. Ribbon Gradient uses the same targets to create a transition along a drag.
Polygon region
When to use it
Surface Distance
A light surface-distance restriction. A larger radius also increases its reach.
Polygon Island
Restricts the stroke to the starting island. Fingers joined by a palm belong to one island.
Connected Region, including overlaps
Includes actual contact or intersections in the same target mesh. Screen overlap alone does not count.
Off
Removes this extra filter. Selection, locks, radius and thickness still apply.
Create a gradient
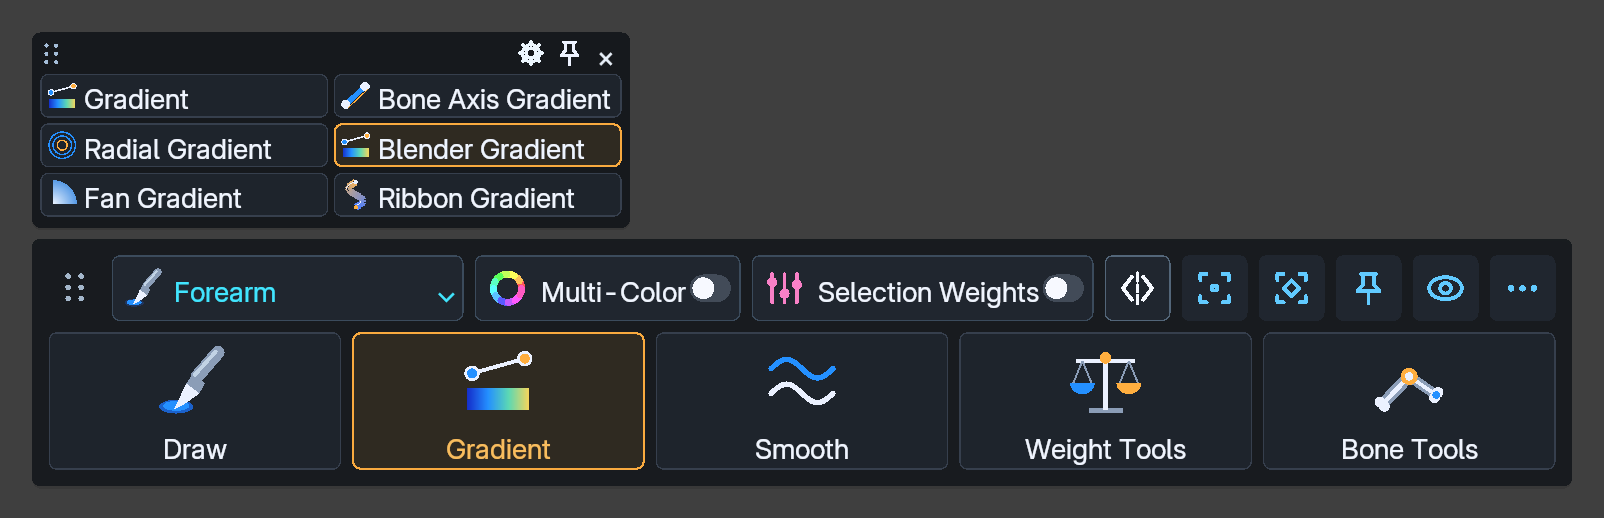
Open Gradient, choose a method and drag from the starting point to the endpoint. Inspect the changing colors before committing; cancel with Esc if the result is unsuitable.
The current Gradient settings card
Method
Reference and purpose
Blender / screen
Uses the drag direction in screen space.
Surface
Builds a transition along connected mesh surfaces.
Bone
Aligns the transition with the bone axis.
Radial
Spreads outward from the starting point.
Fan
Restricts the transition to an angle and direction.
Ring
Changes weight only along a tube and keeps it equal around each ring.
Screen-space gradient
Inspect the transition along the drag direction · 3 seconds
Surface-connected gradient
Inspect the region reached across connected surfaces · 3 seconds
Bone-axis gradient
The direction aligns with the bone axis · 3 seconds
Radial gradient
The transition spreads around the starting point · 3 seconds
Fan gradient
Restrict the transition to the intended direction · 3 seconds
Set endpoint weights, curve, transition width and position to shape the boundary. During supported gradient drags, Shift-wheel adjusts width and Alt-wheel adjusts position. Shift-Alt-left-drag temporarily inverts the weight. Screen and surface methods can produce different regions from the same drag.
Paint a limb, a finger or the back of a hand all the way around
Open the Gradient card’s tool selector and choose Ring Gradient, then drag along a tube-shaped part to define the interval. Weight varies along the axis and stays constant around each cross-section, so the front, back and sides match whatever the view angle or brush size. Connected branches inside the dragged interval can be included. Endpoint weights, curve, transition width and position work as in the other gradient tools. Use Undo to restore a confirmed result, or Esc to cancel the preview.
Coverage decides what a gradient reaches. Front and Back paints everything under the gradient, including the hidden back, as Blender's own gradient does; other parts that overlap on the screen are painted too. This Part Only paints the front and back of the part under the stroke, such as a thigh or an arm, and stops where the shape branches or merges. Front Surface Only paints only what is visible.
Choose an X symmetry method
Symmetry uses the mesh’s local X axis. The dock’s X button enables or disables it; the adjacent arrow opens its method settings. Enable X alone for the workflows described here.
Method
Setting
Opposite-side behavior
Regular symmetry
X on, Force off
Uses the nearest opposite-side vertex in the rest mesh.
Surface Weight Transfer
Force on, F / Transfer
Finds the reflected surface location and interpolates weights from the operated side.
Mirror Brush Range
Force on, R / Mirror Brush Range
Places equal physical spheres on both sides and blends from each side’s own initial weights.
Mirror Bone Groups uses existing left/right group names, including names such as Breast_L_end. An armature or symmetric bone geometry is not required for live painting. Missing opposite groups are reported and applicable source painting continues. Set a fixed source direction in the details when needed.
Regular X symmetry
Paint the corresponding opposite group at the same time · 3 seconds
Transfer onto the opposite surface
Find the opposite surface and deliver the source weights · 3 seconds
Blend from each side’s own starting values
Equal brush regions can retain different resulting values · 3 seconds
Surface transfer handles asymmetric shapes and different mesh divisions without changing geometry or vertex count. It uses the nearest reflected rest surface, with a vertex fallback if a surface sample is unavailable. Restrict the intended faces with selection or masks, especially around overlapping layers. The saved Surface Reach setting no longer rejects live painting.
Mirror Brush Range supports Circle Draw and Erase. For example, blending halfway toward 0.6 changes an initial 0.2 to 0.4 and an initial 0.8 to 0.7. Use regular symmetry or surface transfer when you want matching final values. Other tools, including Shift Smooth, use the applicable surface method and report a fallback.
An unavailable or masked opposite does not discard applicable source painting. Explicit group/vertex locks, hidden vertices and selection masks remain protected. Normalize and influence limits are attempted; when they conflict with requested editable paint, the paint is kept and the unmet constraint is reported. Inspect both sides and the weight totals. Live weight symmetry supports local X; Y/Z do not add mirrored weight writes.
In 2.0, repainting a source already at the target can still correct a different opposite value. Single-bone display also reads the appropriate side’s actual channel when its counterpart is valid. Switching the display does not write weights.
Adjust a bone set’s strength and ratios
Use Adjust Bone Set in the sidebar. Build a bone set with Ctrl-Shift-click, then select the vertices before starting. Alternatively, choose the influenced visible vertices scope.
Set the overall strength with Scale or Set Total.
Choose Preserve, Multiply or Custom Shares for the bone ratios.
Keep other weights unchanged, or balance unlocked unselected deform bones toward a total of 1.
Compare Original and Preview, or inspect individual bones.
Press Apply to commit, or Cancel / Esc to discard.
Preview the proportions, then Apply
Stored weights stay unchanged during preview and commit on Apply · 3 seconds
Use a row’s hold control to fix a bone for this adjustment. Existing group locks remain protected. Explicitly enable initialization when Set Total should introduce weights on empty selected vertices. Specify a Balance Bone when the remainder has no existing recipient. Keeping other weights exact can leave totals different from 1.
Apply is unavailable while calculation is pending. Restart the preview if bones, groups, selection or geometry change. Applying creates one Undo step. Saving with a preview open does not save its uncommitted values.
Finish with Selection Weights
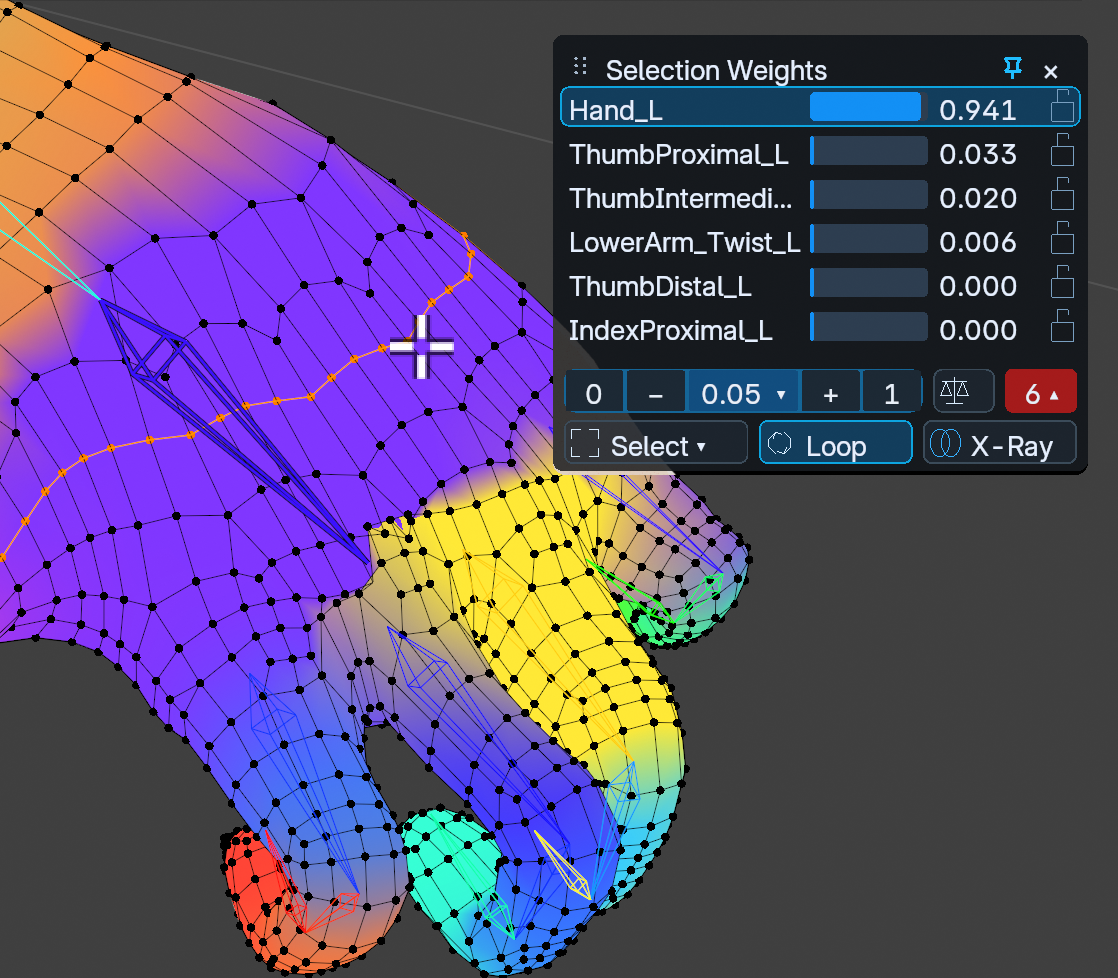
Use this window to refine a small region or remove unwanted bone influences. Vertices selected on the mesh define where to edit; bone rows selected in the window define which influences a multi-row command uses. Check both before applying an operation.
Open the window and read the list
Start Edit Paint weight editing in mesh Edit Mode and select the vertices to adjust.
Press W, or open Selection Weights from the dock. Shortcuts depend on your preset. With no vertex selection, opening the window picks near the pointer.
Inspect bone names, bars and values. Selecting different vertices updates the list to that selection.
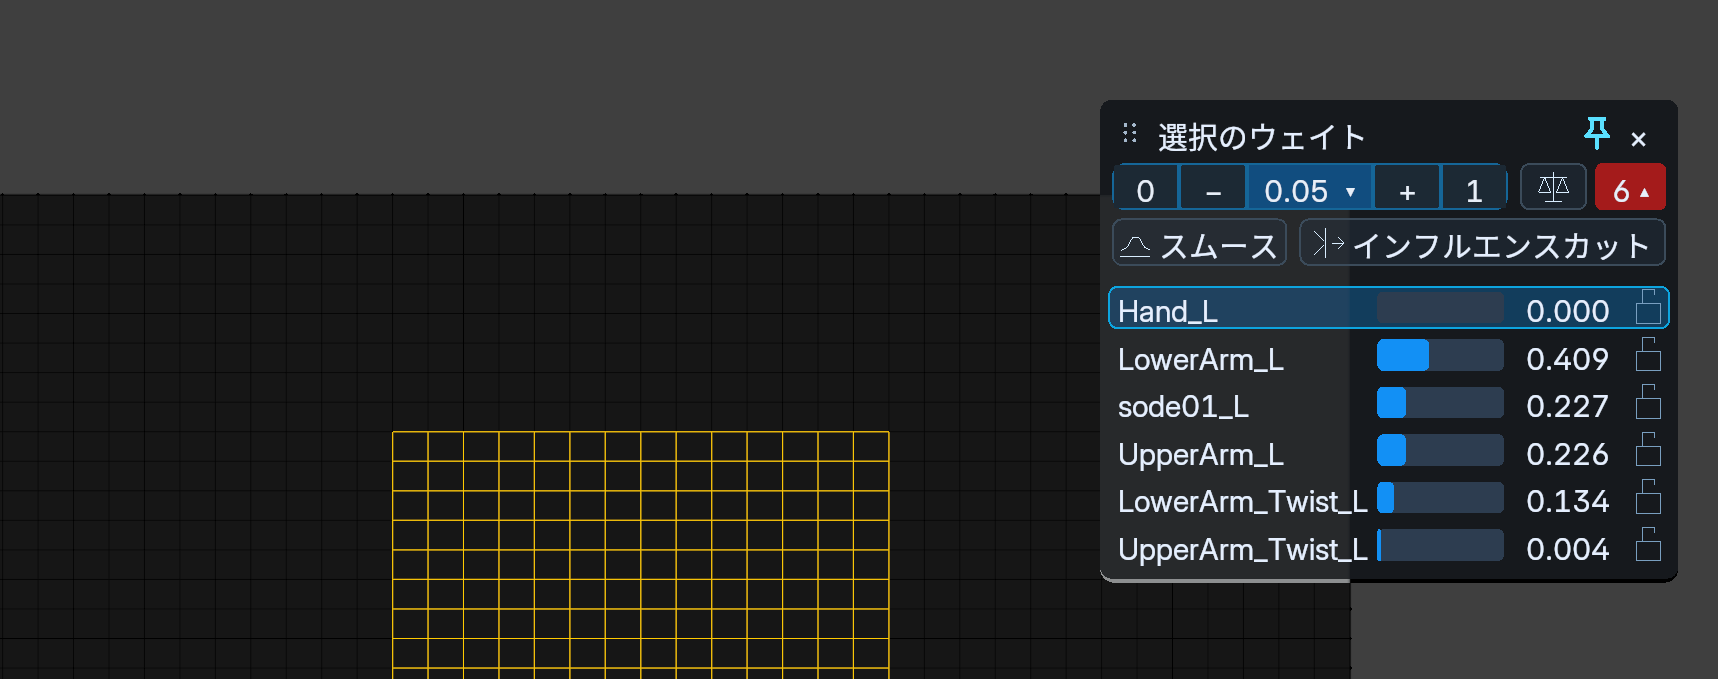
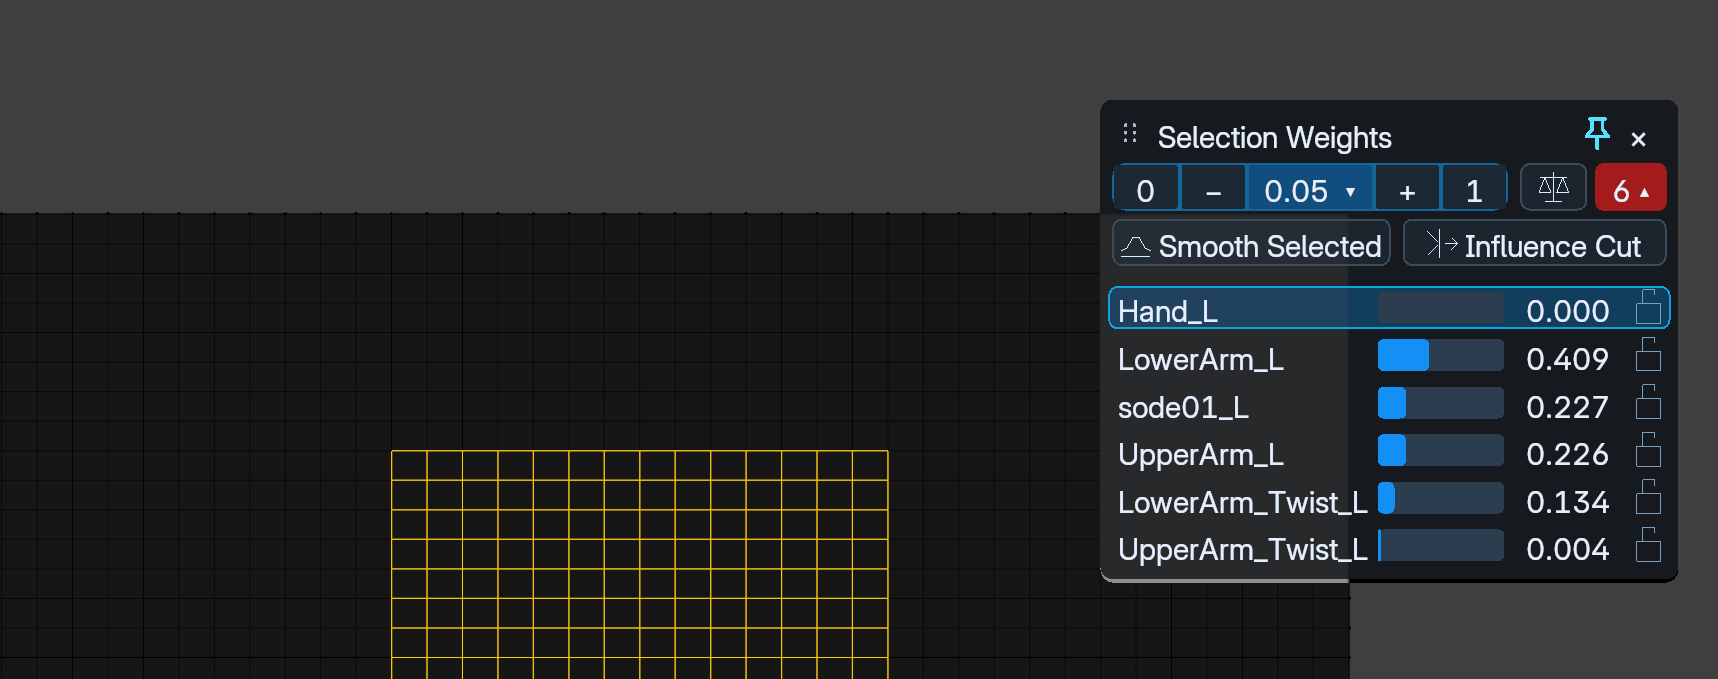
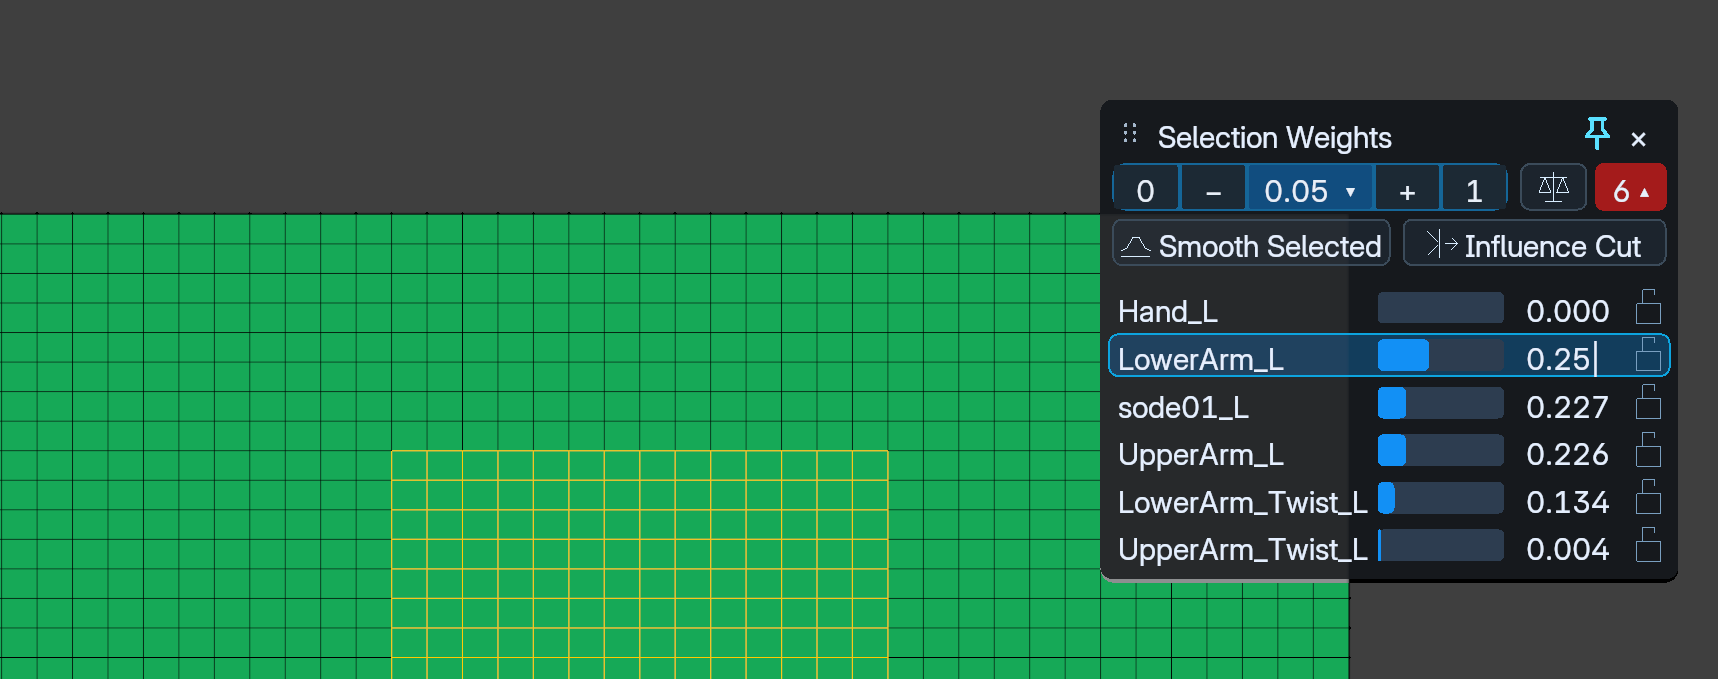
Selected vertices and six weight rows: the editing region on the left, individual bone values on the right
Display or control
Meaning and use
Bone name
A row for a deform bone. Click its name to select that bone and make it active.
Blue bar / number
The bone's weight. One selected vertex shows its stored value; several show the average across all selected vertices, counting missing weights as zero.
Blue row background
A selected bone row. Ctrl-click toggles individual rows; Shift-click selects a range.
Lock at the row's right edge
Locks or unlocks the bone's vertex group. This group setting persists after closing the window; unlock it later if needed.
0 / 1
Requests zero or one for the active row. Locks and constraints may prevent reaching that value.
− / +
Decreases or increases the active row by the increment shown between the buttons.
0.05 ▾
The increment. At 0.05, one + adds 0.05 to each editable selected vertex. Choose a preset or enter a different step.
Scales icon
Equalize: splits the selected unlocked bones' total equally. This differs from normalization, which adjusts a total to 1.
6 ▴
Maximum displayed bone rows, adjustable from 1 to 20. A red background does not indicate a weight value. Reducing the row count does not remove stored weights or limit actual influences.
Pin / ×
Keep the window available or close it. Drag the dots at the upper left to move it.
Numbers display three decimal places. 0.000 can be a tiny rounded weight. The active bone appears first, followed by other influences in descending average order. Increase 6 ▴ to inspect influences outside the displayed row limit. Scroll over the window if the rows do not fit vertically.
Adjust an increment or enter an exact value
Click the desired bone's name to make its row active.
Use − / + or drag its blue bar. Hold Shift while dragging for fine adjustment.
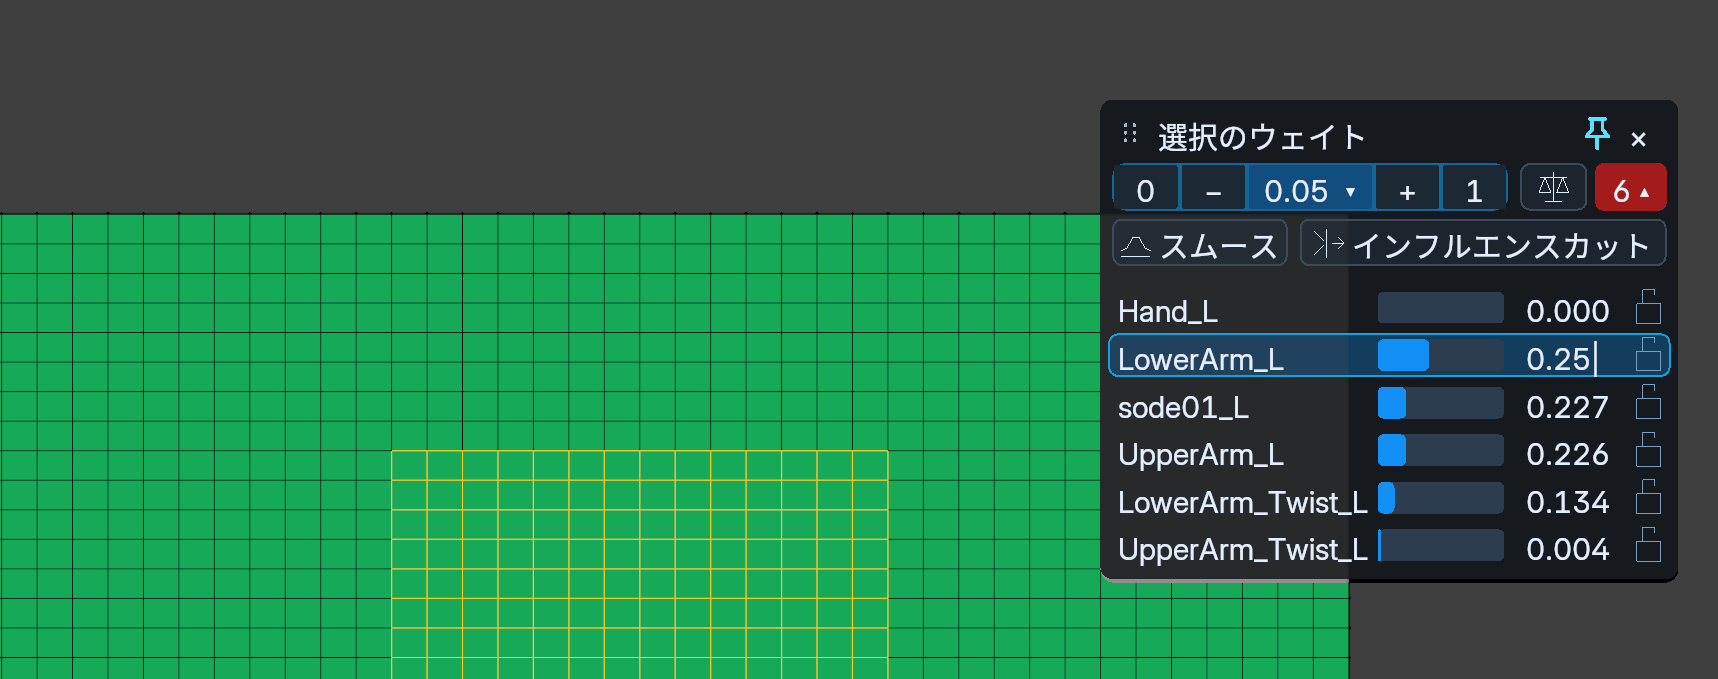
For an exact value, click the number → type a number from 0 to 1 → Enter. Clicking a bar without dragging also enters typing mode.
Esc / right-click cancels the current adjustment; Ctrl-Z undoes a committed edit.
Click the number and type 0.25; Enter commits it to the selected vertices
Add weight in steps of 0.05
LowerArm_L increases from an average of 0.409 to 0.609 while the remaining influences are redistributed · 3 seconds
Dragging versus typing: for intermediate values on multiple vertices, dragging adds the same change to each original value, retaining their differences. Typing requests the same value on every editable selected vertex. For example, weights 0.2 and 0.6 display an average of 0.4. Dragging that average to 0.5 produces 0.3 and 0.7; typing 0.5 sets both to 0.5. This example assumes no limiting locks or normalization constraints.
0 / 1 / − / + redistribute other unlocked deform weights to reach a total of 1. With normalization enabled, ordinary intermediate dragging and typing hold influences outside the displayed rows fixed; requesting zero or one can redistribute those outside influences too. Lock bones that must stay unchanged first. If locked weights total 0.2, at most 0.8 remains for another bone.
Select several bone rows and protect a weight
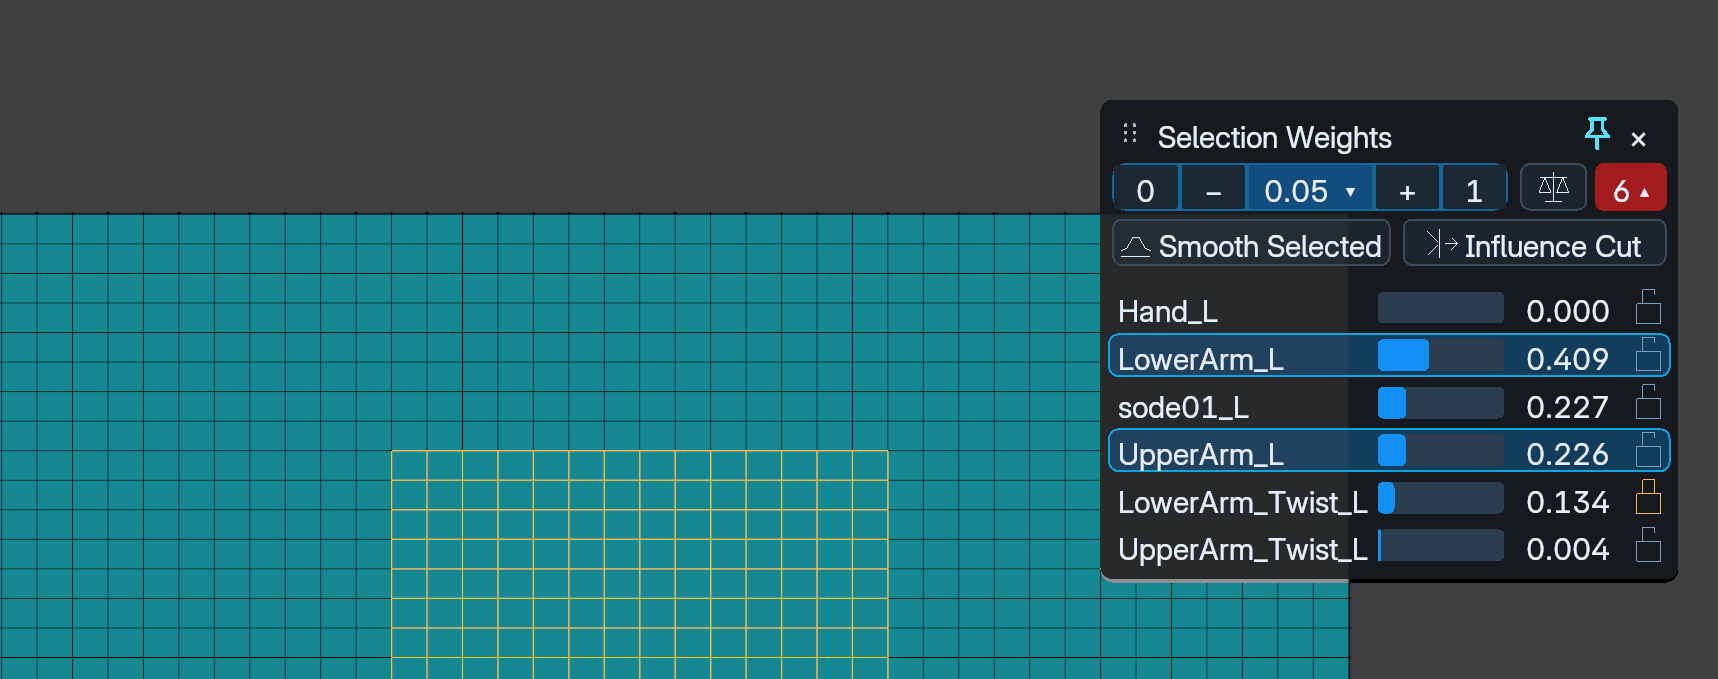
Click a name to select only that row. Ctrl-click adds or removes individual rows; Shift-click selects a contiguous range. Bone row selection is separate from mesh vertex selection. Selecting several bones does not change ordinary painting: the brush still paints the active bone.
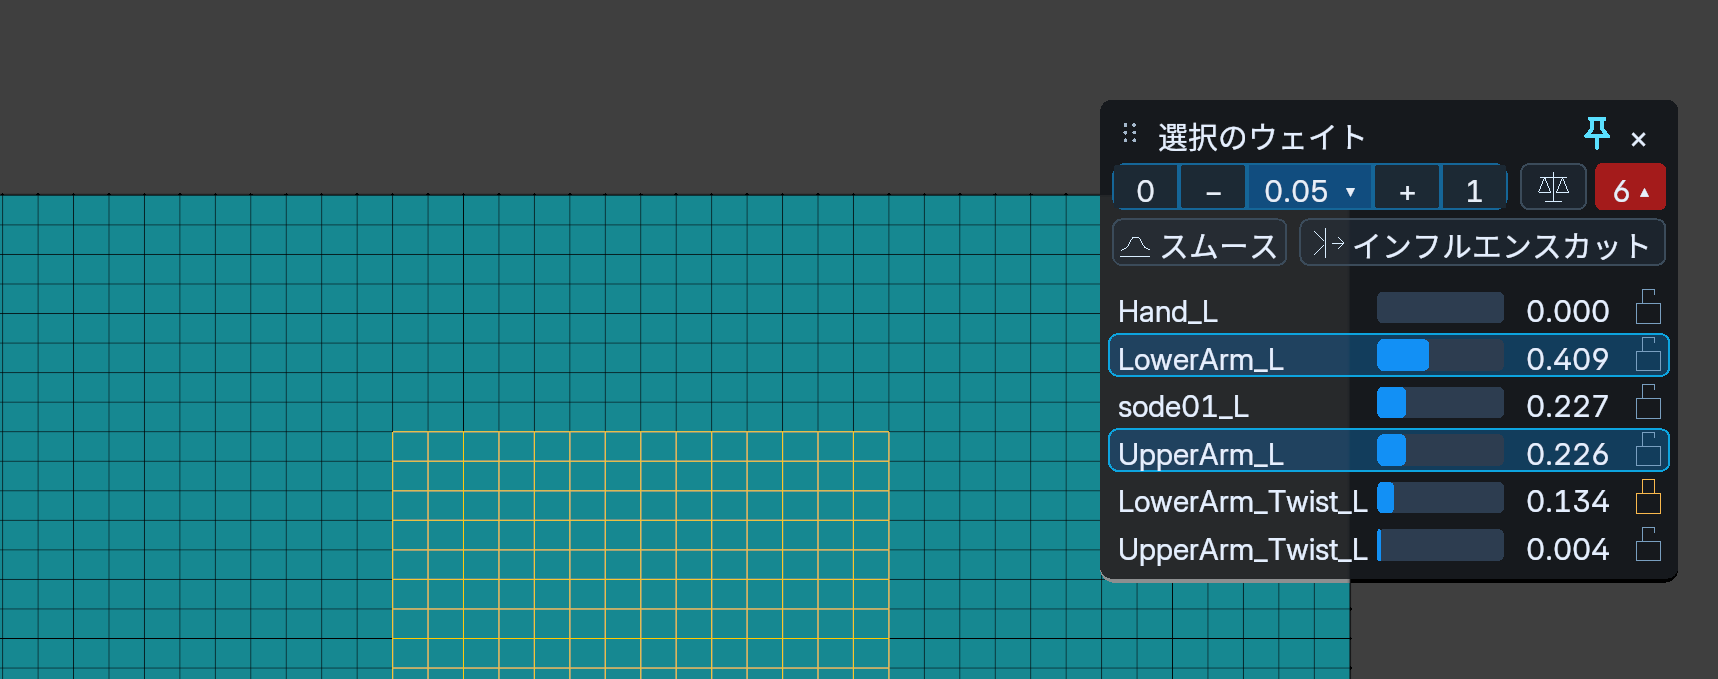
LowerArm_L and UpperArm_L selected; the closed LowerArm_Twist_L lock protects its 0.134 weight
The scales, Smooth and Influence Cut use several selected rows. 0 / 1 / − / + operate on the single active row. A locked bone is also protected from redistribution. Vertices protected with vertex locks are excluded from editing.
Choose Equalize or Smooth
Scales: give selected bones equal shares. Select at least two unlocked rows and click the scales. Each vertex keeps the original total of those selected bones, divided equally. For example, LowerArm_L at 0.409 and UpperArm_L at 0.226 total 0.635. Equalize sets both to approximately 0.3175; the window displays three decimal places. Other bone weights stay unchanged.
Equalize two bone weights
Only the selected pair receives equal shares; other rows and unselected vertices remain unchanged · 3 seconds
Smooth: blend with neighboring vertices. Select at least two unlocked rows and click Smooth. It smooths their weights using connected neighbors while preserving each edited vertex's selected-bone total. Neighboring vertices supply values; only editable selected vertices are written. Unselected bone weights remain unchanged.
Smooth the selected pair's distribution
Blend an uneven distribution; this demonstration applies Smooth four times · 3 seconds
Use Equalize for equal bone shares and Smooth to reduce abrupt changes between vertices. Smooth may have no visible effect when neighboring values are already equal.
Remove unwanted influences with Influence Cut
Select the bones you want to keep first. Select at least one unlocked row and click Influence Cut. On the editable selected vertices, it removes unselected unlocked deform influences and transfers their weights into the selected bones. Unselected influences outside the visible rows are included.
Select the vertices to fix.
Select the rows to keep with Ctrl / Shift. Lock any weight that must remain unchanged.
Click Influence Cut and inspect the zeroed unwanted rows and remaining values.
Check deformation in Bone Operation Mode and use Ctrl-Z if the result is unsuitable.
Collect influences into two selected bones
Remove unlocked influences such as sode01_L while retaining locked LowerArm_Twist_L at 0.134 · 3 seconds
Redistribution preserves the selected bones' original proportions. In the clip, LowerArm_L and UpperArm_L receive a total of 0.866 in their existing ratio, leaving the locked 0.134 unchanged. If all selected bones were zero, they receive equal shares. Unselected locked bones and non-deform groups remain unchanged. Influence Cut preserves the original deform total; use normalization separately if you need a total of 1.
Troubleshooting and keeping the window open
Situation
What to check
Empty list / missing bone
Check editable vertices and the active bone. Other rows require a positive influence; make the desired bone active and reopen the window if needed. Increase the displayed row limit too.
Smooth / Equalize cannot run
Select at least two unlocked bone rows. Influence Cut needs at least one. Check vertex locks as well.
Requested value is limited / operation stops
Check locks, normalization, the maximum influence setting and available recipient bones. 6 ▴ changes displayed rows, not the maximum influence setting.
No display after selecting other vertices
Check that the same mesh is in Edit Mode and Edit Paint is active. Reopen after changing topology or vertex group structure.
The window opens pinned. Leave its pin enabled to retain it while selecting or transforming. It pauses in Object Mode and resumes when the same mesh returns to Edit Mode. Closing it with × or the dock's Selection Weights control keeps already committed weight edits.
Choose readable weight and bone colors
Single-bone display shows the target values; Multi-Color helps distinguish bones. Combined / Total is an explicitly selected set’s total. Palette changes do not change the paint target or stored weights.
Inspect bone influences with Multi-Color
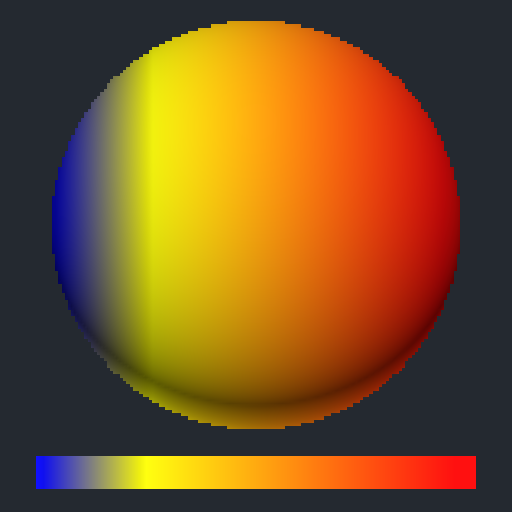
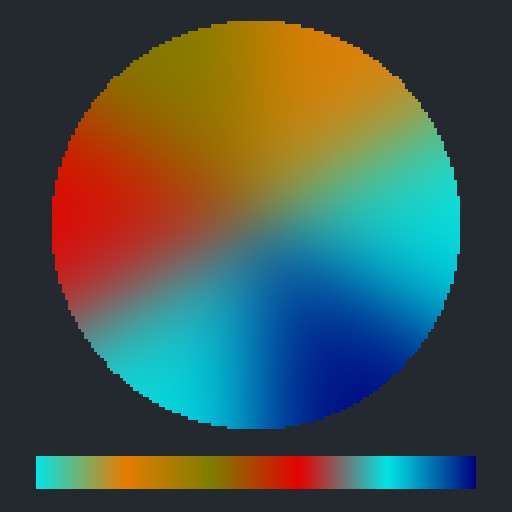
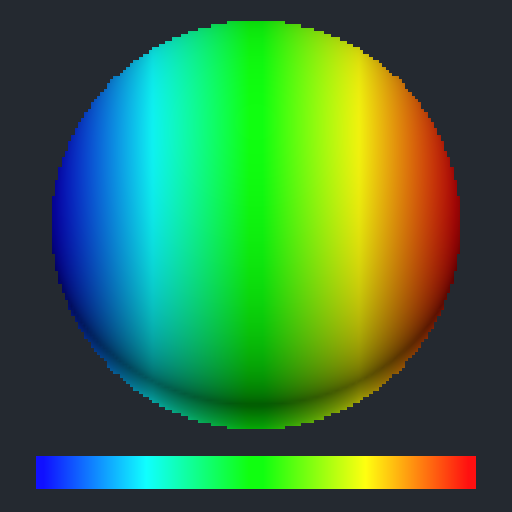
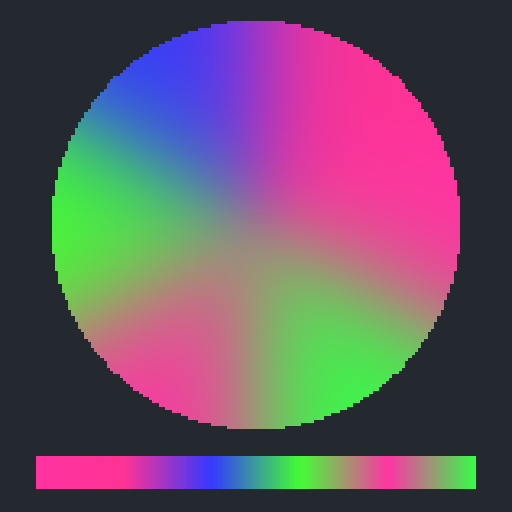
Choose among Blender, Softimage, Maya, 3ds Max, MODO, Houdini, C4D, cvELD and black-and-white palettes. Single and multi-color choices are independent. These palettes do not reproduce another application’s behavior.
Weight palette image list
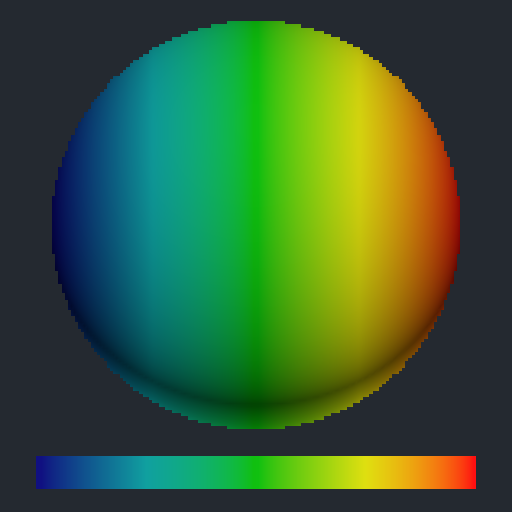
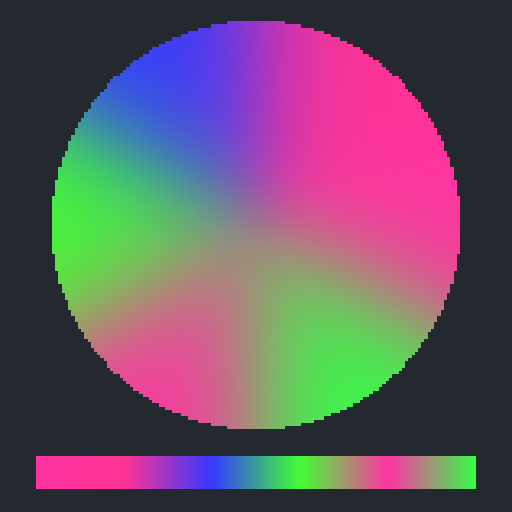
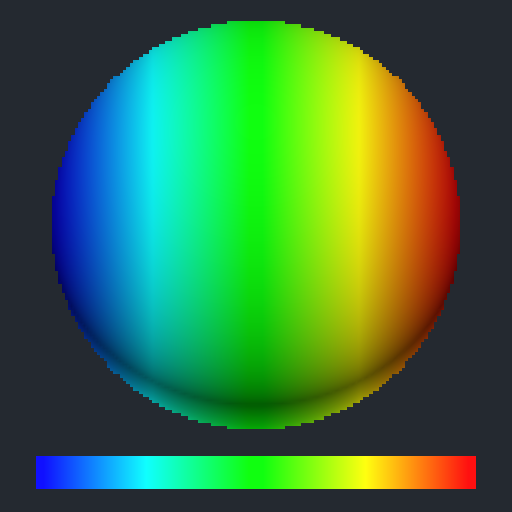
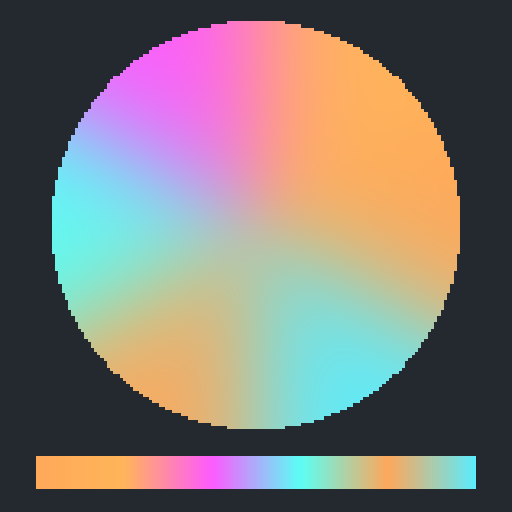
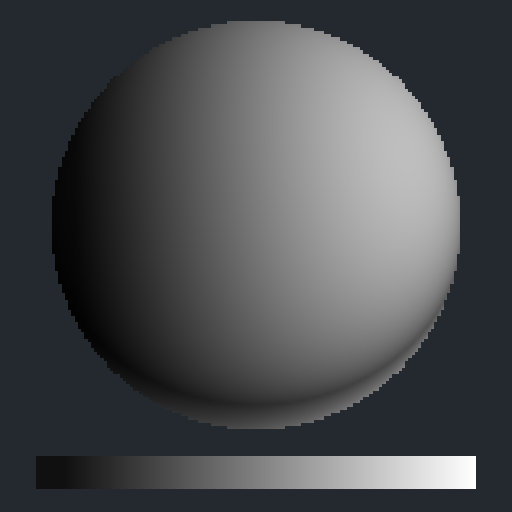
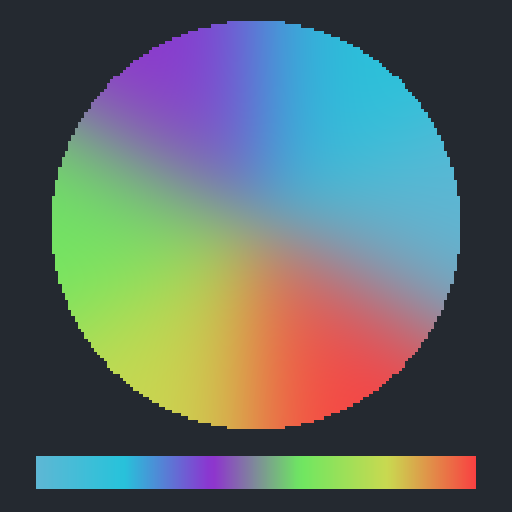
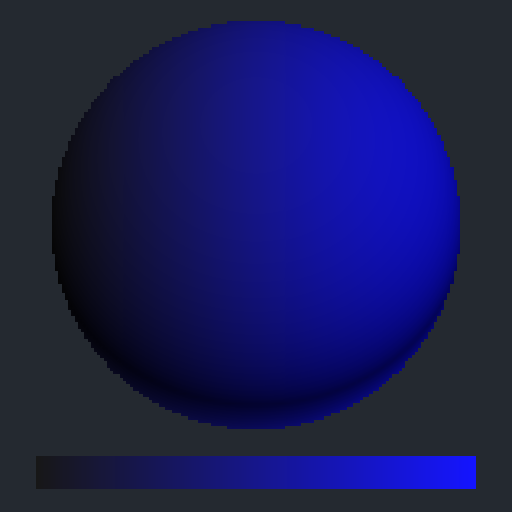
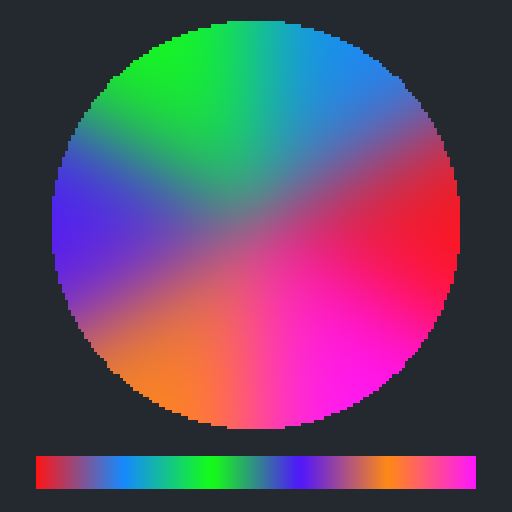
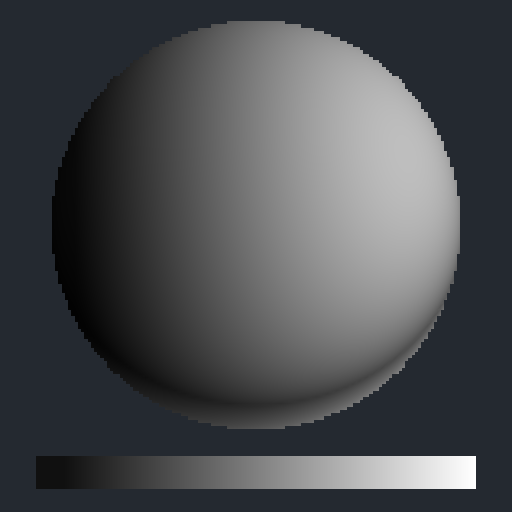
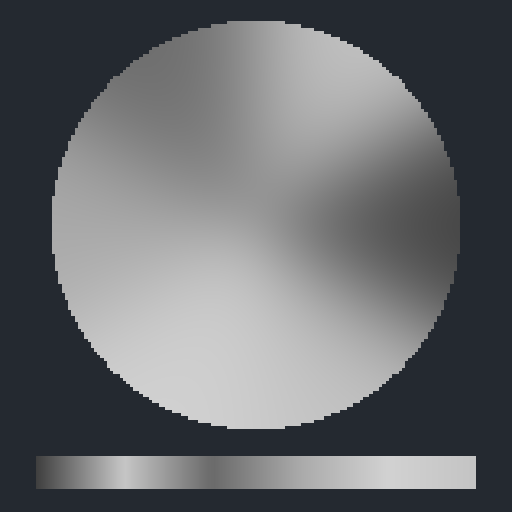
Under N → Quick Weight Paint → Weight Display, choose Single Bone / Multi-Color and then Single-Bone Palette or Multi-Color Palette. Each card shows Single Bone on the left and Multi-Color on the right. Click an image to enlarge it.
Blender
Single BoneMulti-Color
Softimage
Single BoneMulti-Color
Maya
Single BoneMulti-Color
3ds Max
Single BoneMulti-Color
MODO
Single BoneMulti-Color
Houdini
Single BoneMulti-Color
C4D
Single BoneMulti-Color
cvELD
Single BoneMulti-Color
Black / White
Single BoneMulti-Color
Each palette uses the same sample weights. Multi-Color results depend on bone names, hierarchy and individual color overrides. Blender and MODO use the Maya-style Multi-Color palette. Maya, C4D and Black / White share the same single-bone greyscale ramp, while their Multi-Color results differ.
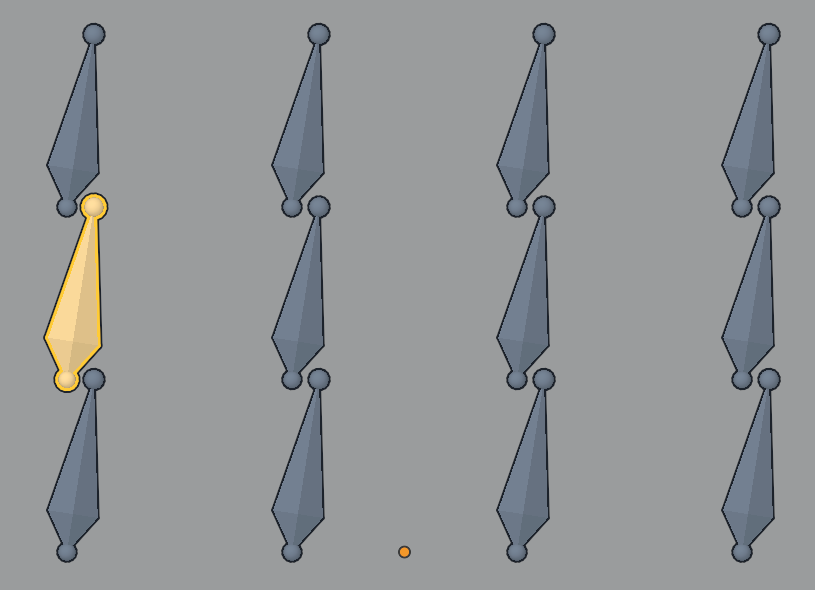
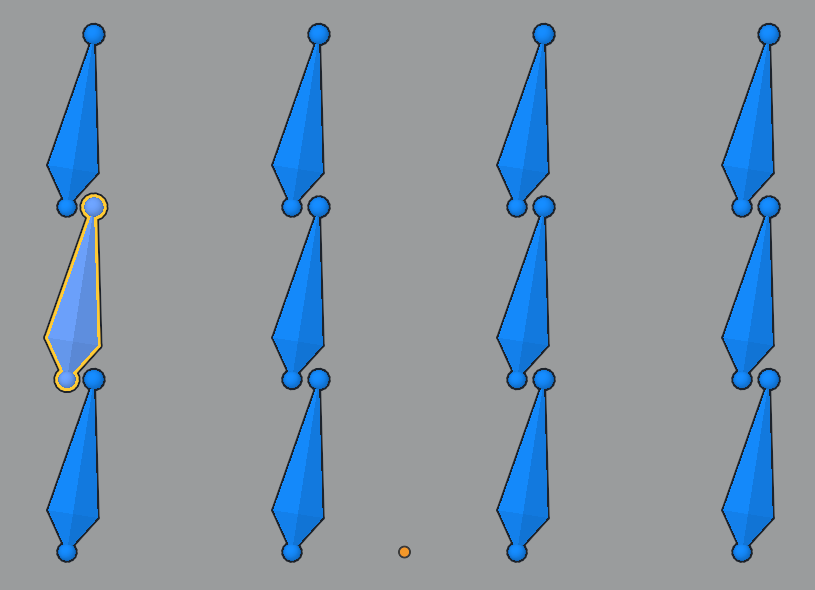
Bone shape image list
Under Display → Bone Colors → Bone Color Settings, adjust shape, opacity, fill, outline and selection / hover colors and thickness. Standard, Focus, Weight Link and Slim provide starting points. Save custom presets and Blender Preferences when you want to retain them.
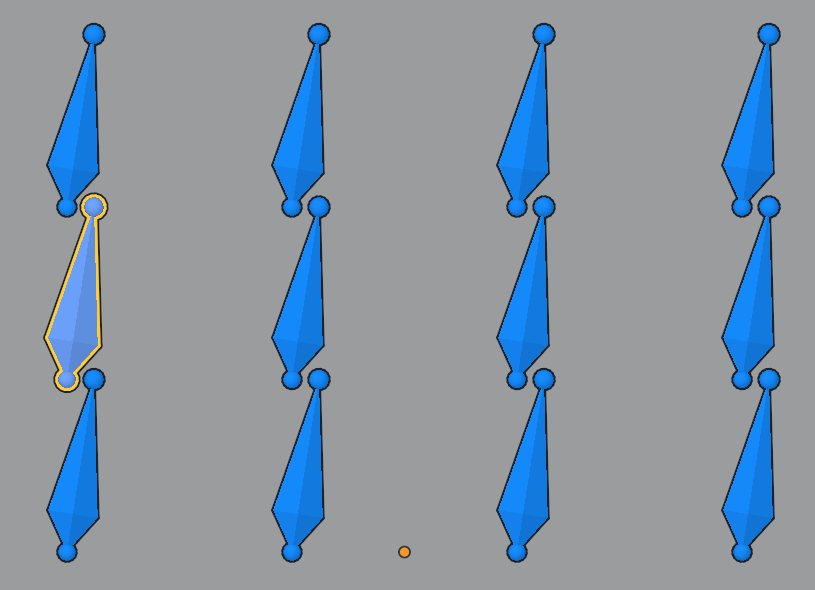
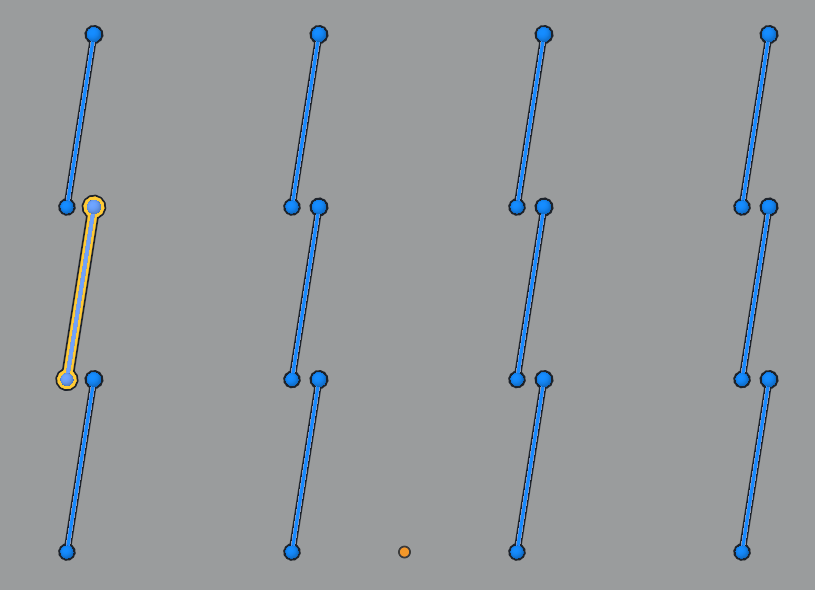
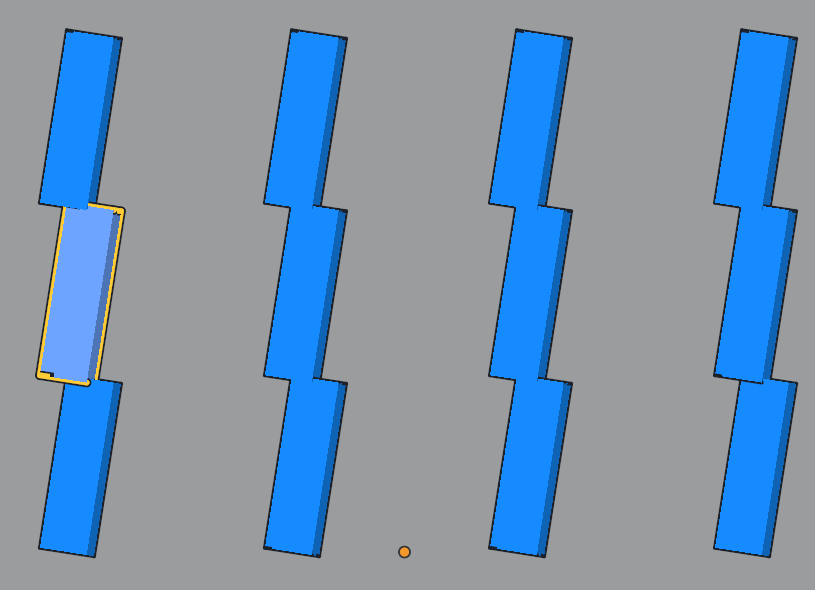
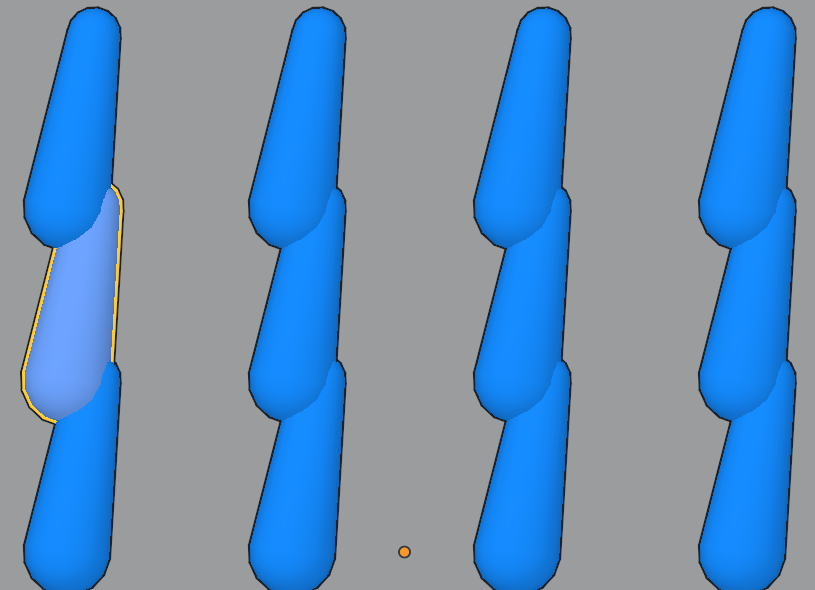
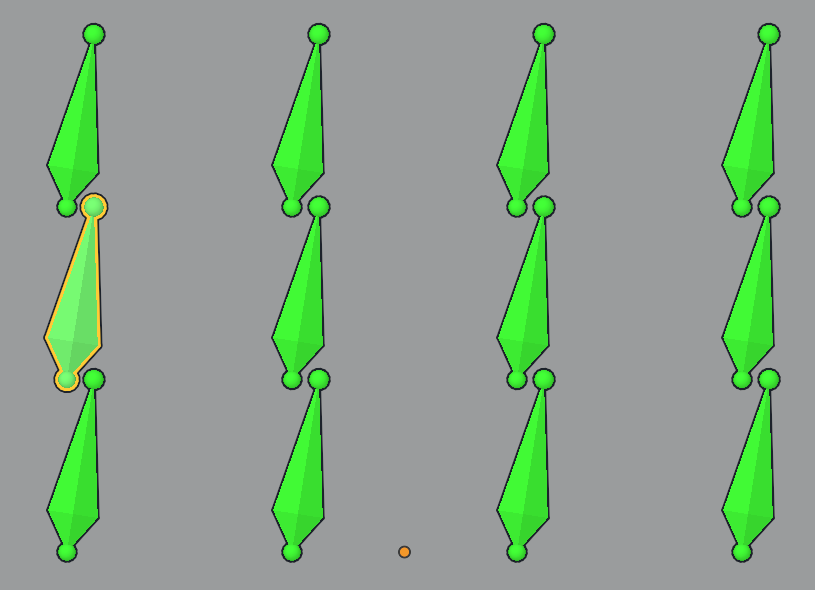
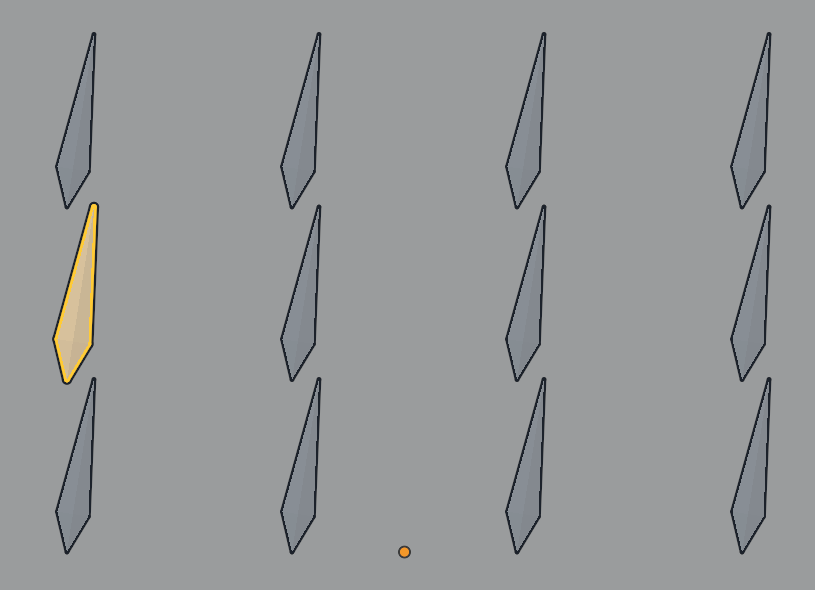
These eight choices are available under Bone Shape. The same rig and viewpoint show each shape. Display changes preserve bone lengths and stored weights.
Octahedral
Shaded octahedra with round joints.
Stick
Thin segments leave more surface visible.
B-Bone
Box-shaped display.
Envelope
Uses the head and tail radii.
Wireframe
Wire outlines of octahedra.
Solid (Translucent)
Translucent filled octahedra.
Capsule
Rounded capsule shapes.
Outline + Highlight
Translucent fill with a strong outline.
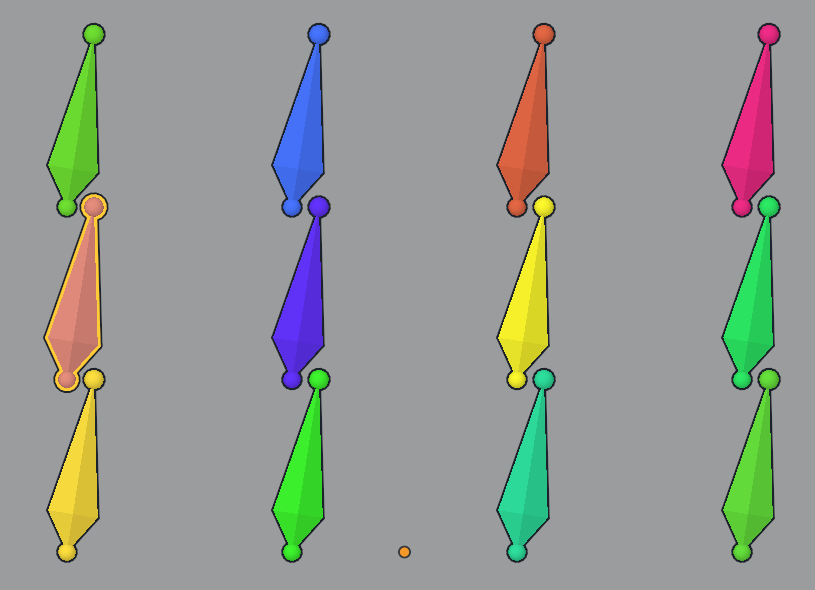
Bone color image list
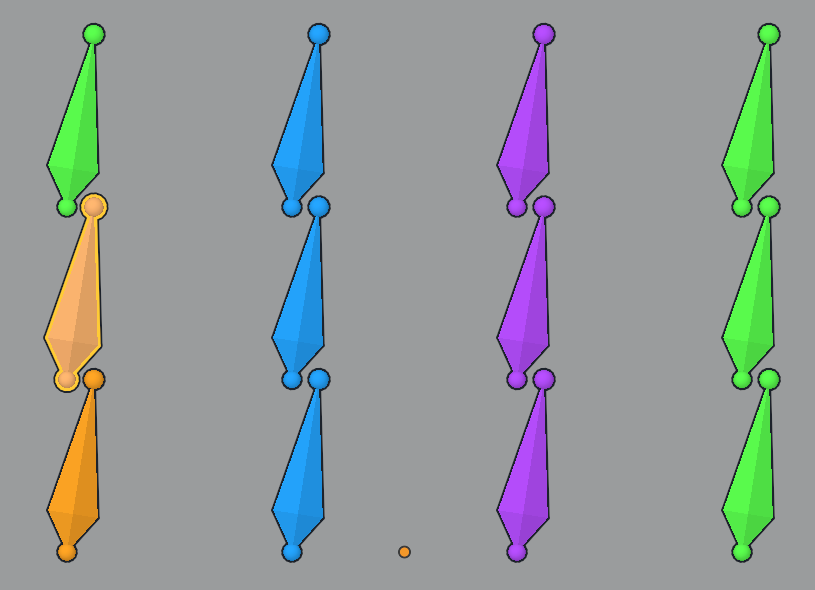
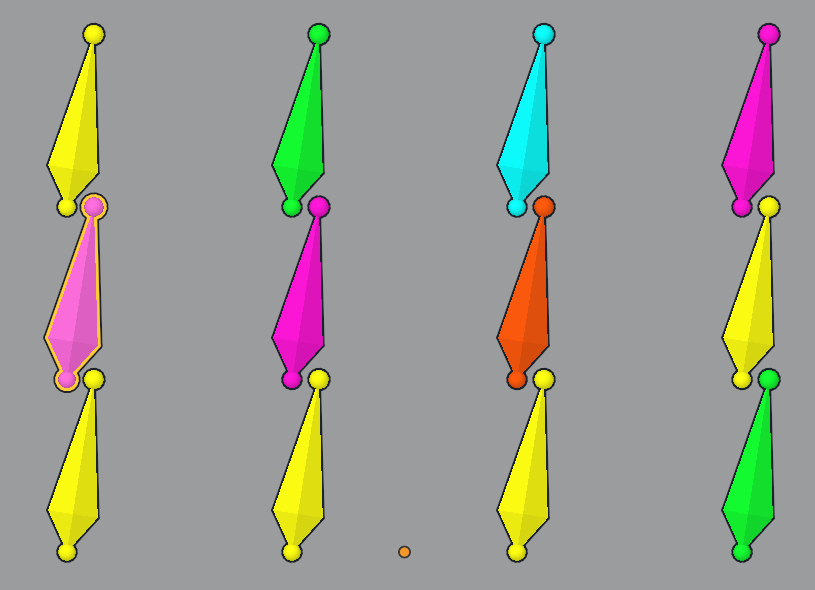
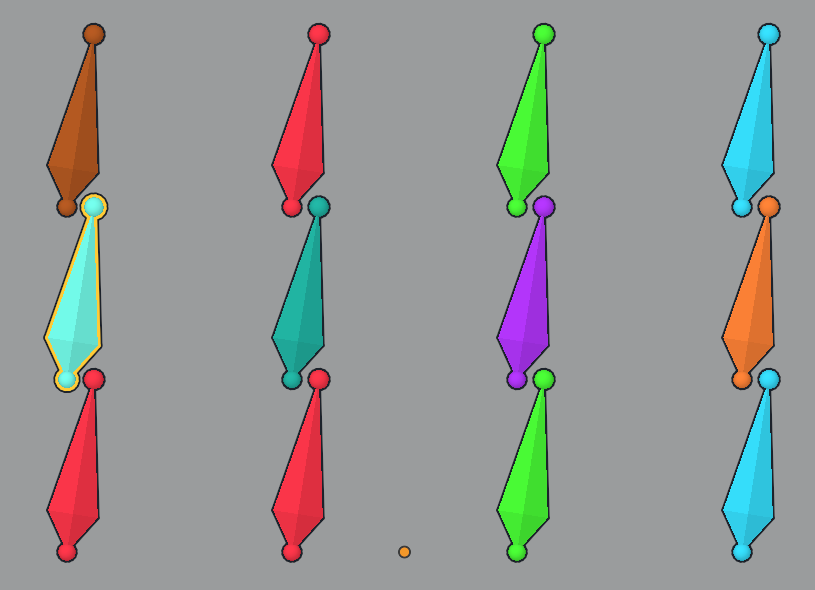
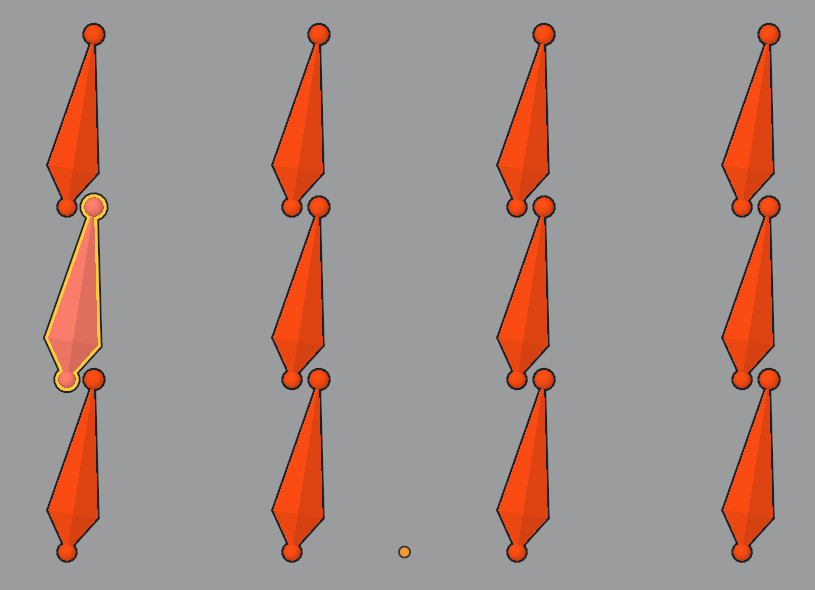
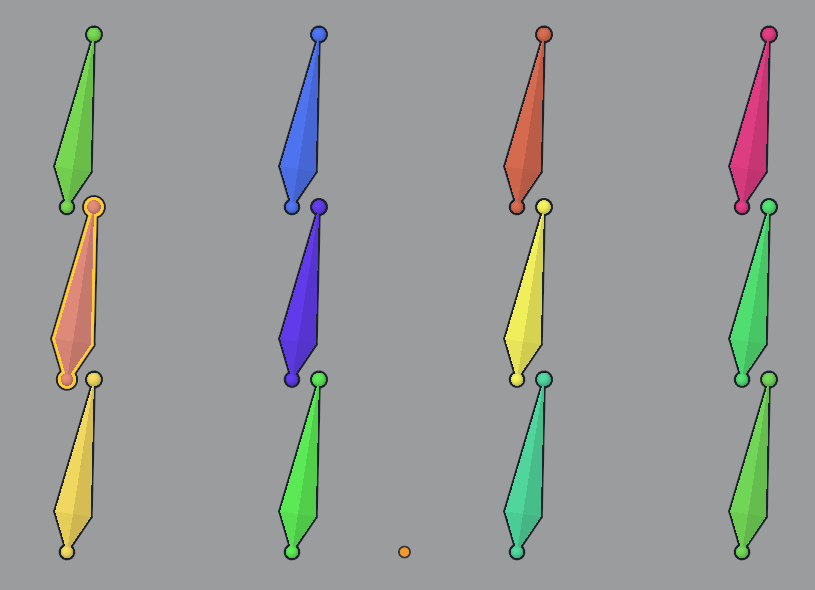
Choose the color source under Bone Colors. Single Color (Custom) lets you pick a color; orange and green demonstrate changing it. Selected bones have a selection-colored border, so also compare the fill colors.
Existing / Weight Colors
Links to weight colors and selection states.
Single Color (Custom)
Uses one chosen color.
Hierarchy Colors
Colors reflect depth from the root.
Stable Bone Name Colors
The same name receives the same color.
Body Part Colors
Recognizes arm, leg and hand names.
High Contrast Colors
Vivid colors help distinguish bones.
Shuffled Colors
A seed controls the shuffled palette.
Custom: Orange
An example of changing the custom color.
Custom: Green
Change the color while keeping the shape.
Body Part Colors recognizes names and uses a recognized parent or Other when the name is unknown. Shuffled Colors can be reproduced with the same seed and hierarchy. Selection Color and Hover Color distinguish selected bones and bones under the pointer.
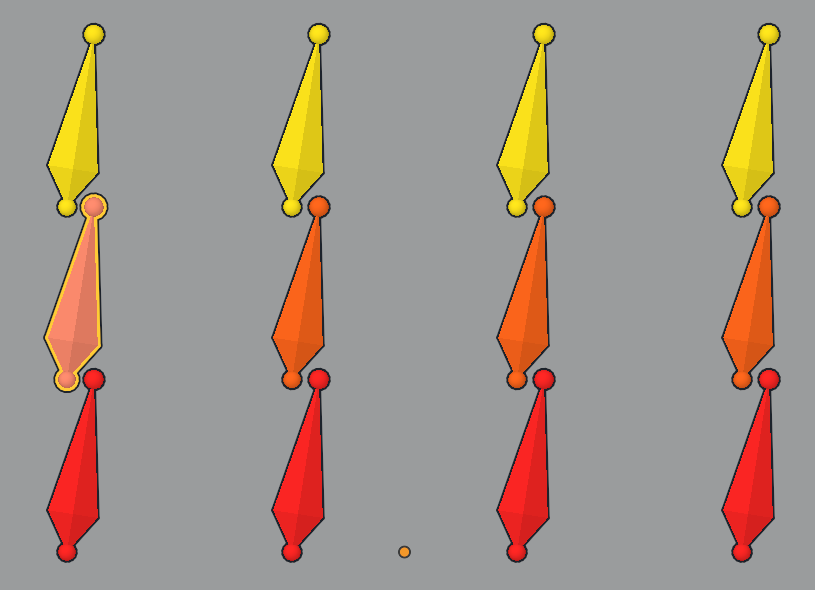
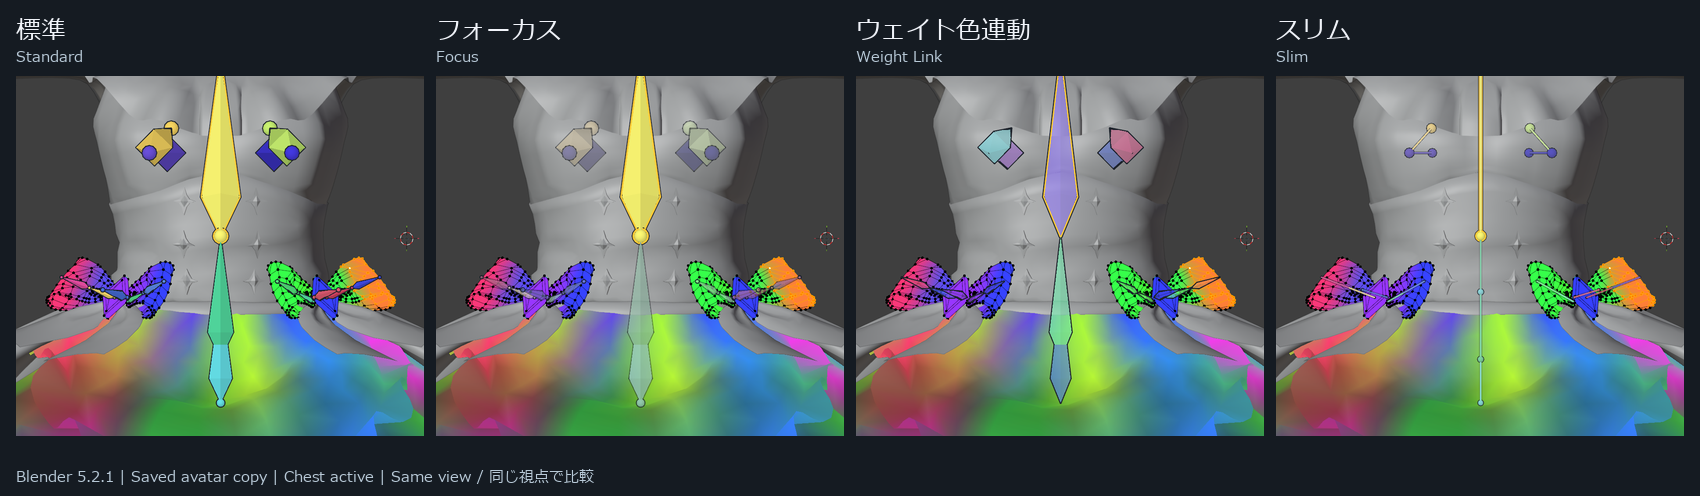
Bone display preset comparison
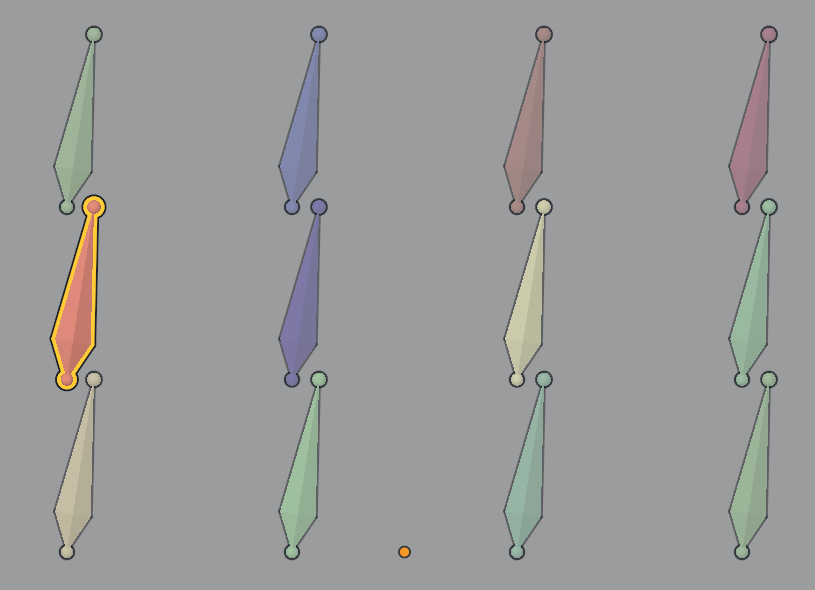
Start with a preset, then adjust the shape and colors as needed.
Standard
Shading and outlines clarify the shape.
Focus
Other bones fade toward grey.
Weight Link
Translucent bones follow the weight palette.
Slim
Thin sticks cover less of the surface.
Existing Miyabi bone display comparison, retained as supplied.
Bend the rig and return to painting
Bone Operation Mode moves temporarily into the related armature’s pose mode. Bend the rig, then choose Return to Weight Paint. The pose stays available while you refine the distribution.
Inspect the weights and deformation in a bent pose
Bend the rig and inspect deformation
Return to painting while retaining the pose · 3 seconds
For a temporary operation, hold the middle button for Quick Pose, then release to return to painting. Right-click cycles move, scale and rotation; Tab changes the local axis. Esc cancels and Shift-R resets the transform. Follow the visible guide and your current assignments.
F1 isolates bones. Press F1 again or use the visible restore control to recover the previous visibility.
Painting an evaluated surface needs modifiers that retain vertex correspondence, such as the appropriate Armature display. Disable Edit Mode display for topology-changing Subdivision, Mirror or Geometry Nodes modifiers while painting.
Maintain weights and bones
Weight Tools for the selected vertices
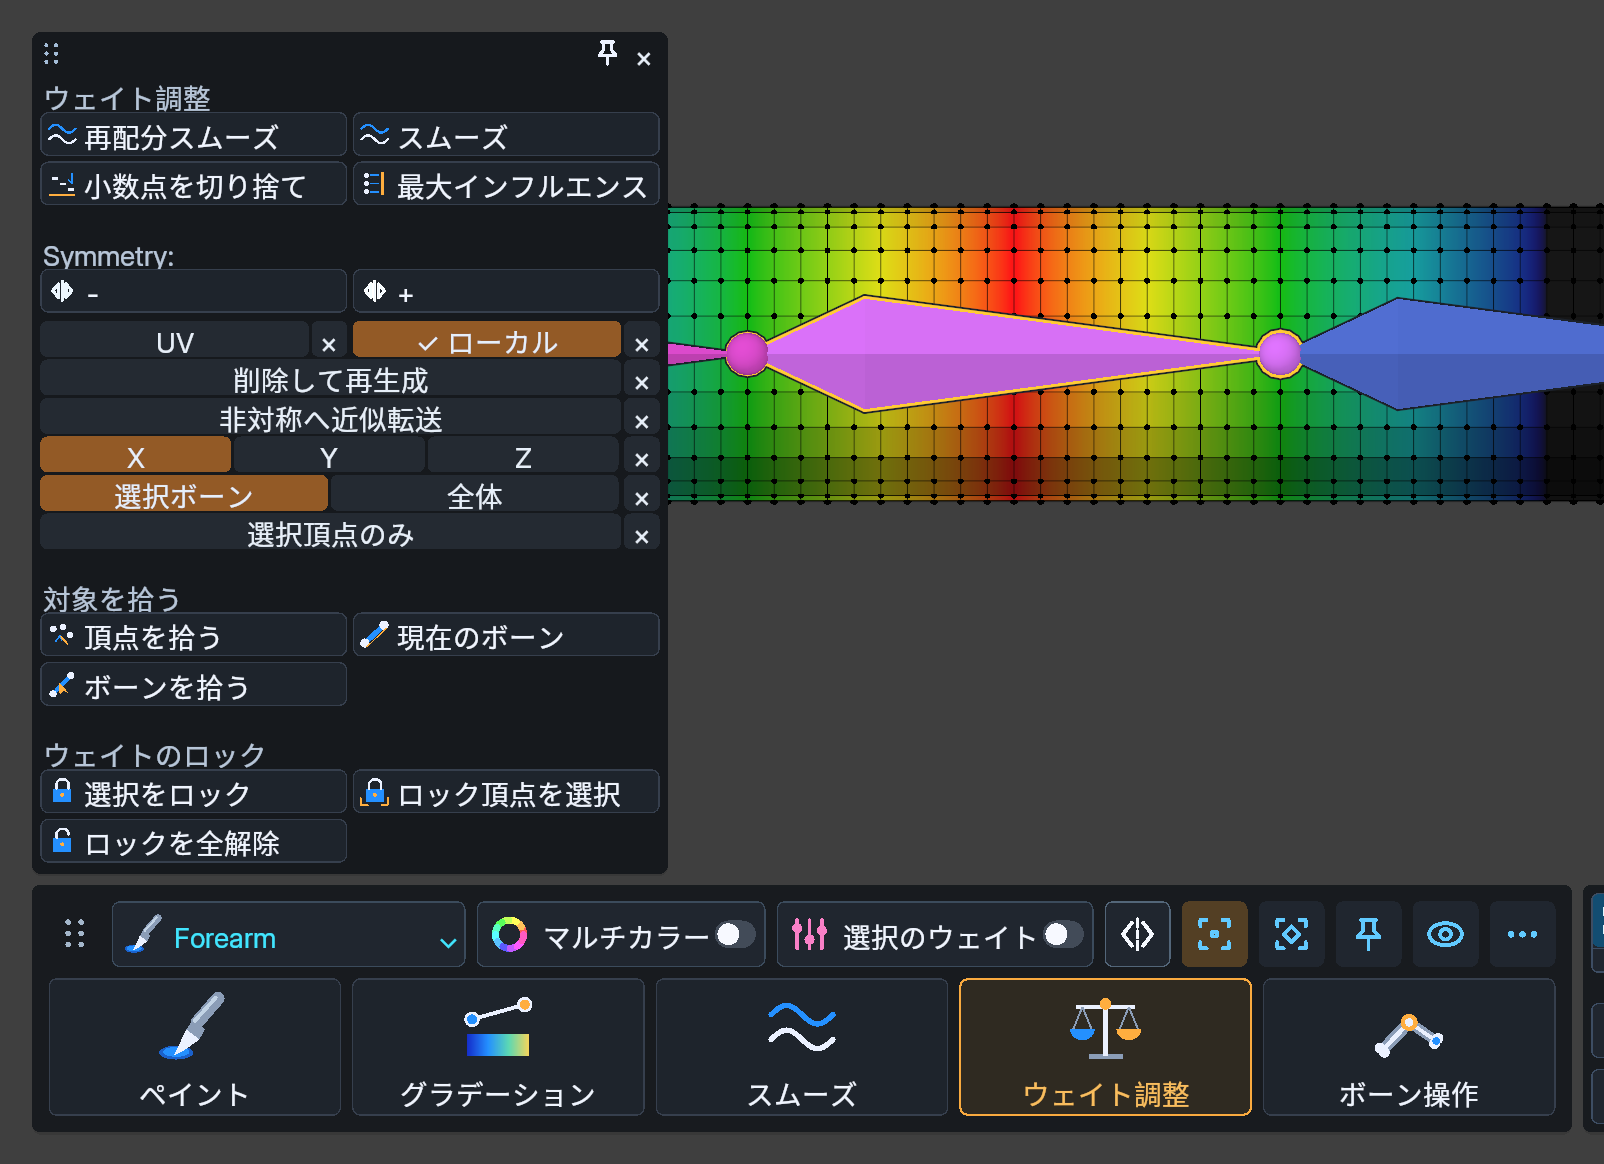
Weight Tools includes redistribution smoothing, assignment, truncation, maximum influences and vertex locks. Confirm vertices and bones before applying a command. Strict Normalize adjusts the deform total while protecting locks and non-deform groups. A sole positive influence becomes 1, so retaining intermediate values needs another influence or Balance Group. Complete erasure leaves zero values. Maximum Influences 0 means no limit.
Tools for bone boundaries and splitting
Auto Bone Blend and Joint Fit
Auto Bone Blend previews a boundary using existing proportions or rest-bone distance as its starting distribution. Move horizontally to adjust, confirm with left-click / Enter, or cancel with Esc / right-click. For a single target, choose Parent, Child or Both and specify branched targets explicitly.
Joint Fit examines distributions around a continuous chain of 2–6 bones. Open it through Tab during Auto Bone Blend or its dedicated action, then adjust width, view and joint. It requires conditions such as one linear Armature without Preserve Volume. Inspect actual deformation; it does not automatically optimize every rig and pose.
Clean Far and splitting
Clean Far reduces distant influences. Move horizontally to adjust removal and use the wheel for the protected radius. The total can decrease when other existing influences cannot receive the remainder. It does not create new influences.
Bone splitting accepts a count, proportion, location near selected vertices or a picked screen location, and redistributes weights. Check both-side and related-mesh scope. Validate the rig in a duplicate file before applying it to your production asset.
Adjust the numerical weights
Change values on the selected vertices · 3 seconds
Preferences and shortcuts
Shortcut settings grouped by purpose
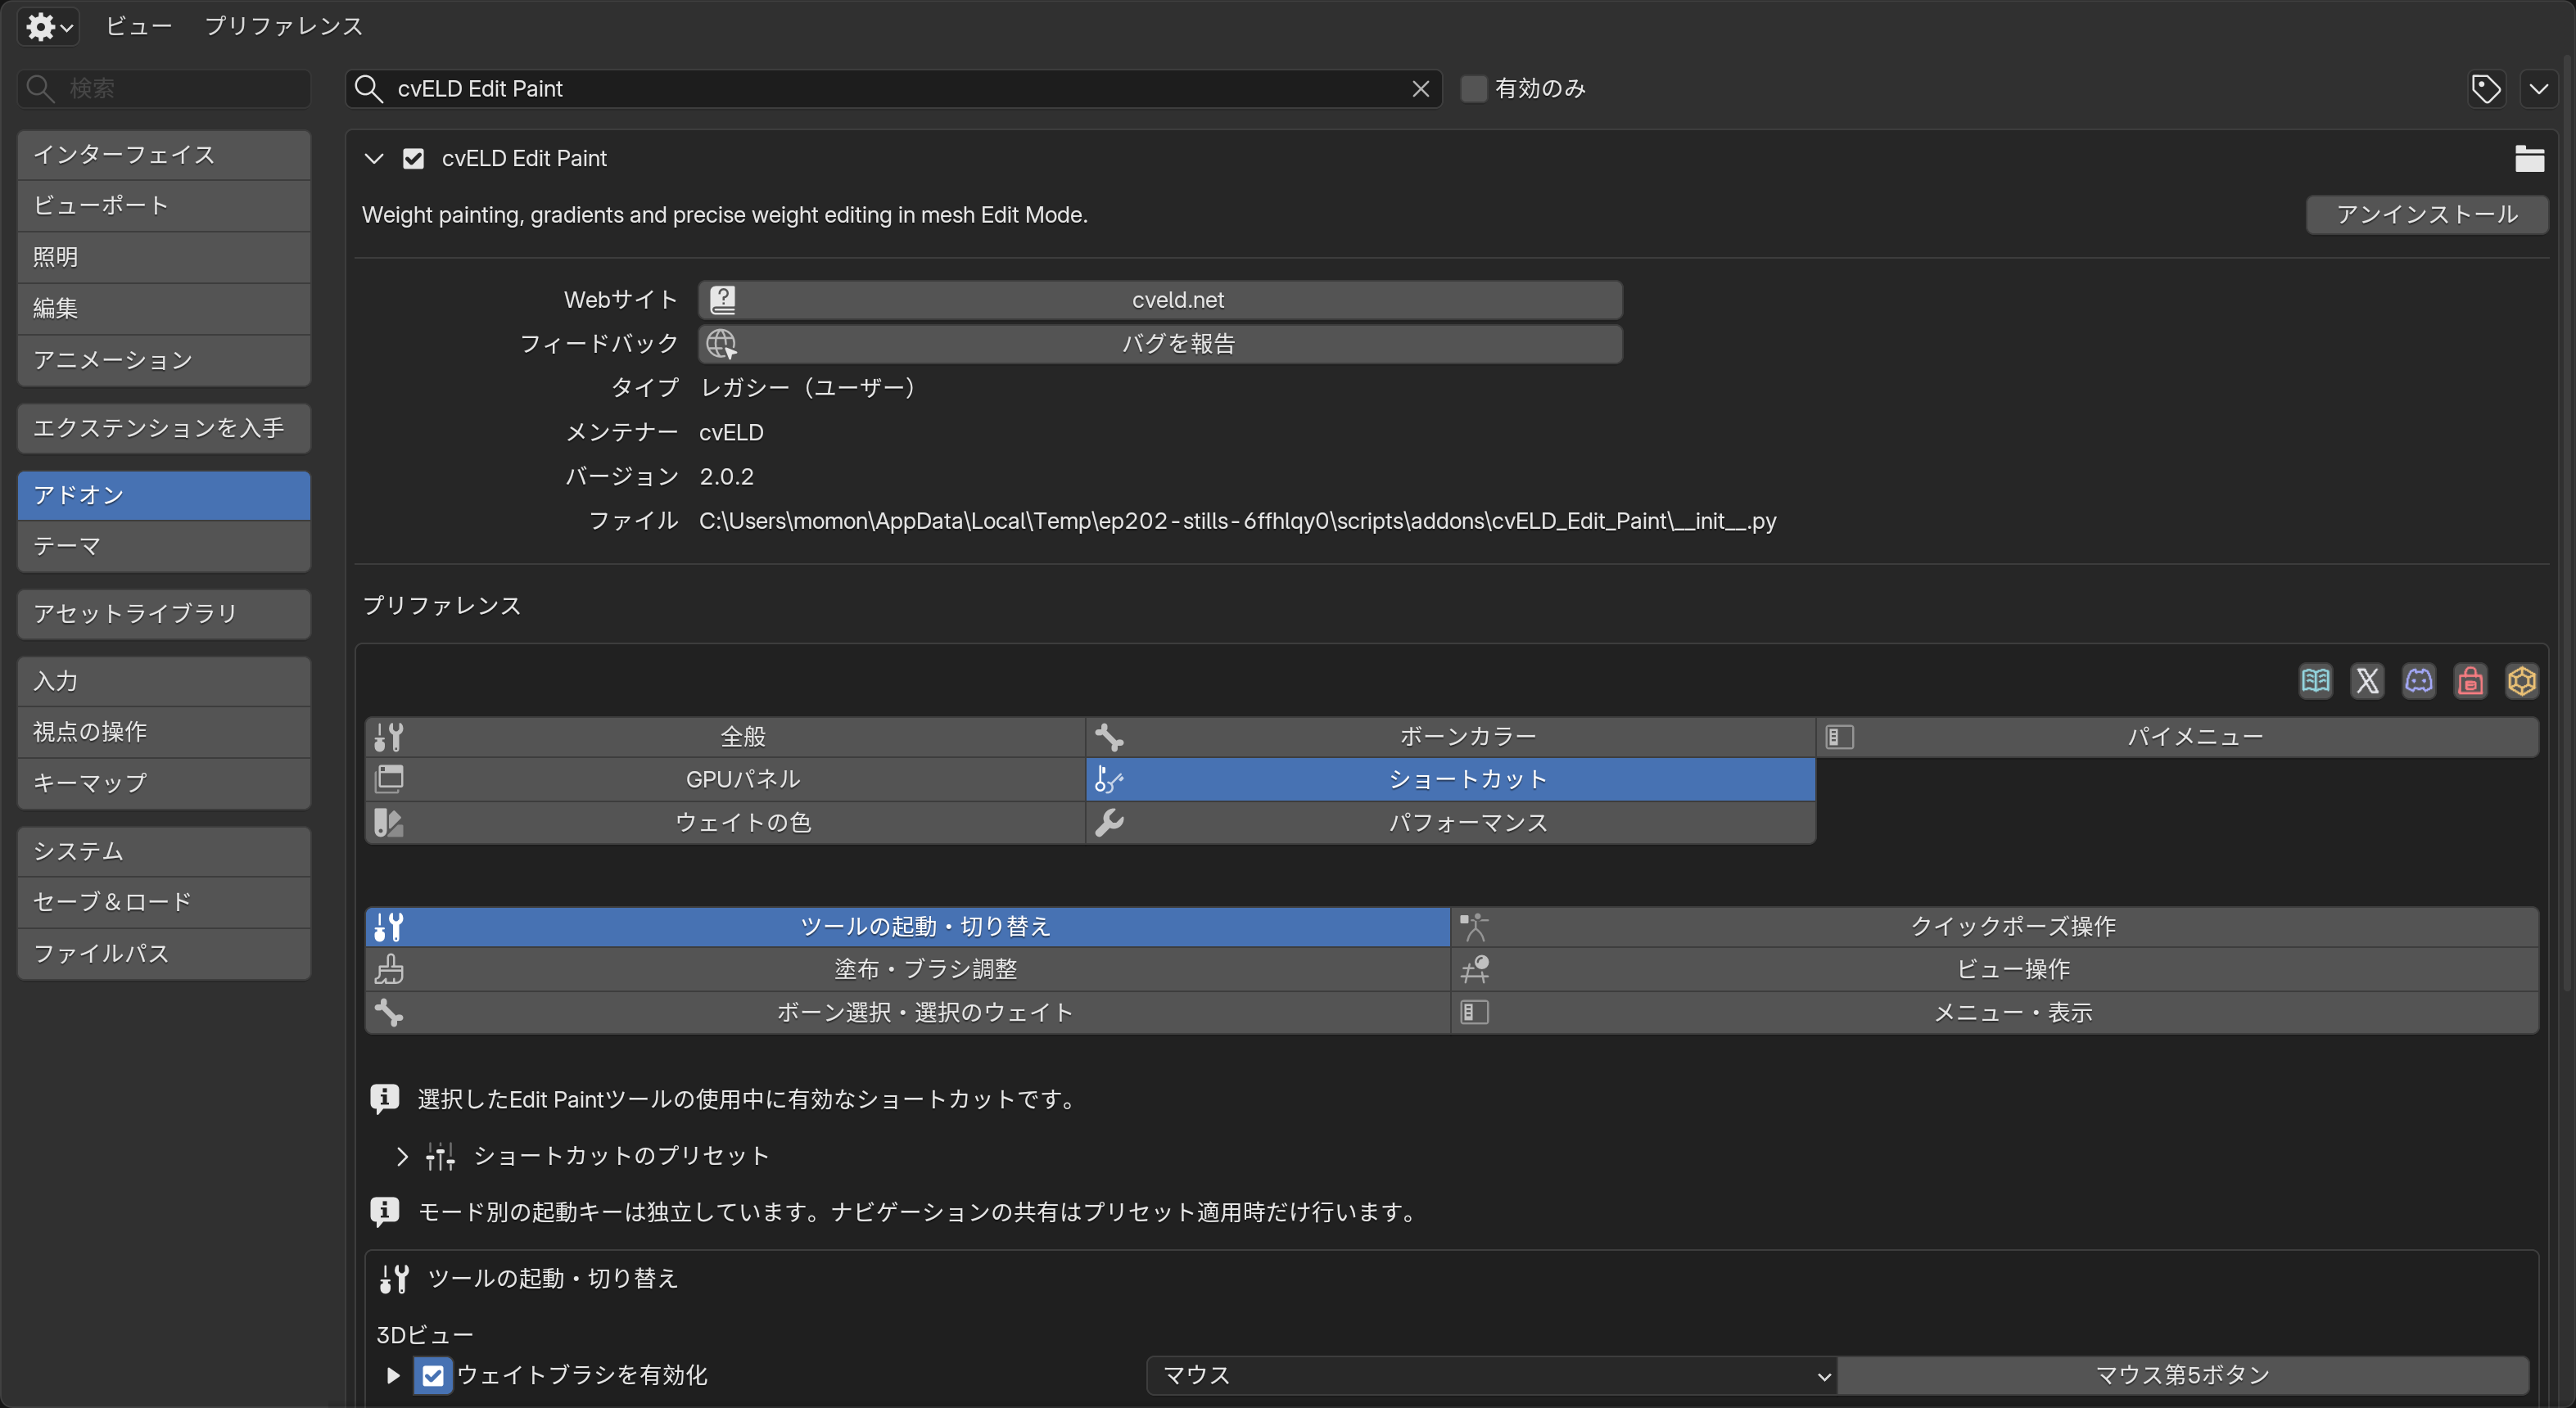
Preferences provides Basic, GPU Panel, Weight Colors, Bone Colors, Shortcuts, Performance and Pie Menu settings. Blender, Industry, Maya, Softimage, Modo, Houdini, 3ds Max, C4D, ZBrush and All Unassigned presets apply to this tool’s bindings.
Preferences also offers adapted Mudbox and Substance 3D Painter presets. Mudbox uses B / M for radius / strength; Substance uses Ctrl-right-button / U. Softimage reserves S for navigation and uses R / Shift-R. Radius and strength use Blender radial adjustment; these presets do not reproduce every DCC action or its specific drag behavior.
Action
Industry defaults
Single / additive bone pick
Ctrl-click / Ctrl-Shift-click
Radius / strength / weight
S / U / Ctrl-U
Temporary Smooth / Erase
Shift-left-drag / Shift-right-drag
Invert weight
Shift-Alt-left-drag
Selection Weights / focus target
W / F
Quick Pose / bone isolation
Middle button / F1
Orbit / pan / zoom
Alt-left / middle / right-drag
Inspect custom bindings before applying a preset. Save Blender Preferences afterward. Icon style and optional dock buttons are persistent preferences. Change working values such as radius and strength in the header or the relevant tool card.
Customize the pie menu
Assign commands to its eight directions in Preferences → Pie Menu. Check or change its activation shortcut in the same section. Choose Empty Slot for an unused direction. Reset restores the pie assignments; save Preferences after changing them.
Hold Ctrl and hover a bone to display its name. Basic settings also controls whether to list bones that overlap on screen. In mesh Edit Mode, this applies to the related deform bones.
Troubleshooting
Situation
What to check next
Nothing paints
Target mesh, active group, strength, selection restriction, visibility, locks and the status reason.
Bones cannot be picked
Check Bone Collection Solo/visibility, bone selection protection and matching deform-bone/vertex-group names. Display maintenance → Fix Bone Selection creates missing matching groups with no weights and retains existing values.
Quick Pose reports a missing TRACKBALL entry
Restore Preferences → Keymap → Transform Modal Map → Trackball. Keep both Trackball and Rotate entries: they perform different modal actions even when both use R.
Native bones disappear when the brush starts
Show Only EditPaint Bones replaces their display with the colored EditPaint bones. Turn it off to show both. The rig itself is unchanged.
A target of 0.5 becomes 1
Strict Normalize with a sole influence. Add another influence or Balance Group.
The opposite side does not paint
X only, the selected symmetry method, opposite group names, masks and locks on both sides; read the stroke status.
A neighboring finger changes
Restrict selection and inspect Surface Distance, island scope, thickness and radius.
Color differs from the paint target
Display and targeting are separate. Check the active bone or the saved ribbon target list.
A tool window shows stale information
Reopen it after changes to topology or groups.
Preparation or preview is slow
Reduce scope and review evaluated modifiers and visibility checks. Reduce the region if its memory budget is exceeded.
Show Weight Problems is a diagnostic display: red marks the chosen diagnostic’s problem, blue means zero total, magenta means invalid values and gray means no issue for that diagnostic. Displaying it does not repair weights. Read the reason and proposed action in Diagnose and Repair before running it.
Blender overlay settings
In Preferences > Weight Colors, choose Zero Weights (None, Active or All) and Zero Weight Color. The mode belongs to the current scene; the color is shared with Blender's theme and applies to both native and EditPaint custom display. The default warning color is black (RGB 0, 0, 0). Use each field's X to restore its default.
Ordinary single-weight display follows Blender's Zero Weights setting. None uses the palette's lowest color for zero. Active shows vertices with zero displayed weight in the warning color. All uses the warning color only where every vertex group has zero weight. Diagnostic and per-bone color displays retain their own palettes.
The overlay master switch and custom weight colors for the Blender palette follow Blender's settings. During painting, adjust opacity with Edit Paint's Weight Preview Opacity. While using the native display, Edit Paint temporarily controls Show Weights and the native Opacity field; changes there may be reset at the next synchronization. Previous display settings are restored when the display ends.
X-Ray and the armature's In Front setting affect bone display and picking. The custom weight surface preserves readable shape and color and does not become transparent through X-Ray. Use selection tools with X-Ray Mode to select vertices behind the surface, or lower Weight Preview Opacity to make the weight surface translucent.
This release focuses on weight editing. Cross-object Weight Transfer is deferred to a future update and is not part of these operations. Existing vertex-color and texture settings are outside this release’s guide.
Contact Support or Discord with the Blender version, OS, reproduction steps, error message and a minimal shareable file.
Requirements and license
Blender 4.5.0 or later. The optional Windows x64 native accelerator has a Python fallback when its binary cannot load. Features can depend on the OS, GPU and rig; begin with a short operation in your environment.
New three-second demonstrations use sequential captures of actual Blender viewport states from automated operations on demonstration meshes. They are edited demonstrations, not physical mouse / pen recordings or speed comparisons.
Code is GPL-3.0-or-later, without warranty. See LICENSE in the supplied package.