CREATOR RECORDINGS
See the clothing work up close.
Cropped from the original recordings around each action and its result. Playback speeds follow the creator’s edit. Silent automatic loops.
Slide clothing along the surface
Fit floating clothing to the body
Pose the arm with Pin Deform
Adjust an asymmetric collar with Pin Deform
Make room inside clothing with Shrink
Shape the skin around a clothing edge
Restore a deformed sock
Symmetry Repair
Copy one side’s shape onto the other with a local brush.
BRUSH ATLAS
All 15 brushes at a glance.
Three-second-or-shorter, cropped effect loops. These frame-stepped examples show the change; follow How to use for the full operation.
Basic Operations & Selection
Inflate
Push the surface outward · How to use
Grab
Move the brushed region · How to use
Smooth
Smooth surface bumps · How to use
Flatten
Flatten uneven geometry · How to use
Space
Even out vertex spacing · How to use
Geometry Selection Brush
Select vertices with a stroke · How to use
Surface Fitting
Shell Fit
Fit the blue cloth to orange Suzanne · How to use
Shell Fit Move
Slide cloth along Suzanne with Protect Shape on · How to use
Shell Fit Relax (Beta)
Smooth cloth wrinkles along Suzanne’s surface · How to use
Garment Finishing
Pin Deform Brush
Keep the shoulder pinned and rotate the arm · How to use
Tidy Seam / Hem
Top: unchanged reference. Bottom: smooth the wavy hem · How to use
Shrink
Slim the arm toward the bone axis · How to use
Restore Shape
Restore a region from a compatible reference · How to use
Tidy the Edge (Beta)
Tidy an uneven boundary · How to use
Garment Bulge Brush
Shape a pressure groove and adjacent skin ridge · How to use
cvELD SHELLFITBRUSH / V2.1
Fit the cloth. Keep the details.
Refine clothing directly in the Blender viewport. Fit a floating collar, slide a tight cuff, restore a fold or adjust a pose with the same brush workflow.
Version 2.0 brings stronger symmetry, Pin Deform, bone-based Shrink, Garment Bulge and more flexible shape restoration into the movable control bar.
NEW IN 2.1
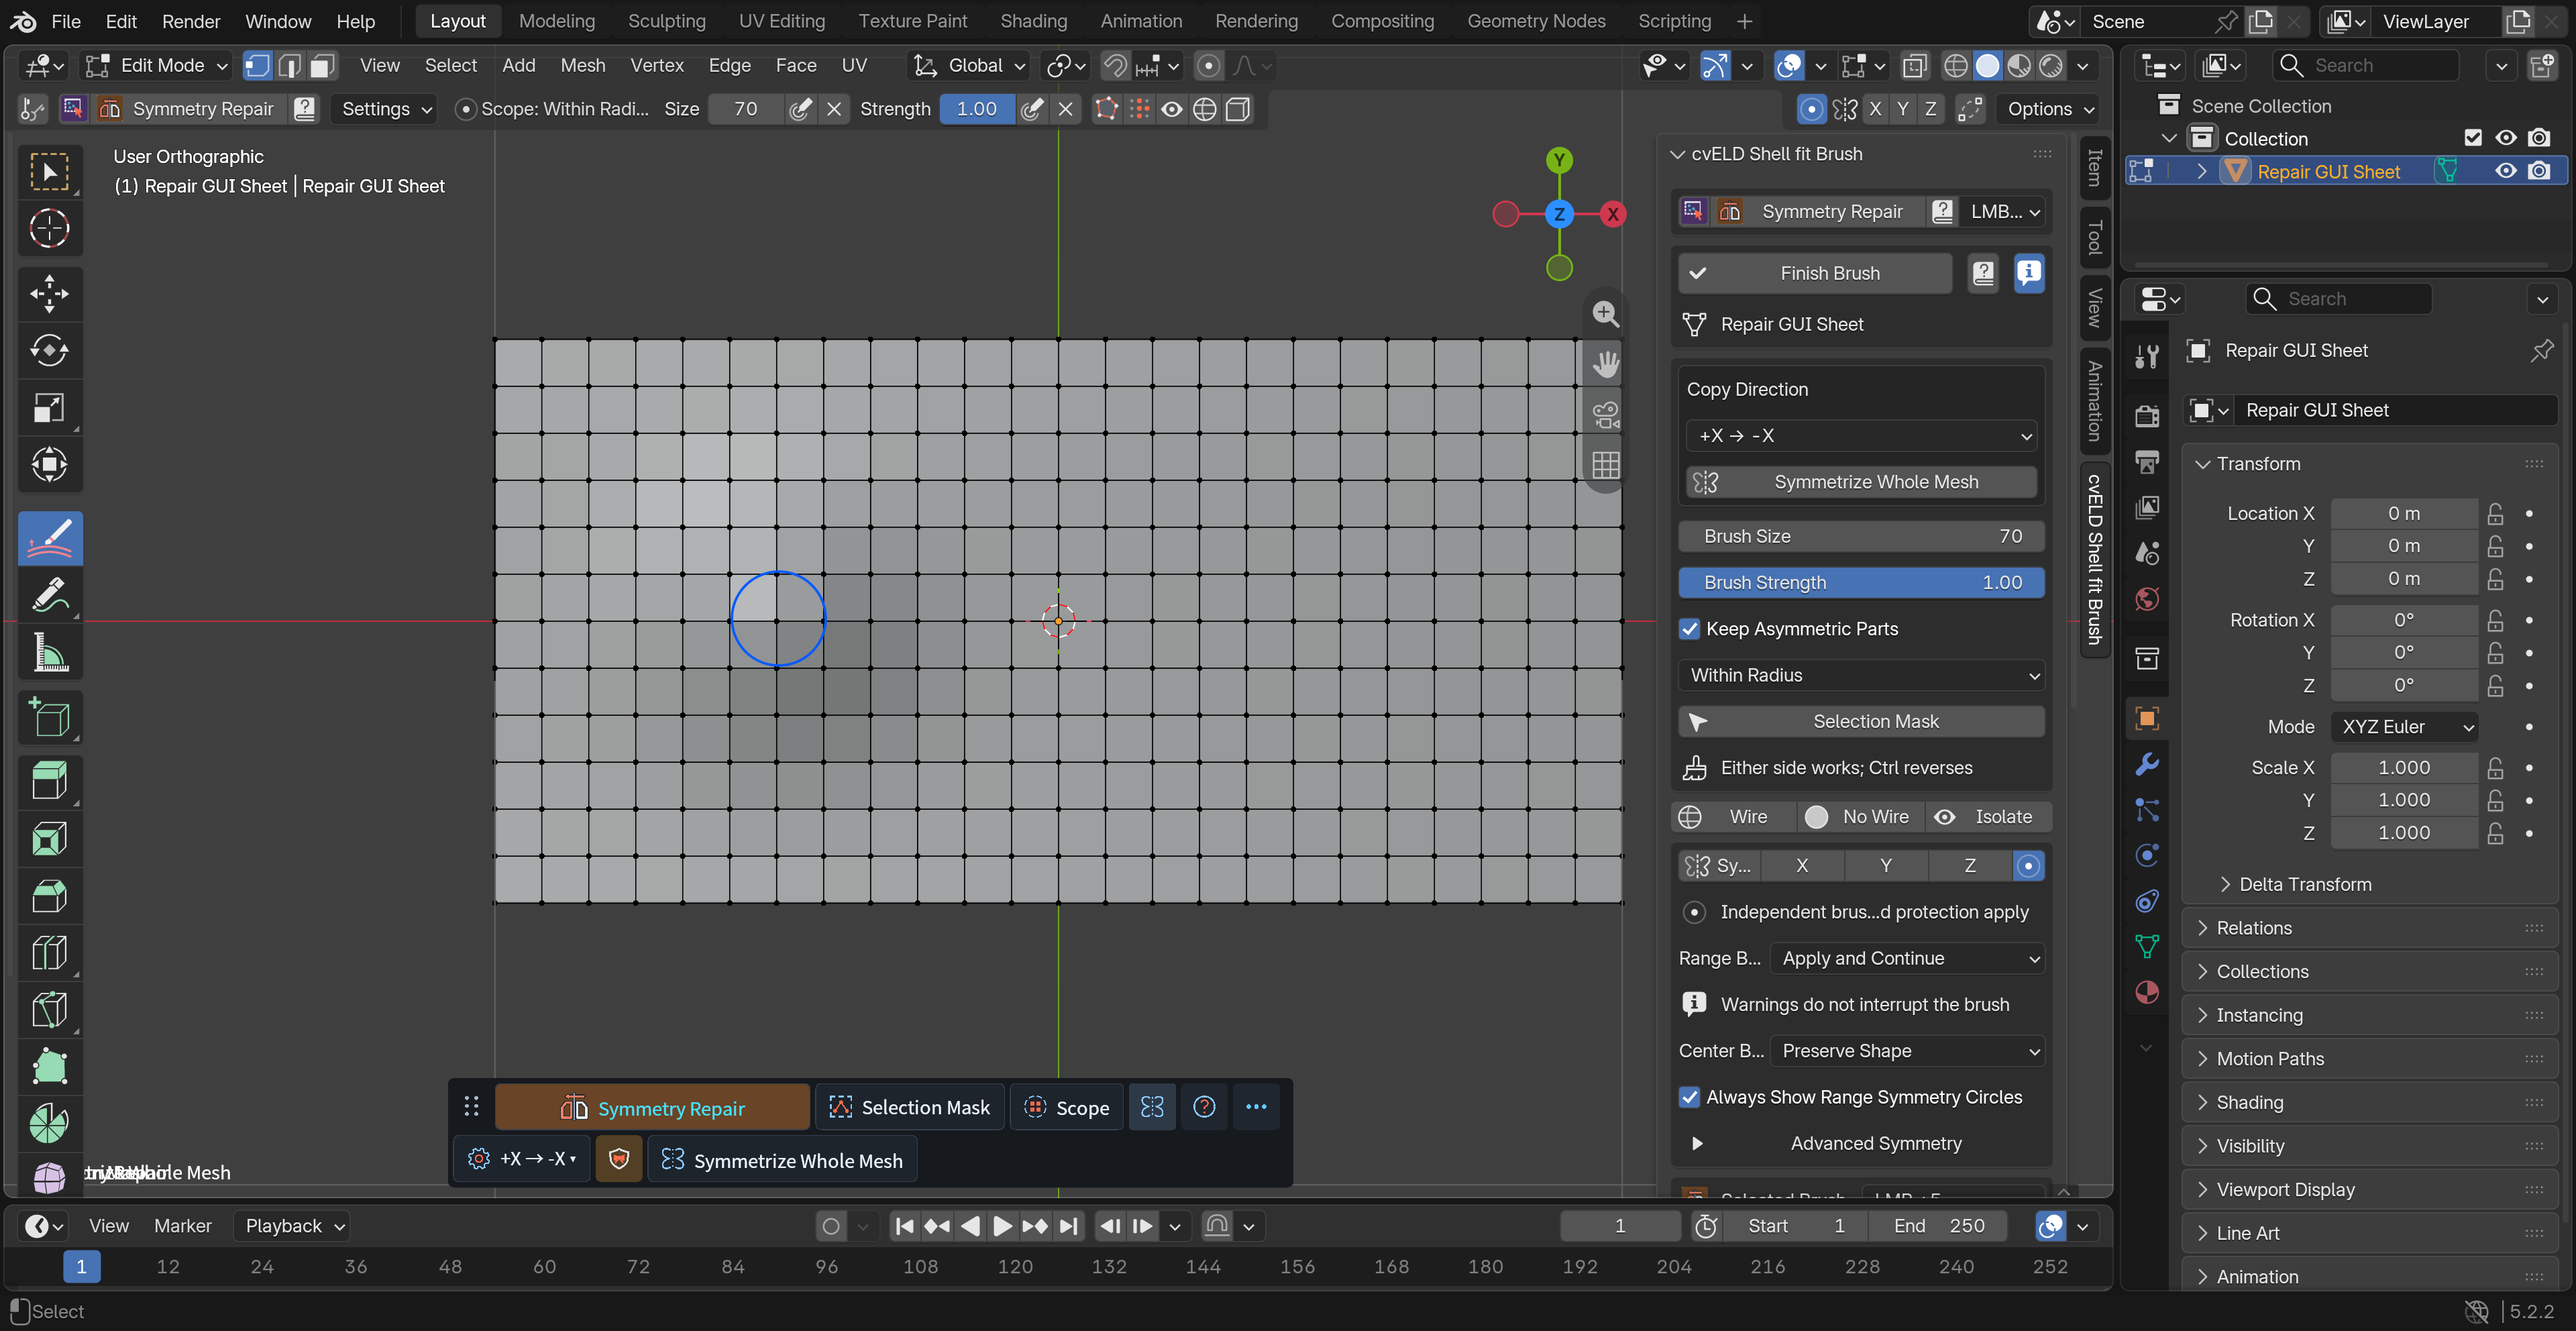
Repair from the opposite side.
Symmetry Repair copies one side onto the other without adding or deleting vertices. In Auto, brush the side whose shape you want to copy: the first brushed side stays the source for the stroke. Use the standalone brush or Restore from Symmetry in Restore Shape. The direction menu also offers six explicit directions.
01 / FIT & SLIDE
Follow the body. Move the detail.
Pick a body or inner garment as the target. Shell Fit brings cloth toward the surface with an adjustable Gap. Shell Fit Move lets you drag along it and continues with direct movement beyond the reachable surface. Both start with a 2 mm Gap.
02 / SYMMETRY
Work across both sides.
Use local X/Y/Z symmetry for matching counterparts, or Brush Range Symmetry to apply an equal-radius brush on the opposite side. Different vertex counts are supported by the brush-range method; inspect both sides when their shapes differ.
03 / SELECT & PIN
Pin the shoulder. Raise the arm.
Brush geometry selection, select through with X-Ray or follow mesh loops. Pin Deform keeps an enclosed selection fixed while you move, rotate or scale the surrounding region. Auto Pin can use an open boundary or a clicked edge loop.
04 / SHRINK & BULGE
Make room inside. Shape the contact.
Shrink draws the body toward automatic or picked bone axes and stores the result in an owned shape key. Use it to make room inside clothing. Paired bone-name rules support left/right work; suitable bone weights are optional.
Garment Bulge creates a pressure groove and adjacent skin ridge at a sock cuff, waistband or underwear opening. The body changes while the garment stays in place. Fine pressure details need enough body vertices.
05 / RESTORE
Bring the original fold back.
Restore Shape recovers compatible original geometry locally. Choose a remembered shape, a shape key, a saved-scene reference or a matching object, then brush only the area to restore. Vertex order and connectivity must match; the picker filters incompatible objects.
06 / SHAPE & WORKFLOW
Make the finishing pass yours.
Grab and Inflate adjust the silhouette. Smooth, Flatten and Space refine bumps and mesh flow. Protect Shape helps retain thick details; Protect Volume reduces shrinkage. Tidy Seam / Hem carries nearby bands together.
The movable bar keeps the active settings close to your work. Selection Mask, Visible Faces, depth, boundary controls and Sharp Protection help define the affected area. Customize the visible items and shortcuts for your workflow.
BEFORE YOU BEGIN
Install once. Start brushing.
Requirements: Blender 4.5.0 or newer, below 5.3. Windows is the release validation platform. Other cvELD add-ons are not required.
Install: drag the unextracted extension ZIP into Blender, or use Preferences → Install from Disk. Enable cvELD ShellFitBrush, select a mesh and start from 3D View sidebar → cvELD Shell fit Brush.
Modes: Edit, Weight Paint, Vertex Paint and Texture Paint. In the Blender shortcut preset, left-drag brushes, release commits, Esc cancels and Ctrl+Z undoes. Customized bindings take precedence. Native Sculpt Mode and the Image Editor are unsupported.
Limits: shape and volume preservation are approximate. Restoration requires compatible topology. Local Shape Tools require supported rest meshes. Beta features, thin layers and complex intersections need visual inspection.
Open the illustrated English manual
Watch the complete creator video · Support
Author: Land-Y · GPL-3.0-or-later